Don't forget to use the left-over supplies from your Paper Pumpkin kits. Here, I made four cards using left-overs from the September, 2017 card kit. The kit included different tags, as shown below on the cards. I also chose different colors for the card bases. What do you think?

Layered Leaves

Layered Leaves Too

Layered Leaves Tre

Layered Leaves Quad
Stamps:
Teeny Tiny Wishes
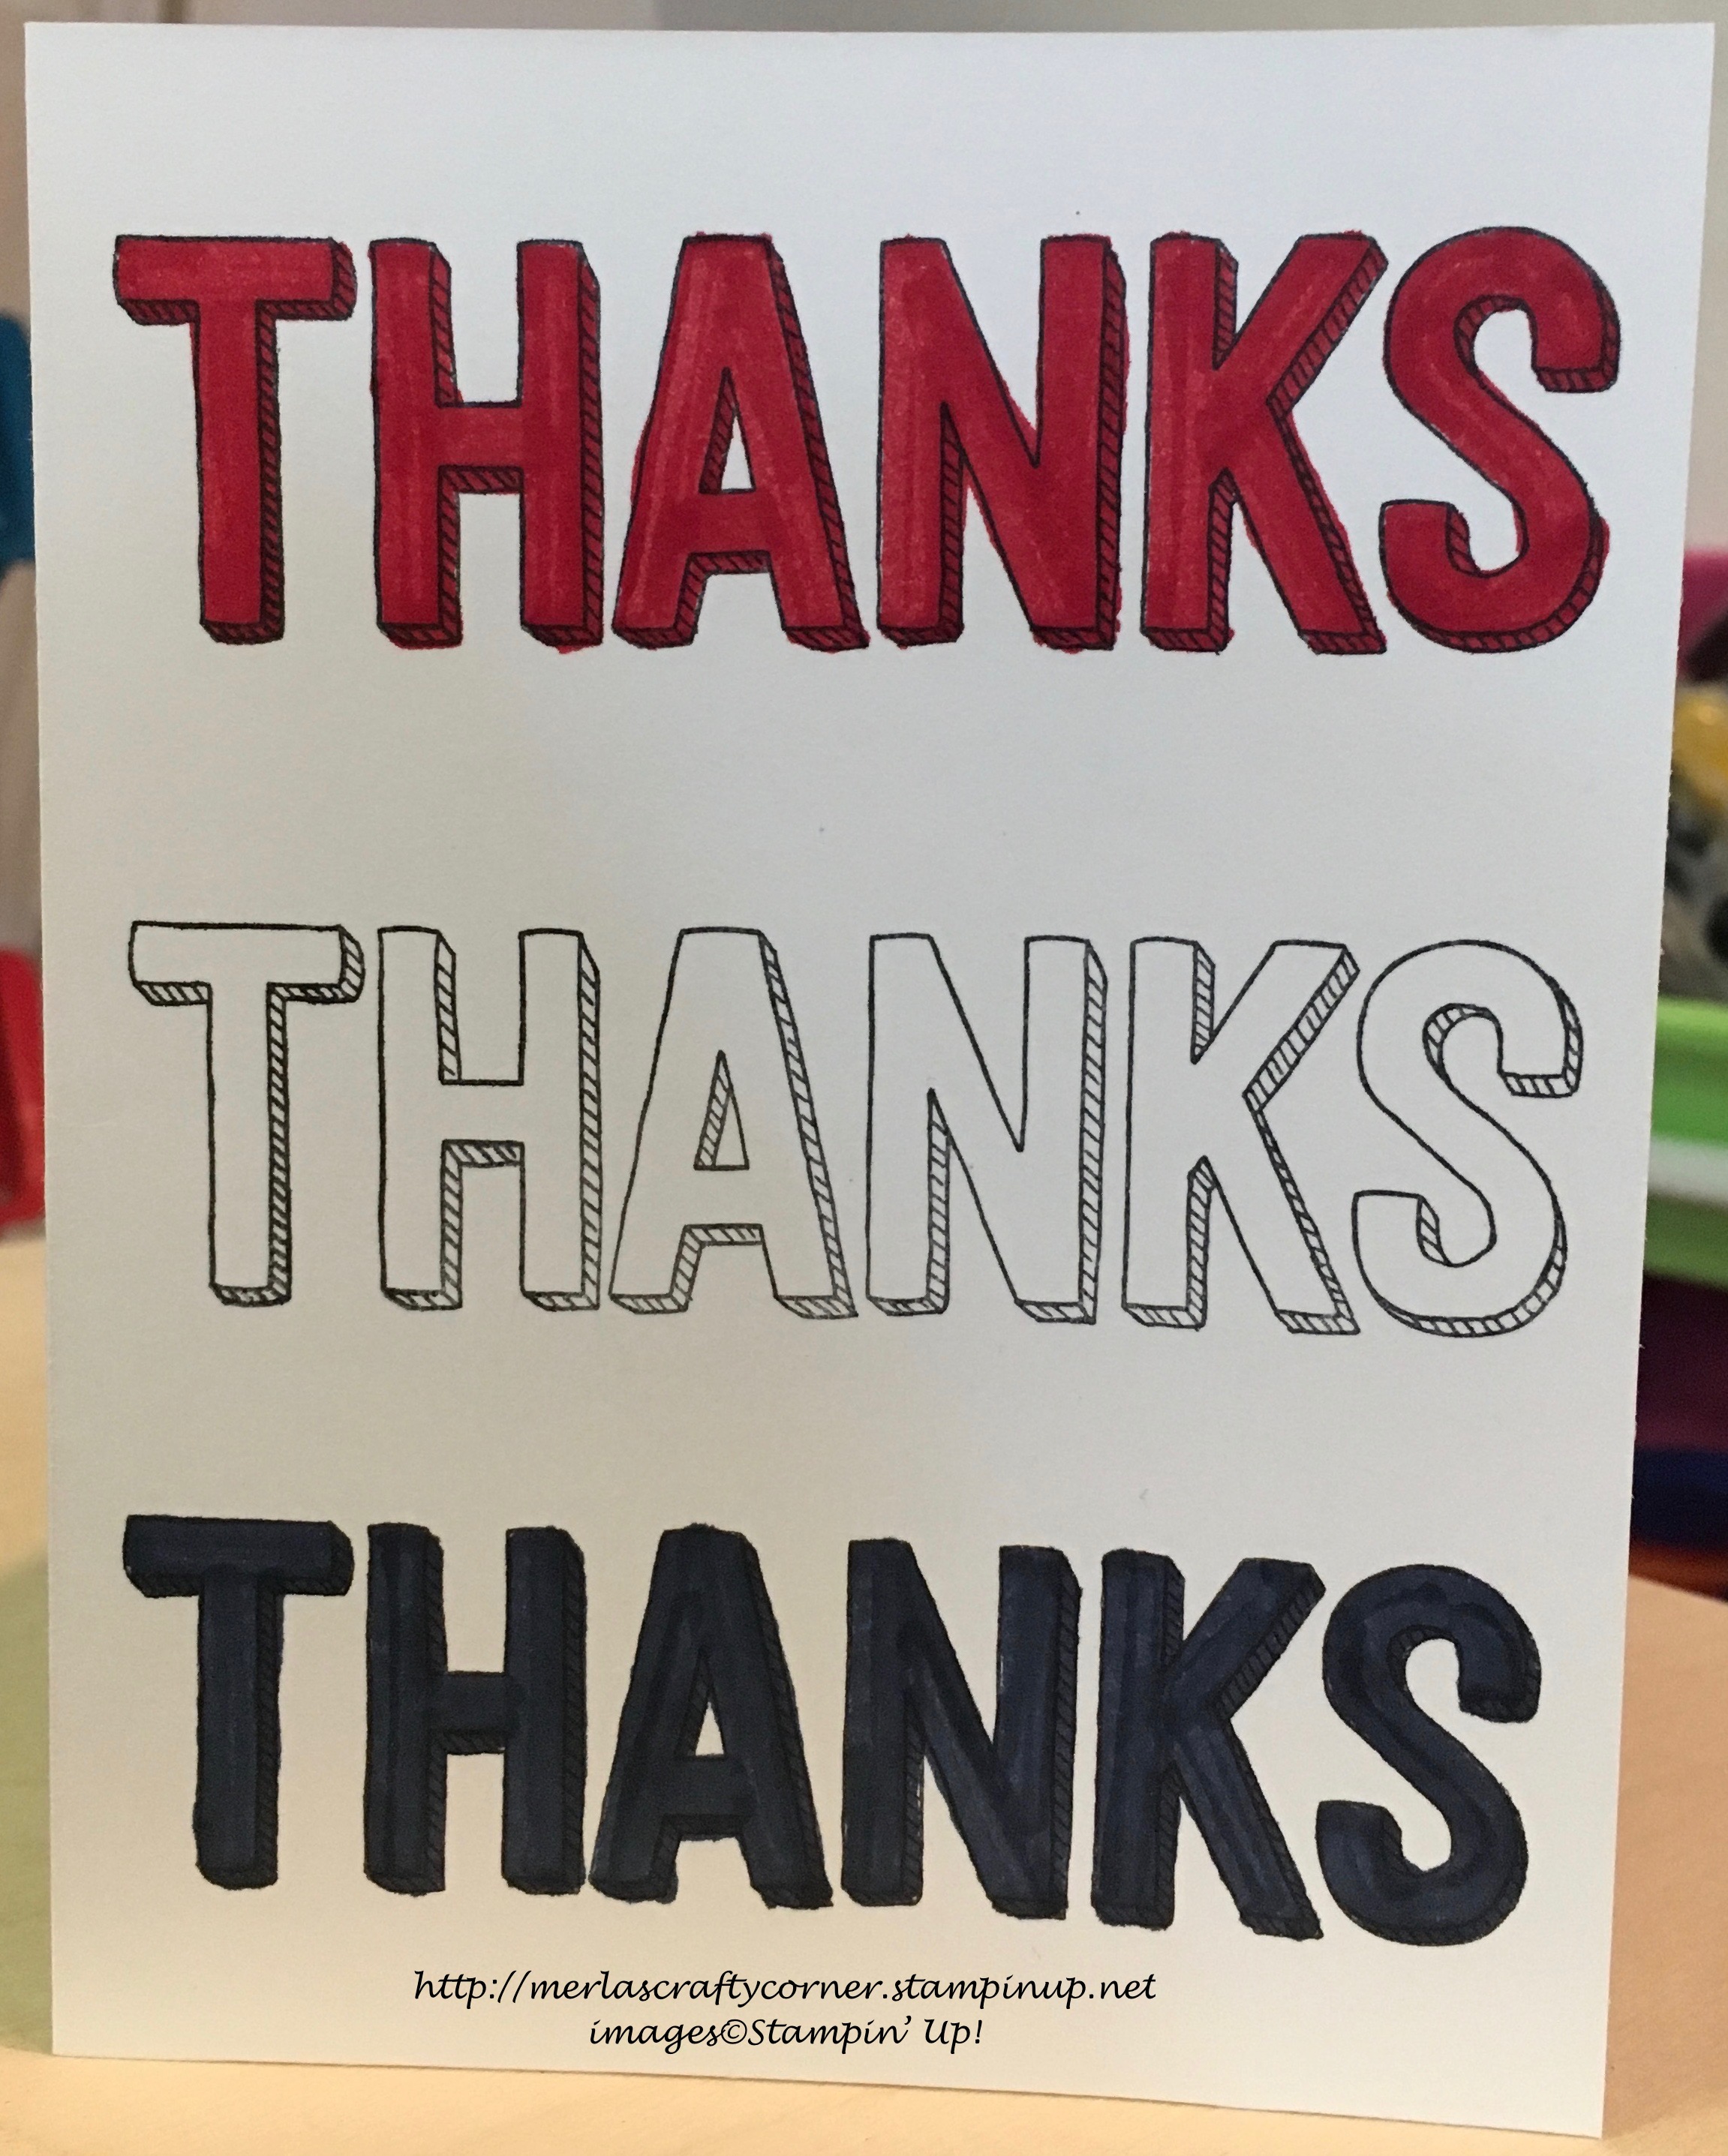
Through It Together
Tags Left-Over from Paper Pumpkin 9/17
Paper:
Crushed Curry A-2, Old Olive A-2, Cajun Craze (A-2)
Basic Black 5-3/8 x 4-1/8
Basic White 5-1/4 x 4 (2)
Paper Pumpkin Sept. 2017 (Tags & Leaves)
Ink:
Blushing Bride
Cajun Craze
Crushed Curry
Old Olive
Soft Suede
Technique:
Blending Brush/Sponging
Accessories:
Paper Pumpkin 9/17 Left-Over Tags, Leaves, Twine
Glue Dots
Dimensionals
Adhesive
First, I stamped the Basic White panels randomly with leaves using the various colors listed above.
I then used a blending brush to add Blushing Bride onto the background.
Next, I added the cut-out leaves that were included in the kit. I played with the arrangement to make sure there were enough for the four cards. The gold stick on leaf was added last. Only two were left-over.
I then stamped and added the tags using dimensionals. I used the Teeny Tiny Wishes stamp set on the round tags, and Through It Together stamp set on the rectangular tags.
I tied the twine into bows and added it using a glue dot.
I then matted the panel with Basic Black and adhered it onto a card front.
Lastly, I adhered the other Basic White panel to the inside of the card.
Thank you so much for stopping by here and spending a few minutes of your day with me. I appreciate your time. Contact Me if you have any questions, need a demonstrator, or just want to stamp or share ideas.
Shop Now and enjoy browsing products and promotions. I have a HOST CODE in the right sidebar in case you did not earn your own rewards.
Do not miss the opportunity to Join Me and become the newest member of my team.
Paper Pumpkin should not be ignored. I enjoy putting my kit together monthly.
Take a few more minutes and share, like, pin, tweet, or comment. I would love to see what you really think. Do not forget to FOLLOW and SUBSCRIBE to my blog.
HAPPY STAMPING!