Add ink to your embossing folder and let your card front demand attention from all who feast their eyes upon it. Thoughts?
Stamps:
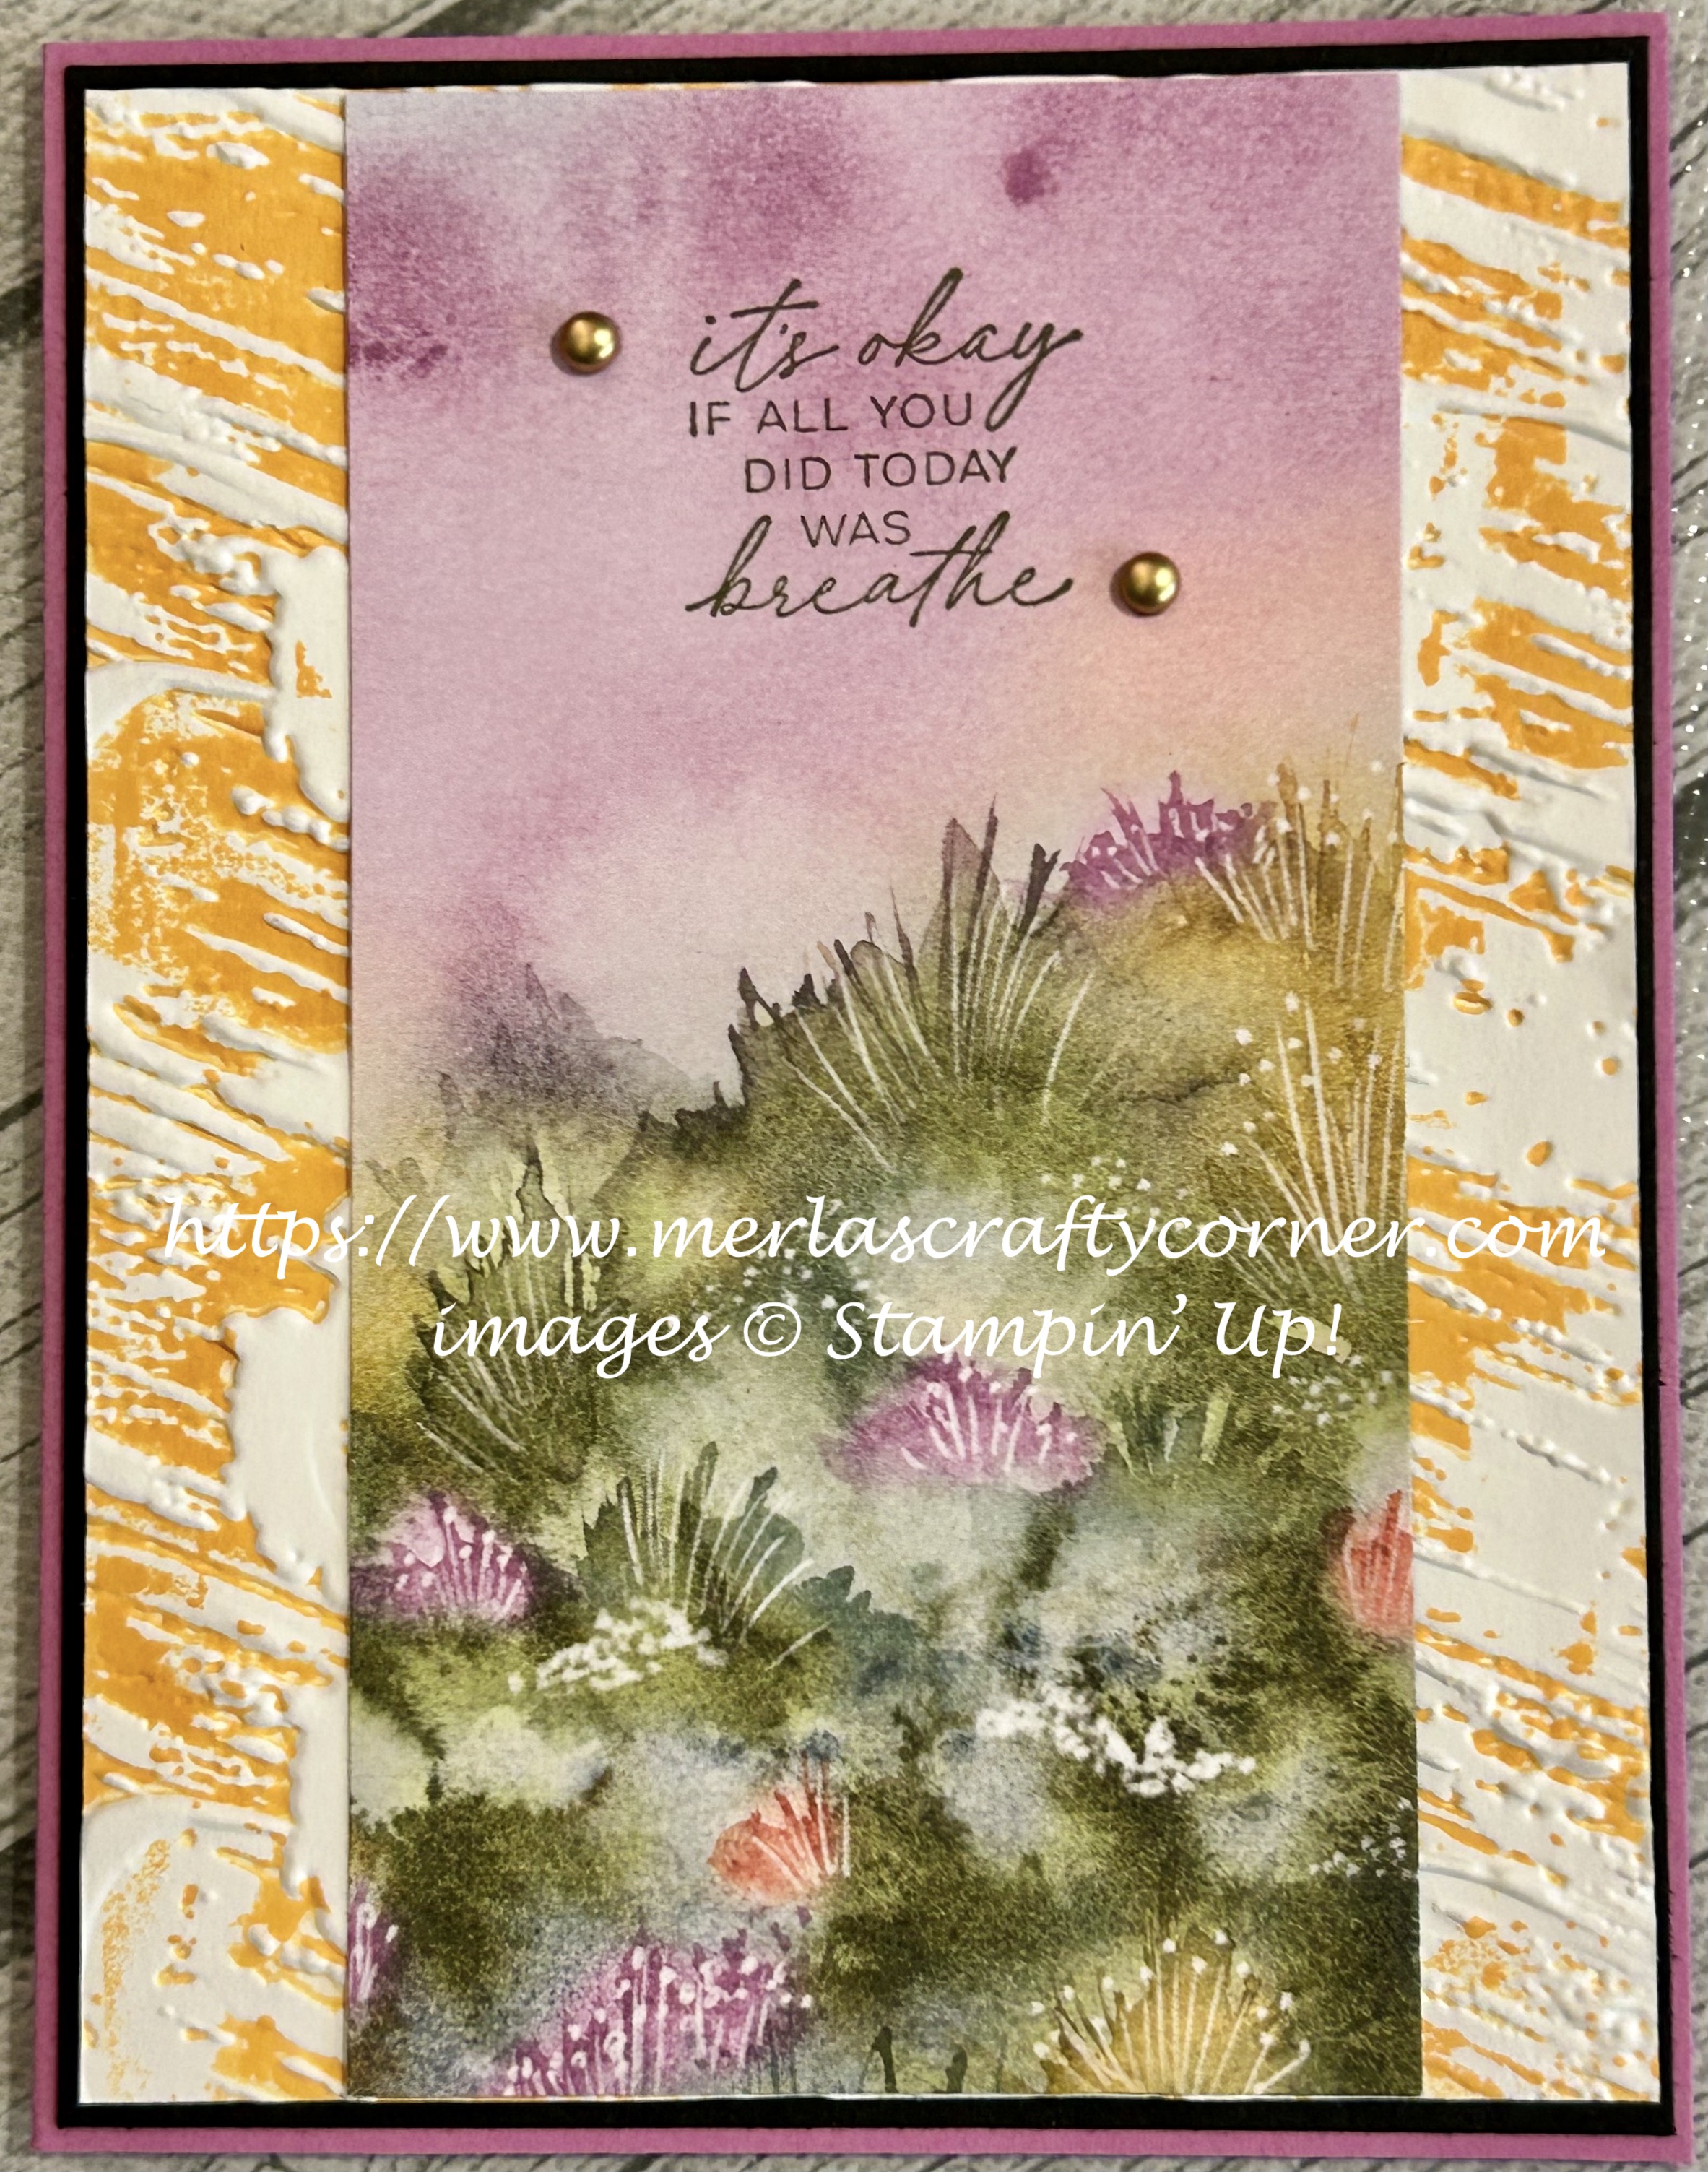
Love & Strength
Paper:
Petunia Pop A-2
Basic Black 5-3/8 x 4-1/8
Basic White 5-1/4 x 4 (2)
Thoughtful Journey DSP 2-3/4 x 5-3/16
Ink:
Mossy Meadow
Peach Pie
Technique:
Dry Embossing with Ink
Accessories:
Plaster Painting 3D Embossing Folder
Brushed Metallic Adhesive-Backed Dots
Adhesive
First, I applied Peach Pie ink to the top panel of the Plaster Painting 3D embossing folder. You can gently swipe the ink pad across the panel, or gently tap it.
I then carefully placed a Basic White panel inside the folder and carefully closed it and embossed it without moving the panel. I set the panel aside to dry and quickly rinsed the embossing folder under running water. You can let it drip dry or gently dry it yourself.
Next, I stamped the sentiment on the top of the Thoughtful Journey DSP panel, using Mossy Meadow ink.
I then adhered this panel onto the center of the embossed panel.
Next, I adhered it onto a Basic Black matte and then onto the Petunia Pop card front.
Lastly, I added a couple of Brushed Metallic Dots to the card front and adhered a Basic White panel to the inside of the card.
Thank you kindly for stopping by here. Contact Me if I can be of service.
Take a quick look and Shop Now for new products and current sales.
If you just want a quick crafty fix, check out the Kits Collection or get a consistent dose with a Paper Pumpkin subscription.
Join Me and create a new friendship. We already have crafting in common!
Please take a few minutes to share, like, pin, tweet, or comment. Plus, you don't want to forget to FOLLOW and SUBSCRIBE to my blog.
HAPPY STAMPING!


