Sometimes you just have to let the image shine on its own. Thoughts?
Stamps:
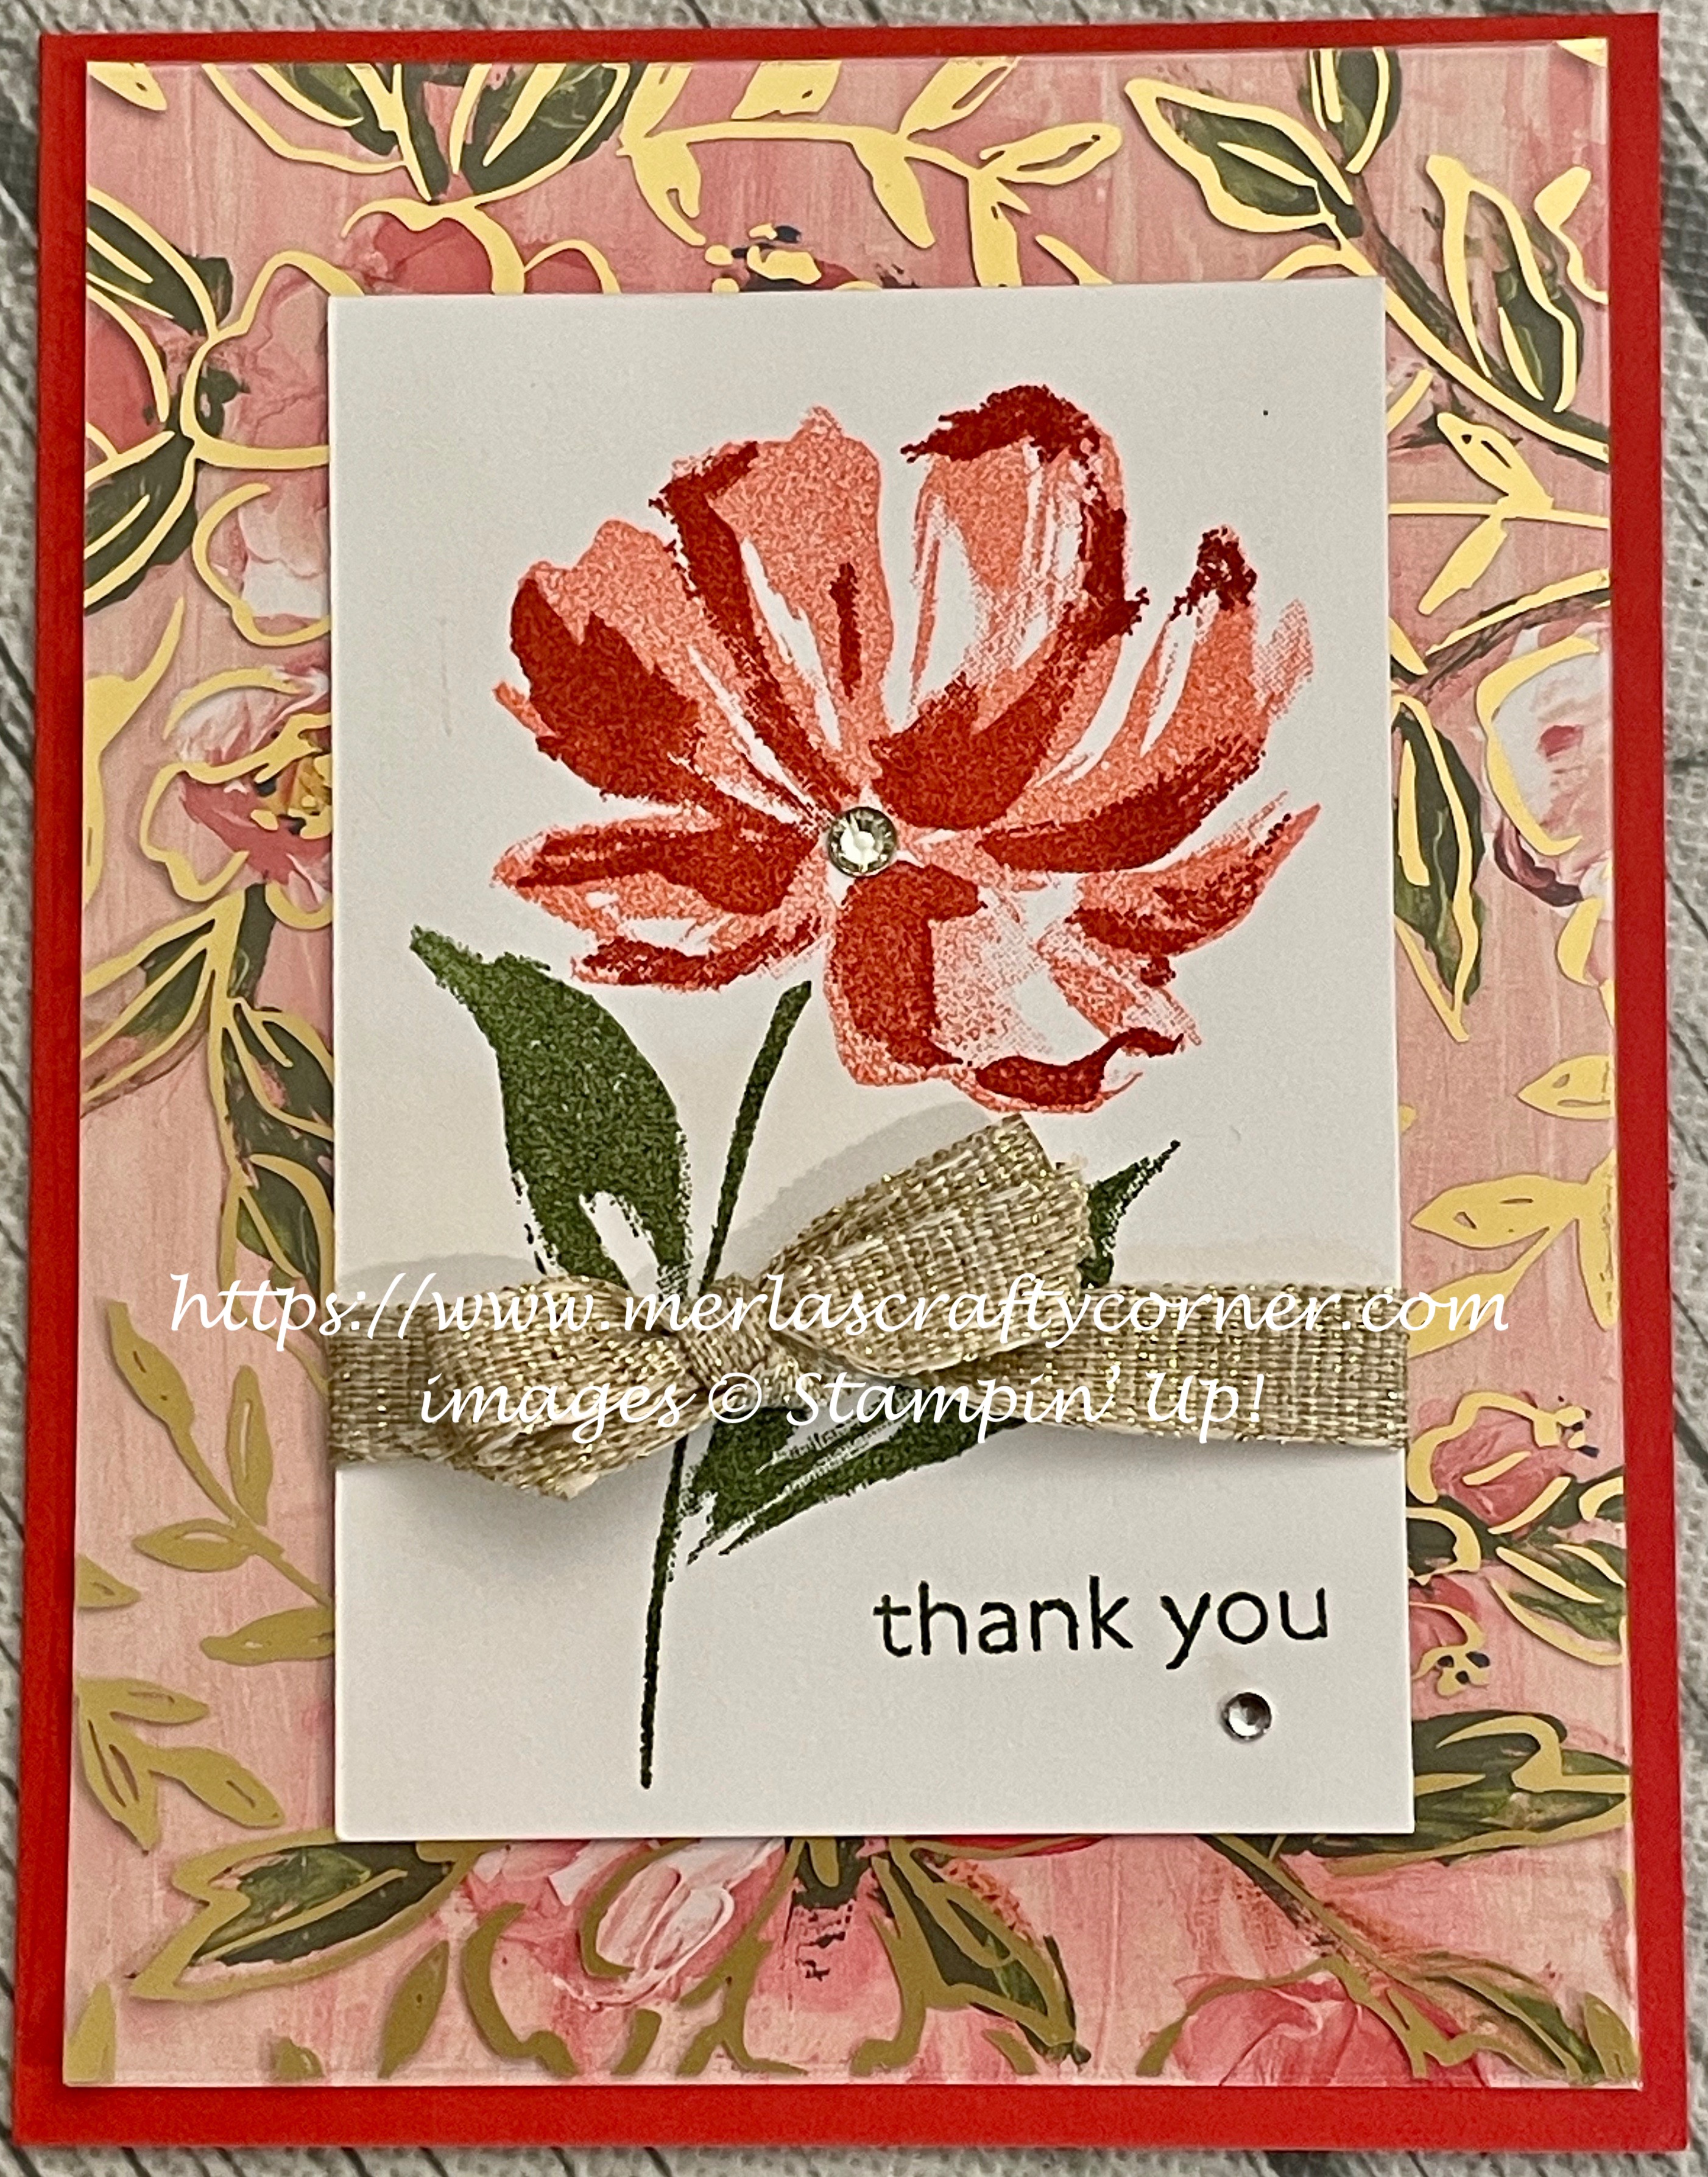
Art Gallery
Paper:
Poppy Parade A-2
Fine Art Floral DSP 5-1/4 x 4
Golden Garden Designer Acetate 5-1/4 x 4
Basic White 3-1/4 x 4, 5-1/4 x 4 (Inside)
Ink:
Mossy Meadow
Poppy Parade
Flirty Flamingo
Technique:
2-Step Stamping
CAS
Accessories:
Fine Art Ribbon
Basic Rhinestone Jewels
Glue Dots
Adhesive
First, I adhered the acetate to the DSP, adding glue dots where they would not be noticed. Under the image panel is a perfect place.
I then stamped my image and sentiment. I used Flirty Flamingo and Poppy Parade as the accent color on the petals. I then used Mossy Meadow on the leaves and stem as well as the sentiment.
Next, I wrapped a ribbon around the panel and tied it off in a bow.
I adhered the panel to the center of the acetate/DSP panel and then onto the card front.
Lastly, I added a couple of rhinestones and adhered the Basic White panel to the inside of the card.
Thank you for checking out my blog. I so appreciate your time. Contact Me if you have any questions or concerns regarding Stampin' Up!
Are you curious about what is trending, the cost of materials and other products, or do you just feel like shopping? Click on Shop Now and have some fun.
Subscribe to Paper Pumpkin or check out the Kits Collection if you want to stay on a budget or just keep it all low-key.
Join Me and reap all of the benefits of becoming a part of the Stampin' Up! family. Check it out and gain the best value for your money.
Share, like, pin, tweet, or comment. Don't forget to FOLLOW and SUBSCRIBE to my blog.
HAPPY STAMPING!


