Sunday, January 15, 2023

Thank You Garden

I was able to use the reverse side of the designer series paper (DSP) to stamp my sentiment. I like that it added a splash of color to it. What do you think? 


Stamps:
   Abstract Impressions

Paper:
   Mango Melody A-2
   Powder Pink 3-1/4 x 5-1/4, 7/8 x 2-1/2
   Garden Impressions DSP 3/4 x 2-3/8, 3 x 5
   Basic White 5-1/4 x 4 (Inside)

Ink:
   Night of Navy

Technique:
   CAS

Accessories:
   Basic Rhinestone Jewels
   Dimensionals
   Adhesive

First, I cut and adhered the DSP panel to the Powder Pink panel.

I then adhered this panel to the left side of the Mango Melody card front.

Next, I stamped the sentiment on the reverse side of the left-over DSP. I cut it to size and matted it with a bit of Powder Pink. I attached it using dimensionals.

Lastly, I added a few rhinestones to the upper right side of the card front and adhered the Basic White panel to the inside.

Thank you so much for giving me a bit of your time. Contact Me if I can return the favor.

Check out all of the options by clicking on the headers above.

Do not forget to FOLLOW and SUBSCRIBE to my blog. Please share, like, pin, tweet, or comment. I look forward to reading your thoughts and possible ideas for improvements.

HAPPY STAMPING!

Saturday, January 14, 2023

Fancy Thank You

Beautiful designer series paper does all the work for you. All you have to do is let it. What do you think?


Stamps:
   Something Fancy

Paper:
   Berry Burst A-2
   Basic Black 5-3/8 x 4-1/8
   Fresh Florals DSP 5-1/4 x 4
   Basic White 5-1/4 x 4 (Inside)

Ink:
   Berry Burst
   Tuxedo Black Memento

Technique:
   Die Cutting
   Sponging

Accessories:
   Something Fancy Dies
   Sponge
   Berry Burst Metallic Edge Ribbon 6"
   Basic Rhinestone Jewels
   Dimensionals
   Glue Dots
   Adhesive

First, I stamped, die cut, and sponged my sentiment.

I then cut and adhered the designer series paper panel onto the Basic Black panel.

Next, I adhered the Berry Burst ribbon across the lower part of the card. I added a couple of glue dots to the ribbon to hold it in place and then adhered it to the back with adhesive. I added this panel onto the Berry Burst card front.

I then added the sponged sentiment to the center of the ribbon using dimensionals.

Lastly, I added a few rhinestones and adhered the Basic White panel to the inside of the card.

Thank you so much for stopping by here. Contact Me if you have any questions.

Shop Now and buy your supplies to make your own cards. Place an order today for your favorites before they run out of stock.

Join Me and become my new team member. Enjoy the best savings and opportunity offered today!

Subscribe to Paper Pumpkin and craft monthly for under $25. Don't forget to take a look at the All-Inclusive Kits!

If you liked my card, please share, like, pin, tweet, or comment. I would love for you to FOLLOW and SUBSCRIBE to my blog. Let me know what you think in the comments below.

HAPPY STAMPING!

Friday, January 13, 2023

Thanks Golden Stars

Create a card front without stamping! This is easy when you have decorative die cuts on hand. I always try to punch out hearts, stars, or other small shapes with the extra small pieces of foil before they go in the trash. Keeping these readily available can help to embellish your project. What do you think? 


Stamps:
   None

Paper:
   Merry Merlot A-2
   Basic Black 5-1/4 x 4
   Basic White 5-1/4 x 4 (Inside)
   Gold Metallic 3-1/2 x 4-1/2, 2-1/2 x 1

Ink:
   None

Technique:
   Die Cutting

Accessories:
   Flourishing Thinlits Dies
   Well Written Framelits
   Myths & Magic Washi Tape
   Itty Bitty Accents Punch
   Glue Dots
   Fine-Tip Glue Pen
   Adhesive

First, I die cut the flourish and sentiment out of Gold Metallic Paper. I punched out stars from the extra pieces on the panel. 

Note, this die is so intricate that the gold metallic paper gets stuck. I tore the die cut in three places while I was removing it. I think I did a fairly decent job putting it back together on the card front. I used the fine-tip glue pen to adhere it.

I then placed a strip of silver washi tape on the bottom of the panel.

Next, I adhered the sentiment right above the strip of washi tape.

I then added a few gold stars and adhered the panel to the Merry Merlot card base.

Lastly, I added the Basic White panel to the inside of the card.

Thank you for visiting. I do love company. Feel free to Contact Me if you have any questions.

Explore current products, promotions, and all of the opportunities. Just click on Shop Now. A HOST CODE is available in the right sidebar for those of you who do not earn your own rewards.

For those of you who like kits with everything you need to complete a project, we offer Paper Pumpkin. Your monthly cost is less than $25. Also, you might want to look at the new Kits Collection!

Join Me and become my newest team member. I look forward to meeting you.

Please take a minute to share, like, pin, tweet, or comment. Do not forget to FOLLOW and SUBSCRIBE to my blog.

HAPPY STAMPING!

Thursday, January 12, 2023

Beautiful Thank You

Color your images quickly with this two-step stamp set. Step 1 stamps the outline of the image and Step 2 fills in the color. The set is a photopolymer stamp set, so alignment is not a problem. If you would like to get your hands on this set, you will have to go shopping on my online store and purchase $50 worth of product. You have only until the end of February to earn this beautiful stamp set. Don't delay! Thoughts?


Stamps:
   Beautifully Happy (SAB)

Paper:
   Fresh Freesia A-2
   Basic Black 5-3/8 x 4-1/8
   Basic White 5-1/4 x 4 (2)

Ink:
   Balmy Blue
   Fresh Freesia
   Mossy Meadow
   Pacific Point
   Polished Pink
   Tuxedo Black Memento

Technique:
   2-Step Stamping

Accessories:
   Blue & White Ribbon 6"
   2021-2023 In-Color Jewels
   Glue Dots
   Stampin' Seal+
   Adhesive

First, I stamped the large floral arrangement in the center of the Basic White panel using Pacific Point.

Next, I filled in the flowers with Balmy Blue, the leaves with Mossy Meadow, and the small flowers with Fresh Freesia.

I then added two small flowers on either side using Polished Pink. I then filled them with Fresh Freesia and the buds with Balmy Blue.

I stamped the sentiment on the bottom right with Tuxedo Black Memento ink.

Next, I dabbed a few dots or sprinkles using Balmy Blue.

I added a strip of ribbon to the bottom of the panel and then adhered it to the Basic Black matte and then onto the Fresh Freesia card base. 

Lastly, I added a few in-color jewels and adhered the other Basic White panel to the inside of the card.

Here is another card using the same things, but I placed the ribbon at the top of the panel. Which one do you like better?

Beautiful Thank You Too


Thank you so very much for being here. I appreciate you taking the time to glance at my work. Please Contact Me if I can be of service.

Are you interested in Stampin' Up! products to make your own cards? Shop Now and have a look-see. I placed a HOST CODE for you to use if you do not earn your own rewards. It is sitting in the right sidebar.

Do you like surprises? Subscribe to Paper Pumpkin and receive all you need to complete the monthly project. The cost is less than $25. Check it out.

Join Me and become privy to everything Stampin' Up! Receive a discount on all of your personal orders. Personally, I love SALES!

Please share, like, pin, tweet, or comment. Do not forget to FOLLOW and SUBSCRIBE to my blog.

HAPPY STAMPING!

Wednesday, January 11, 2023

Thank You Flora

This two-step stamp set allows you to shine like a professional artist. The set is a photopolymer set, so exact placement is not a problem. What do you think? 


Stamps:
   Two-Tone Flora
   Something Fancy

Paper:
   Fresh Freesia A-2
   Basic Black 5-3/8 x 4-1/8
   Basic White 5-1/4 x 4 (2)
   Fine Shimmer 1/2 x 5-1/4 (2)

Ink:
   Calypso Coral
   Evening Evergreen
   Fresh Freesia
   Night of Navy
   Orchid Oasis
   Pool Party
   Soft Succulent
   Tuxedo Black Memento

Technique:
   Die Cutting

Accessories:
   Two-Tone Flora Dies
   Dimensionals
   Adhesive

First, I stamped my sentiment using Evening Evergreen on the top of a Basic White panel.

I then randomly stamped the small group of flowers, using Orchid Oasis and Pool Party (Step 1). I then added the detail using Calypso Coral and Night of Navy (Step 2).

I added the large leaves with Evening Evergreen.

Next, I stamped the two larger flowers on a scrap of Basic White. One flower was stamped using Orchid Oasis with Calypso Coral and the other using Pool Party with Night of Navy.

I then die cut these two with the Two-Tone Flora Dies. I attached them to the card front with dimensionals. I then decided to add a couple of leaves to the large flowers with a bit of Soft Succulent ink.

I then cut two strips of the fine shimmer paper and added one to each side of the Basic White panel.

I then attached the panel to a Basic Black matte and then onto the card base. 

Lastly, I added the other Basic White panel to the inside of the card.

Thank you so much for spending time with me here. Contact Me if you have any questions.

Shop Now and take a look at all of our new products and current promotions. Please use the HOST CODE sitting in the right sidebar if you did not earn your own rewards.

Subscribe to Paper Pumpkin and keep your monthly cost below $25! Join Me and become my newest team member.

Either way, please share, like, pin, tweet, or comment. Do not forget to FOLLOW and SUBSCRIBE to my blog.

HAPPY STAMPING!

Tuesday, January 10, 2023

Thank You Country

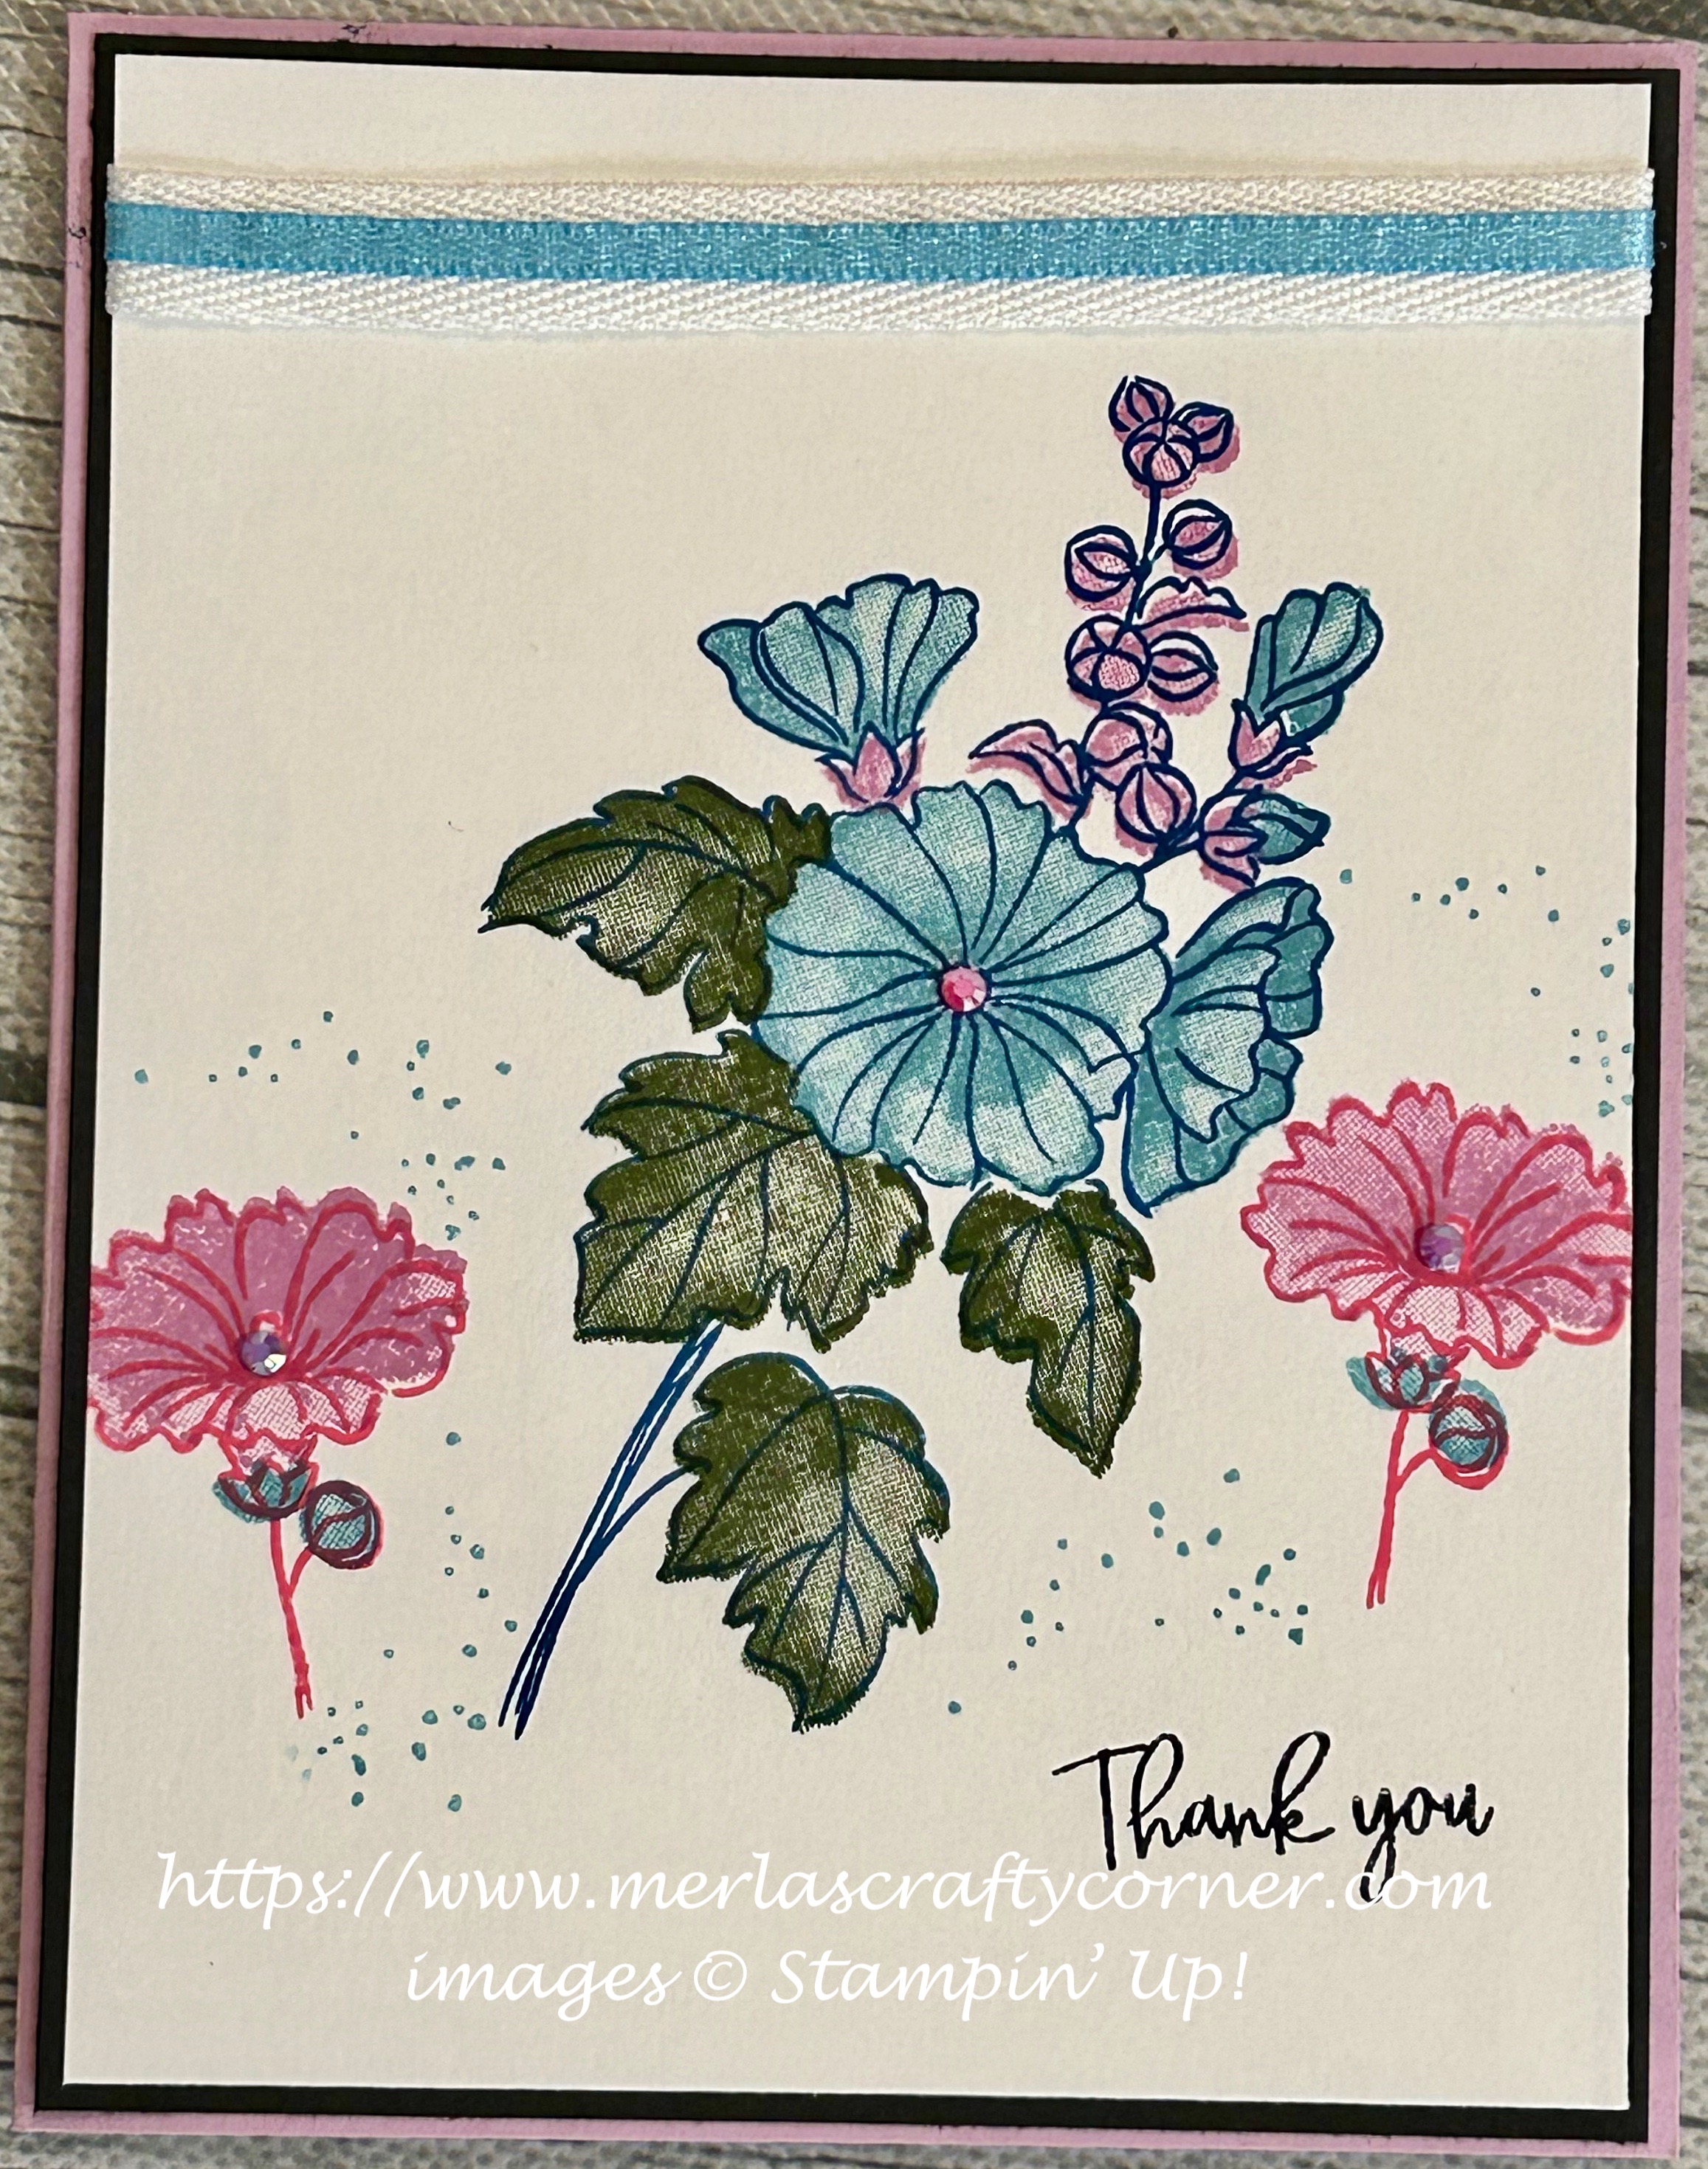
Scenic stamps are great for card fronts. This one is not for sale, but you can earn it through the end of February, 2023 by purchasing $50 of product through my online store. Just click on Shop Now and explore current merchandise to make your own cards. What do you think?


Stamps:
   In the Country (Sale-a-bration)
   Sentiment is Unknown

Paper:
   Early Espresso A-2
   Neutrals 6x6 DSP 5-3/8 x 4-1/8
   Watercolor 5-1/4 x 4
   Basic White 5 1/4 x 4 (Inside)

Ink:
   Jet Black StazOn

Watercolor Crayons:
   Always Artichoke
   Baja Breeze
   Early Espresso
   Garden Green
   River Rock
   So Saffron
   White

Technique:
   Watercolor

Accessories:
   Water Painter
   Natural Finish Ribbon
   Brushed Metallic Adhesive-Backed Dots
   Mini Glue Dots
   Adhesive

First, I stamped my image in the center of the watercolor panel.

I then colored the image, using my watercolor crayons. Always Artichoke (Grass), Baja Breeze (Sky), Early Espresso (Fence), Garden Green (Trees), River Rock & So Saffron (road and grassy field), White (Tree Tops).

Once the color was on the image, I added water, using a water painter. I also kept a paper towel in my other hand, in case the image needed a bit of a dab. 

I then stamped the sentiment directly onto the ribbon while my panel dried.

I then added the ribbon with the sentiment onto the top part of the watercolor panel. 

Next, I adhered the panel onto a DSP panel and then onto the Early Espresso card base.

I tied a bow with the Natural Finish Ribbon and attached it to the bottom of the card, using a glue dot.

Lastly, I added two brushed metallic dots and adhered the Basic White panel to the inside of the card.

Thank you so much for stopping by here and taking a quick look-see. If you have any questions or need my assistance, Contact Me.

Shop Now and take a look at all of our new products and current promotions. Please use the HOST CODE sitting in the right sidebar if you did not earn your own rewards.

If you want to craft, but keep your costs below $25 a month, check out Paper Pumpkin. It just might be what you are looking for at the moment.

Join Me and become the newest member of my team. Remember there are no hidden agendas or penalties for giving it a go. Don't pass this opportunity to save.

Shop my current card inventory by clicking on Cards To Go above. 

You've come this far, so please share, like, pin, tweet, or comment. I appreciate your time and efforts. Let me know your thoughts and leave all of your questions behind. Do not forget to FOLLOW and SUBSCRIBE to my blog.

HAPPY STAMPING!