I need to play with this faux glass tile technique some more. Can embossing powder ruin over time? I don't know if there was something wrong with the powder, of if I just heated it too long. Watch the video and give it a try.

Stamps:
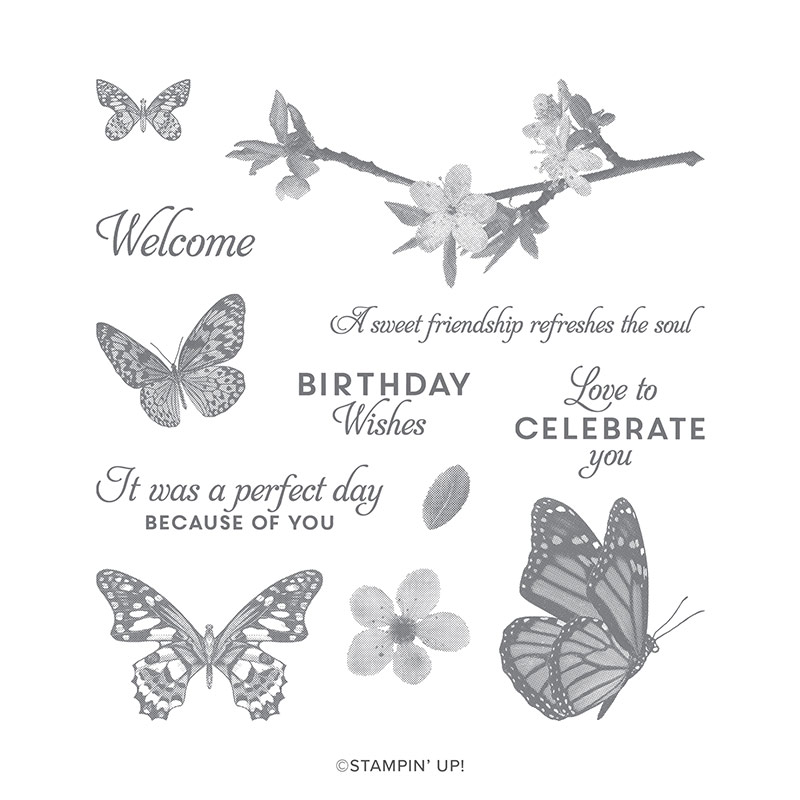
Butterfly Wishes
Paper:
Fresh Freesia A-2
Moody Mauve 5-3/8 x 4-1/8
Basic White 5-1/4 x 4 (2), Scraps - 2-1/4" Sq. (4)
Ink:
Fresh Freesia
Moody Mauve
Rococo Rose
Technique:
Heat Embossing
Accessories:
Stitched Shapes Framelits
Butterfly Gems
Stampin' Seal+
Adhesive
I followed the You Tube tutorial by Natasha Foote at Large Faux Glass.
Thank you for checking out my blog. I so appreciate your time. Contact Me if you have any questions or concerns regarding Stampin' Up!
Are you curious about what is trending, the cost of materials and other products, or do you just feel like shopping? Click on Shop Now and have some fun.
Subscribe to Paper Pumpkin or check out the Kits Collection if you want to stay on a budget or just keep it all low-key.
Join Me and reap all of the benefits of becoming a part of the Stampin' Up! family. Check it out and gain the best value for your money.
Share, like, pin, tweet, or comment. Don't forget to FOLLOW and SUBSCRIBE to my blog.
HAPPY STAMPING!


