Showing posts with label Scallop Circle Punch. Show all posts

Friday, October 3, 2025

Trimming Pears

The Mossy Meadow & Gold Trim is so beautiful on both sides, I decided to feature both. Thoughts? 


Stamps:
   Perfectly Pears

Paper:
   Darling Duckling A-2, 1-3/8" Scallop Circle
   Secret Sea 5-3/8 x 4-1/8
   Painterly Pears DSP 1 x 5-1/4, 3 x 5-1/4
   Basic White 1-1/4" Circle, 5-1/4 x 4 (Inside)

Ink:
   Secret Sea

Technique:
   CAS
   Punching

Accessories:
   1-1/4" Circle Punch
   1-3/8" Scallop Circle Punch
   Mossy Meadow & Gold Trim 6" Strips (3)
   Low-Profile Sparkle Dots
   Tear & Tape
   Dimensionals
   Adhesive

First, I cut a 4 x 5-1/4" panel of Painterly Pears DSP. I then cut 1" from the left side and flipped it. Since, the DSP is two-sided, both sides coordinate and complement each other. Note, I did include the size of both panels above, in case you are using two different DSP packs.

I then adhered both panels onto a Secret Sea matte.

Next, I cut three strips of the Mossy Meadow & Gold trim. I laid them onto the DSP panel and flipped the two outer strips. I added tear & tape on the trim to make it easy to attach. You can use glue dots or liquid adhesive as well. I did make sure the strips of trim butted up against each other to make it look like one piece.

I then adhered the panel onto a Darling Duckling card front.

Next, I stamped and punched the sentiment and adhered it onto a Darling Duckling Scallop Circle. I attached it onto the card front, using dimensionals.

Lastly, I added a few Low-Profile Sparkle Dots and adhered a Basic White panel to the inside of the card.

Thank you for dropping by here. Contact Me if you need anything.

Shop Now and take a look at items that are Exclusively Online! You do not want to miss them.

Did you know that Paper Pumpkin and the Kits Collection make the perfect gift? Heck, I say, gift yourself one today! Check them out.

Join Me and become part of my team. Take a look at today’s offering and see if it is for you.

Please share, like, pin, tweet, or comment. Do not forget to FOLLOW and SUBSCRIBE to my blog.

HAPPY STAMPING!

Sunday, March 24, 2024

Perennial Hugs

I was so glad I remembered to use the Hodgepodge Hardware that was collecting dust on my shelf. This sentiment fits perfectly inside the circle frame. Thoughts? 


Stamps:
   Perennial Postage

Paper:
   Fresh Freesia A-2
   Gorgeous Grape 5-3/8 x 4-1/8
   Perennial Lavender DSP 5-1/4 x 4, 1-1/2 x 4
   Basic White 1-1/8" Scallop Circle, 5-1/4 x 4 (Inside)

Ink:
   Gorgeous Grape

Technique:
   Punching

Accessories:
   Styled Silver Hodgepodge Hardware
   1-1/8" Scallop Circle Punch
   Adhesive

First, I stamped and punched the sentiment.

I then placed it into the hardware.

Next, I attached it to the center of the DSP strip, using the matching brads from the hardware box.

I then adhered this DSP strip to the center of the DSP panel.

Next, I adhered the panel to the Gorgeous Grape matte and then onto the Fresh Freesia card front.

Lastly, I added a Basic White panel to the inside of the card.

Thank you so much for dropping by here. Contact Me if you have any questions. 

Click on all of the tabs above and explore products, promotions, and opportunities.

Please take the time to share, like, pin, tweet, or comment. Do not forget to FOLLOW and SUBSCRIBE to my blog.

HAPPY STAMPING!

Saturday, October 16, 2021

Hello, Spring

This designer series paper (DSP) was perfect for an indoor wall. I used the ribbon as a wainscoting between the wallpapers. Having double-sided DSP allowed both panels to coordinate perfectly. The image was gifted to me by a fellow stamper. What do you think?


Stamps:
   Circle of Spring
   Unknown

Paper:
   Rose Red A-2
   Basic Black 5-3/8 x 4-1/8, 2 x 4, 1-1/2" Circle
   Very Vanilla 1-3/4 x 3-3/4, 1-1/4" Scallop Circle, 5-1/4 x 4 (Inside)
   Springtime Vintage DSP 5-1/4 x 4

Ink:
   Archival Basic Black
   Pink Pirouette

Copic Markers:
   Various (Personal Choice)

Technique:
   Sponging
   Punching

Accessories:
   16" Black Grosgrain Ribbon
   Flower Brad
   1-1/2" Circle Punch
   1-1/4" Scallop Circle Punch
   Sponge
   Dimensionals
   Adhesive

First, I cut my DSP panel at the 2" mark from the bottom. I flipped the bottom over and then adhered the two panels onto the Basic Black panel. 

Next, I tied a ribbon around it, hiding the seam. I made sure the bow would be on the right side. If you do not want a bow, just wrap the ribbon around the panel and secure it on the back.

I then adhered this panel onto the card front.

Next, I colored my image using various Copic markers that I had on hand. I used greens, since that was the color on my background.

I sponged this panel using Pink Pirouette. I then adhered it to a Basic Black matte.

I then stamped and sponged my sentiment. I adhered it to a circled Basic Black matte, added a pink flower brad from my stash, and attached it to the upper right-hand corner of my card front using dimensionals.

I attached the girl image to the left of the sentiment, using dimensionals, and adhered the other Very Vanilla panel to the inside of the card.

Thank you so much for stopping by here. Contact Me if you have any questions.

Shop Now and buy your supplies to make your own cards. Take a peek today and find out what you can grab for FREE!

Join Me and become my new team member. Enjoy the best savings and opportunity offered today!

Subscribe to Paper Pumpkin and craft monthly for under $25. Don't forget to take a look at the All-Inclusive Kits!

If you liked my card, please share, like, pin, tweet, or comment. I would love for you to FOLLOW and SUBSCRIBE to my blog. Let me know what you think in the comments below.

HAPPY STAMPING!

Wednesday, October 13, 2021

Kudos Pinwheel

Would you like to try a new fun fold technique? This one is perfect for your double-sided designer series paper (DSP). I found this technique to be easy. There is a tutorial for it at SCS: Pinwheel Fun Fold. Check it out and have some fun! 


Stamps:
   Perfectly Wrapped

Paper:
   Confetti Celebration DSP 8" Sq.
   Whisper White 4" Sq.
   Pistachio Pudding 4-1/8" Sq.

Ink:
   Archival Basic Black
   Pistachio Pudding

Technique:
   Pinwheel Fun Fold

Accessories:
   2-3/8" Scallop Circle Punch
   2" Circle Punch
   Basic Pearl Jewels
   Dimensionals
   Scoring Board
   Adhesive

I followed the tutorial from SplitCoastStampers: Pinwheel Fun Fold. Here is a picture of the inside of the card:


Thank you so much for spending time with me here. Contact Me if you have any questions.

Shop Now and take a look at all of our new products and current promotions. Please use the HOST CODE sitting in the right sidebar if you did not earn your own rewards.

Subscribe to Paper Pumpkin and keep your monthly cost below $25! Join Me and become my newest team member.

Either way, please share, like, pin, tweet, or comment. Do not forget to FOLLOW and SUBSCRIBE to my blog.

HAPPY STAMPING!

Friday, September 3, 2021

Birthday Card in a Box

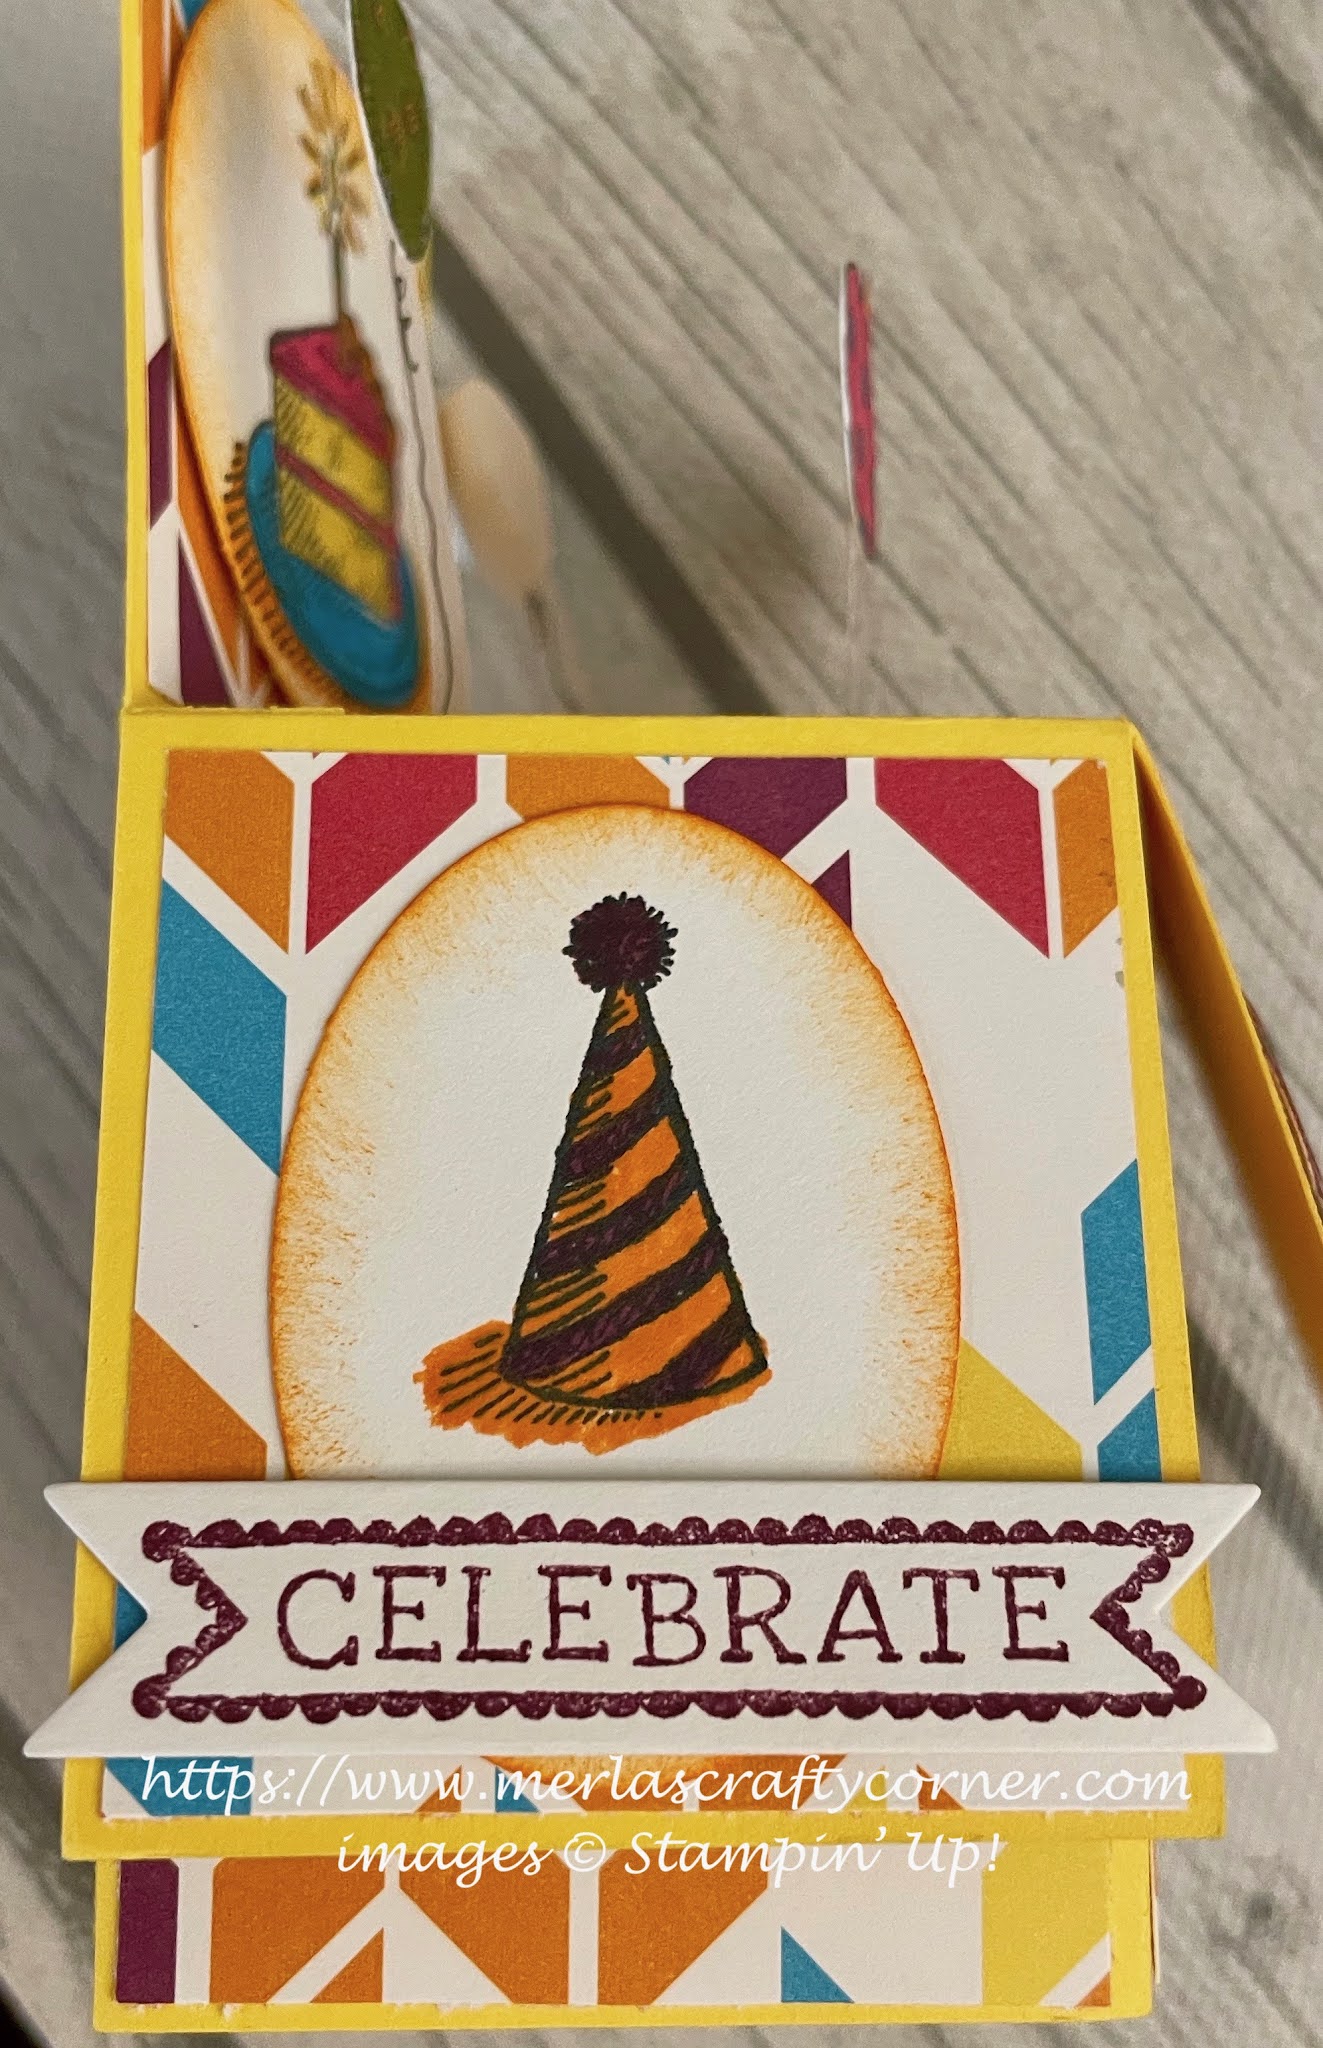
This pop-up card does take a bit of extra effort, but it's worthwhile to see the recipient's big smile. What do you think?


Stamps:
   Sketched Birthday

Paper:
   Daffodil Delight 9 x 5 (Box)
Score @ 2-1/8, 4-1/4, 6-3/8, 8-1/2, Turn & Score @ 2-1/8 - Cut small score lines *These are the flaps* Remove the small rectangle piece
3-1/8" Sq. Cut in half and score @ 1/2 & 2-5/8 - fold like a Z (These are the inserts that will hold the balloons on vellum
   Sweet Taffy DSP:
2 x 2-1/8 (4 pcs.) Small Squares - Flaps
2-5/8 x 2 (3 pcs.) Large Squares
4-3/4 x 1-7/8 - Long piece for the tall back
   Tempting Turquoise 4-7/8 x 2 Tall Back 
   Basic White Scraps (Sentiments & Images)
   Red Glitter 1-3/4" Scallop Circle
   Vellum 1/4" Strips (5 pcs. or 1 per balloon)

Ink:
   Pumpkin Pie
   Rich Razzleberry
   Tuxedo Black Memento

Markers:
   01 Archival Black Pen
   Daffodil Delight
   Melon Mambo
   Old Olive
   Pumpkin Pie
   Rich Razzleberry
   Tempting Turquoise

Technique:
   Pop-Up Box Card:
Pop-Up Box Card Tutorial @ SCS

Accessories:
   1-1/4" Circle Punch
   1-3/4" Scallop Punch
   2" Circle Punch
   Adhesive
   Bitty Banner Framelits
   Dimensionals
   Glue Dots
   Large Oval Punch
   Sponge
   Tacky Tape

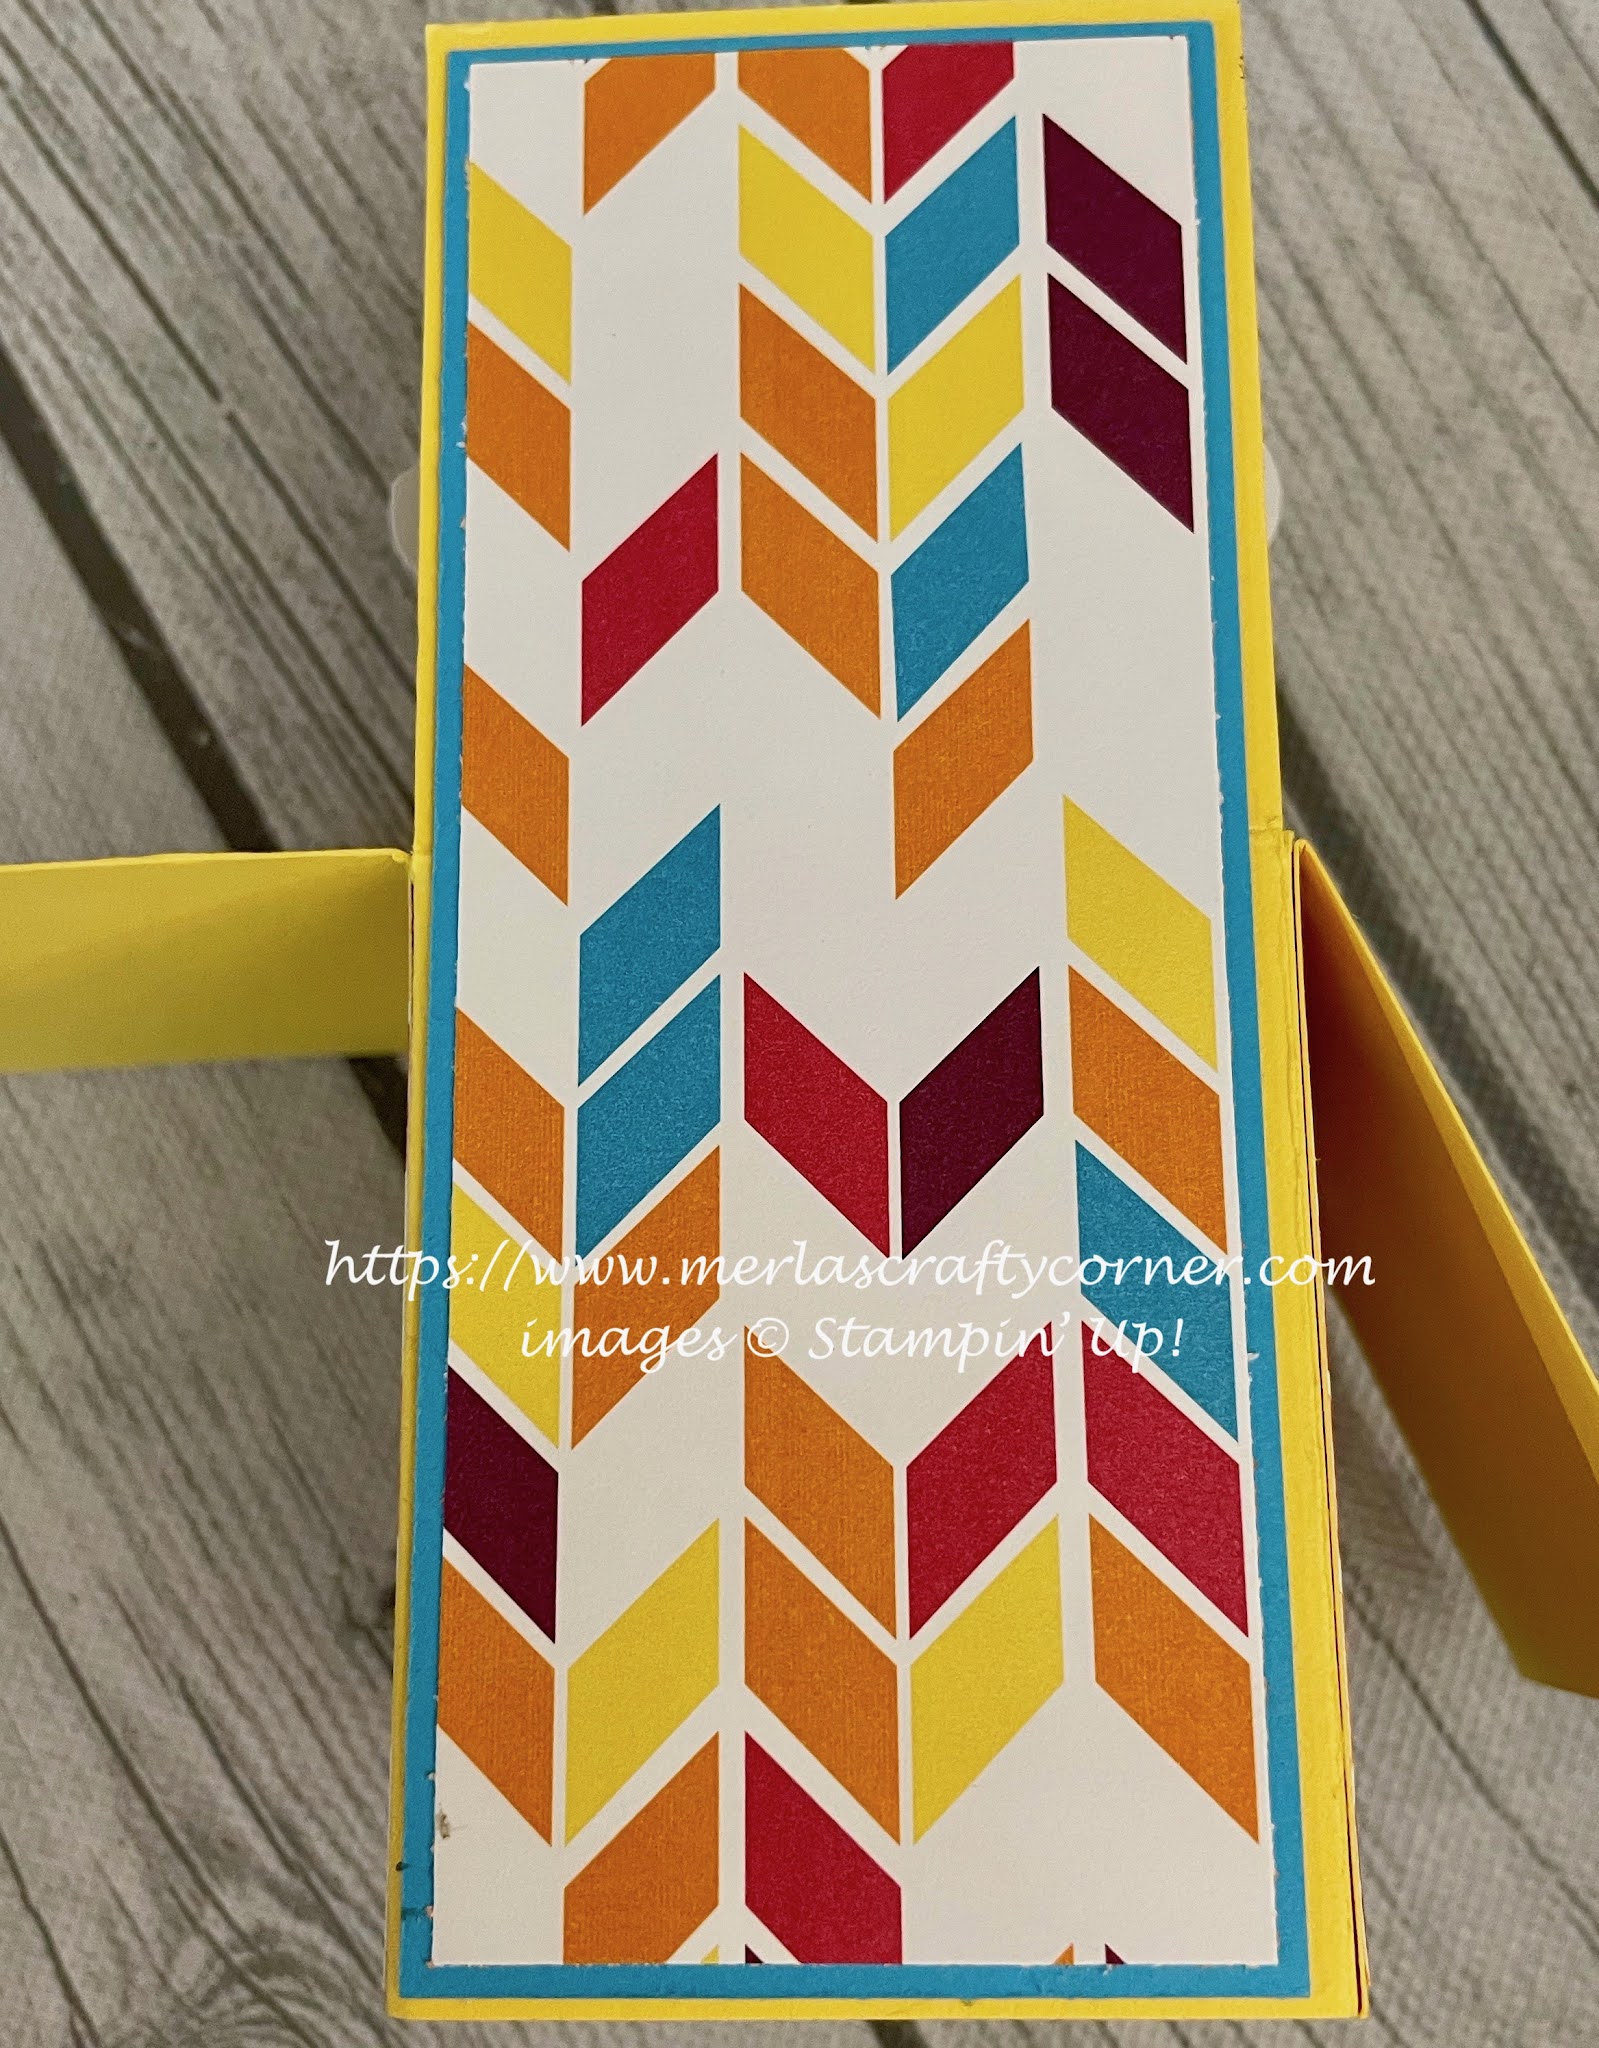
I have listed all of the products and supplies that I used on my card, but your best bet is to view the video and read the tutorial instructions found at SCS. Click on the link above. Here are a few more pictures of my card from different angles:


Left-side of Box Card


Back of the Box Card


Right-Side of Box Card


Front of the Box Card


Folded Box Card

This card does fold flat for mailing and fits in a regular A-2 size envelope.

Thank you for visiting. I do love company. Feel free to Contact Me if you have any questions.

Explore current products, promotions, and all of the opportunities. Just click on Shop Now. A HOST CODE is available in the right sidebar for those of you who do not earn your own rewards.

For those of you who like kits with everything you need to complete a project, we offer Paper Pumpkin. Your monthly cost is less than $25.

Join Me and become my newest team member. I look forward to meeting you.

Please take a minute to share, like, pin, tweet, or comment. Do not forget to FOLLOW and SUBSCRIBE to my blog.

HAPPY STAMPING!


Sunday, April 18, 2021

Picnic Apples

When was the last time you went on a picnic? There was a time when the outdoors was the place of preference. Of course, this was before air conditioning, and houses were built with windows that provided cross breezes. Here is a card with a bit of a picnic theme. What do you think?


Stamps:
   Teeny Tiny Wishes
   Studio Sketches

Paper:
   Green Galore A-2, Scraps
   Kaleidoscope DSP 5-1/4 x 4
   Whisper White 5-1/4 x 4 (Inside), Scraps

Ink:
   Tuxedo Black Memento

Blendabilities/Markers:
   Cherry Cobbler
   Old Olive

Technique:
   Punching

Accessories:
   1-1/2" Circle Punch
   1-3/4" Scallop Circle Punch
   White Tea Lace Doilies
   Gingham Ribbon
   Dimensionals
   Adhesive

First, I stamped, colored, and punched out my image.

I then adhered it to a Green Galore scalloped circle.

I adhered the DSP panel to the card front.

I adhered a half doily to the bottom half. I stamped the sentiment on the solid part of the doily.

I added some gingham ribbon to cover the edge of the doily. I did tag the ends of the ribbon before adhering it.

I then added the bowl of apples using dimensionals.

Lastly, I adhered the Whisper White panel to the inside of the card.

Thank you so much for dropping by here. Contact Me if you have any questions.

Click on all of the tabs above and explore products, promotions, and opportunities.

Please take the time to share, like, pin, tweet, or comment. Do not forget to FOLLOW and SUBSCRIBE to my blog.

HAPPY STAMPING!


Sunday, March 7, 2021

Celebrate Center 6x6#16

 You will need six pieces from the Playful Palette Designer Series Paper Stack to create this beauty. This is card 16 out of 30 using the Playful Palette Designer Series Paper Stack. What do you think?


Stamps:
   Itty Bitty Greetings

Paper:
   Peekaboo Peach A-2
   Playful Palette DSP 4 x 2 (2), 1-1/2" Sq. (4)
   Basic Black 1-3/8" Scallop Circle
   Very Vanilla 1-1/8" Scallop Circle
   Whisper White 5-1/4 x 4 (Inside)

Ink:
   Archival Basic Black

Technique:
   Punching

Accessories:
   1-1/8" Scallop Circle Punch
   1-3/8" Scallop Circle Punch
   Basic Black Rhinestone Jewels
   Dimensionals
   Adhesive

This card used Layouts #6 & #7:

Layout #6

Layout #7

First, I adhered the two 4 x 2 rectangles from Layout #7 onto my card base. I adhered one on the top and one on the bottom.

Next, I took the four 1-1/2" squares from Layout #6 and arranged them in the center of my card. I flipped two of the squares to the reverse side, since the DSP is double-sided.

I then stamped my sentiment and punched it out using the 1-1/8" scallop circle punch. I matted it with a Basic Black 1-3/8" scallop circle. The Whisper White panel was adhered to the inside of the card.

You can see a video showing all 30 cards at Merla's No Left-Over DSP Layouts.

Thank you so much for dropping by here. Contact Me if you have any questions.

Click on all of the tabs above and explore products, promotions, and opportunities.

Please take the time to share, like, pin, tweet, or comment. Do not forget to FOLLOW and SUBSCRIBE to my blog.

HAPPY STAMPING!