I like the look and feel of this color combination. I was somewhat skeptical of seeing these two together, but now I see how they work nicely together. Thoughts?
Welcome to my crafty corner where you can find and buy current Stampin' Up! products. I look forward to sharing my paper crafting experience and creations with all of you. I offer classes for beginners and card buffets for the more avid crafter. All of my creations sell for $5 each plus mailing. Click on each tab for more details. Don't forget to follow my blog, facebook, pinterest, instagram, and you tube channel. Happy Stamping!
Showing posts with label Grove Dies. Show all posts
Wednesday, June 21, 2023
Only Thanks
Stamps:
Biggest Wish
Paper:
Ballet Blue A-2, 3-1/2 x 5
Basic Black 5-3/8 x 4-1/8
Only Orange 5-1/4 x 4
Basic White 5-1/4 x 4 (Inside)
Ink:
Tuxedo Black Memento
Technique:
Die Cutting
CAS
Accessories:
Grove Dies
Black Rhinestone Jewels
Adhesive
First, I die cut the Grove silhouette in Ballet Blue, using the Grove Dies.
I then adhered it to the center of the Only Orange panel, then onto the Basic Black matte, and then onto the Ballet Blue card front.
Next, I stamped the sentiment in the opening of the grove, using Tuxedo Black Memento ink.
Lastly, I added a few black rhinestones and adhered the Basic White panel to the inside of the card.
Note that you can change the sentiment to suit your current needs.
Thank you so much for stopping by here and taking the time to peek at my latest creation. Contact Me for any further information.
If you have a few minutes, I suggest you Shop Now and check out all of our current deals. You don't want to kick yourself later for passing up the opportunity. There is a HOST CODE in the right sidebar if you care to use it.
If you want to feed your Crafty Bug that has been going around, subscribe to Paper Pumpkin. Check it out and see if it is for you.
Join Me and become my newest team member. It is the best deal around.
Please take some time to share, like, pin, tweet, or comment. I do appreciate all of your feedback. Don't forget to FOLLOW and SUBSCRIBE to my blog.
HAPPY STAMPING!
Tuesday, June 21, 2022
Mossy Grove
This stamp set is ideal for creating masculine scenes as well as having an appeal for all who cherish the outdoors. Thoughts?
Mossy Grove
Stamps:
Grassy Grove
Paper:
Soft Sea Foam A-2, Scraps
Simply Marbleous DSP 5-1/4 x 4
Basic White 5-1/4 x 4 (Inside), Scraps
Ink:
Cinnamon Cider
Mossy Meadow
Technique:
Die Cutting
Accessories:
Grove Dies
2020-2022 In-Color Enamel Dots
Dimensionals
Adhesive
First, I stamped and die cut the tall pines using Mossy Meadow on Soft Sea Foam card stock.
I then stamped and die cut a deer. I used Cinnamon Cider on a scrap of Basic White card stock.
Next, I stamped and die cut the grove using Mossy Meadow ink on Mossy Meadow card stock.
I adhered the DSP panel to the Soft Sea Foam card front. I attached the grove with dimensionals. I then adhered the trees and the deer with adhesive.
Lastly, I stamped the sentiment and added a couple of enamel dots. I adhered the Basic White panel to the inside of the card.
Here is another card using the same products, but a different layout:
Mossy Grove Too
Stamps:
Grassy Grove
Paper:
Soft Sea Foam A-2
Simply Marbleous DSP 5-1/4 x 2
Basic White 5-1/4 x 4 (2), Scraps
Ink:
Cinnamon Cider
Mossy Meadow
Technique:
Die Cutting
Accessories:
Grove Dies
2020-2022 In-Color Enamel Dots
Dimensionals
Adhesive
First, I stamped and die cut three sections of grass, using Cinnamon Cider on scraps of Basic White.
I then stamped and die cut a deer, using Cinnamon Cider on a scrap of Basic White card stock.
I then stamped and die cut the trees using Mossy Meadow on a scrap of Basic White cardstock.
Next, I adhered the strip of DSP onto the left side of a Basic White panel.
I then attached the three sections of grass using dimensionals. I snipped off the grass section that went past the panel on the left.
I adhered the deer and the trees using adhesive.
Lastly, I stamped the sentiment and added a few enamel dots. I adhered the other Basic White panel to the inside of the card.
Thank you so much for stopping by here and taking a quick look-see. If you have any questions or need my assistance, Contact Me.
Shop Now and take a look at all of our new products and current promotions. Please use the HOST CODE sitting in the right sidebar if you did not earn your own rewards.
If you want to craft, but keep your costs below $25 a month, check out Paper Pumpkin. It just might be what you are looking for at the moment.
Join Me and become the newest member of my team. Remember there are no hidden agendas or penalties for giving it a go. Don't pass this opportunity to save.
You've come this far, so please share, like, pin, tweet, or comment. I appreciate your time and efforts. Let me know your thoughts and leave all of your questions behind. Do not forget to FOLLOW and SUBSCRIBE to my blog.
HAPPY STAMPING!
Saturday, April 2, 2022
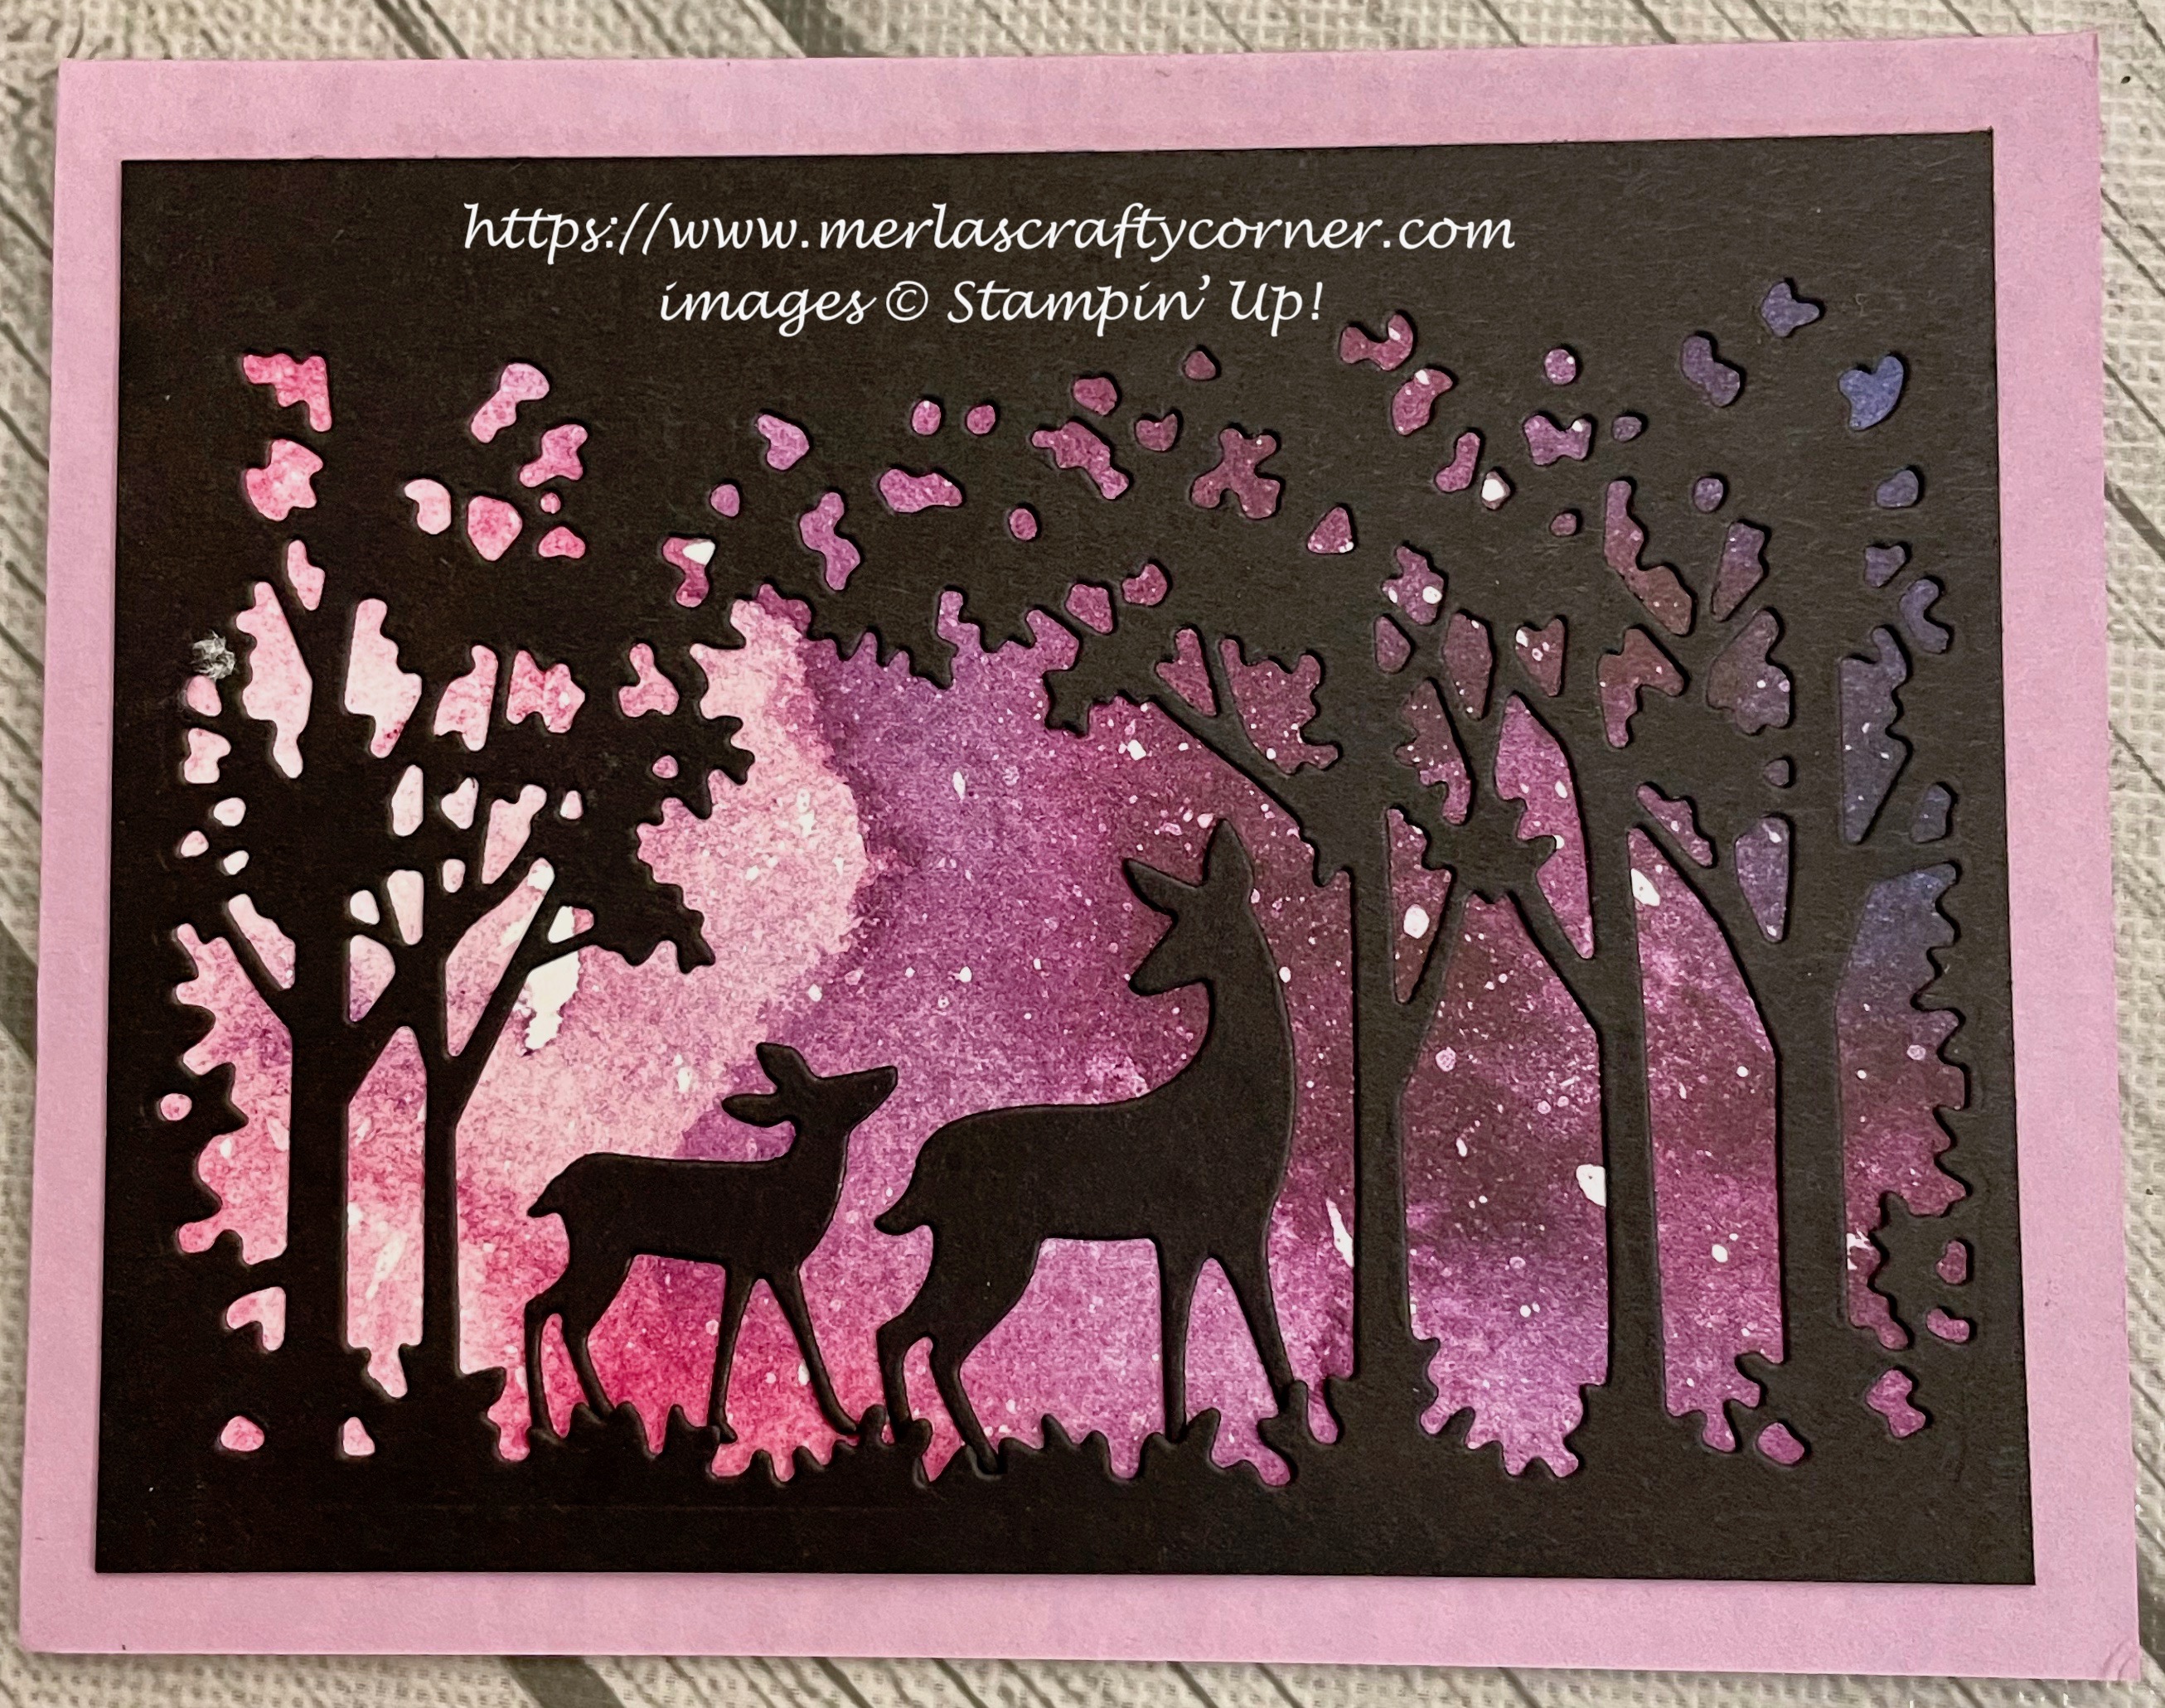
Midnight Grove
This die cut fills the whole card front. Add an animal or simply a sentiment in the center as a focal point. The choice is yours. What would you do? Ideas?
Stamps:
None
Paper:
Fresh Freesia A-2 or Basic White A-2
Basic Black 3-3/4 x 5, Scraps
New Horizons DSP 3-1/2 x 4-7/8
Basic White 5-1/4 x 4 (Inside)
Ink:
None
Technique:
Die Cutting
Accessories:
Grove Dies
Adhesive
First, I cut my paper to size.
I then die cut the grove and the deer. You can place one deer inside the center of the grove and then add a small scrap for the other deer.
Next, I adhered the grove to the DSP.
I added the deer and then adhered the white panel to the inside of the card.
Here is the same card using a Basic White card base and no DSP:
Midnight Grove Too
Thank you so very much for taking the time to stop and glance at my work. If you have any questions or suggestions, please Contact Me. I do appreciate your time.
If you need any supplies, or you are curious to know just how much these products cost, click on Shop Now and satisfy your curiosity. A HOST CODE is available for you to use in case you did not earn your own rewards. You can find it in the right sidebar.
Do you want the best value for your buck? Join Me and reap all of the rewards. I will be more than happy to assist you. Check it out and note that there are no hidden agendas.
Wait! Don't leave. If you just want to try it and see, then subscribe to Paper Pumpkin. You will receive a kit with everything you need to create a project. Check out the Kit Collection for more choices.
I would love for you to take a minute to share, like, pin, tweet, or comment. Please FOLLOW and SUBSCRIBE to my blog. Let me know what you think below in the comments.
HAPPY STAMPING!
Subscribe to:
Posts (Atom)