Showing posts with label Timeworn Type Embossing Folder. Show all posts

Sunday, April 14, 2024

Timeworn Delight

Sometimes I am able to create a card with scraps that are left-over from other projects. This card was created, using scraps on my table. No stamping was required on this one. Thoughts? 


Stamps:
   None

Paper:
   Parakeet Party A-2
   Basic Black 5-3/8 x 4-1/8
   Delightful Floral DSP 2-1/4 x 1-5/8, 1-3/4 x 1-5/8
   Berry Burst 3-3/4 x 2-1/4, 3-3/4 x 1-3/4
   Basic White 5-1/4 x 4 (Inside)

Ink:
   None

Technique:
   Dry Embossing

Accessories:
   Timeworn Type 3D Embossing Folder
   Butterfly Gems
   2022-2024 In-Color Pearls
   Adhesive

First, I dry embossed the Berry Burst pieces, using the Timeworn Type 3D Embossing Folder.

I then adhered the Berry Burst pieces onto the Basic Black panel, leaving a Basic Black gap in the middle of the two pieces.

Next, I adhered this panel onto the Parakeet Party card front.

I then adhered the DSP pieces onto the card front, covering the Basic Black gap in between the Berry Burst pieces. 

Lastly, I added a couple of Butterfly Gems, a Pearl, and adhered a Basic White panel to the inside of the card.

I chose to omit a sentiment or greeting, making this an all occasions card. Note: this layout is perfect for odd-sized pieces of DSP.

Thank you for stopping by here. Contact Me if you have questions or need anything Stampin' Up! related.

If you have a few minutes, Shop Now, and take a look at quality products and deals that may be happening today! There is a HOST CODE in the right sidebar, if you are interested.

If you like kits at your fingertips, then check out Paper Pumpkin and/or the Kits Collection. You will not regret it.

Want some company? Join Me and become a member of my team. I can't wait to meet you.

Please share, like, pin, tweet, or comment. Make sure you FOLLOW and/or SUBSCRIBE to my blog. This way you won't miss a thing!

HAPPY STAMPING!

Wednesday, March 6, 2024

Trust With All Your Heart

Stamp any sentiment that fits in the center of this beautiful floral frame. Thoughts? 


Stamp:
   Courage & Faith

Paper:
   Grapefruit Grove A-2
   Basic Black 5-3/8 x 4-1/8
   Petal Promenade DSP 3-5/16 x 4-7/8
   Basic White 5-1/4 x 4 (Inside)

Ink:
   Tuxedo Black Memento

Technique:
   CAS
   Dry Embossing

Accessories:
   Timeworn Type 3D Embossing Folder
   Gingham Gala Adhesive-Backed Sequins
   Adhesive

First, I stamped the sentiment in the center of the floral frame.

I then dry embossed the Basic Black panel, using the Timeworn 3D embossing folder.

Next, I adhered the stamped DSP panel to the center of the embossed Basic Black panel.

I then adhered this panel to the Grapefruit Grove card front.

Lastly, I added a few sequins and adhered a Basic White panel to the inside of the card.

Thank you for stopping to take a peek. Contact Me if you have any questions.

Click on Shop Now and browse through all things Stampin' Up! Start your wish list or order your favorites today. I included a HOST CODE for you to use if you like. Use it only if your product total is less than $150. You can find it in the right sidebar.

Join Me and get the best bang for your buck.

Do you want everything at your fingertips without having to look for it? Subscribe to Paper Pumpkin. Want more choices? Check out the Kit Collection.

One last thing, share, like, pin, tweet, or comment. Don't forget to FOLLOW and SUBSCRIBE to my blog. Okay, that was more than one thing.

HAPPY STAMPING!

Tuesday, February 20, 2024

Feel Good Wishes

This Petal Promenade DSP floral frame can be used for any occasion. You can choose any of the colors found in the florals to accentuate. I chose Grapefruit Grove. Thoughts? 


Stamps:
   Positive Thoughts

Paper:
   Grapefruit Grove A-2
   Basic Black 5-3/8 x 4-1/8
   Petal Promenade DSP 4-13/16 x 3-1/4
   Basic White 5-1/4 x 4 (Inside)

Ink:
   Tuxedo Black Memento

Technique:
   CAS
   Dry Embossing

Accessories:
   Timeworn Type 3D Embossing Folder
   Gingham Gala Adhesive-Backed Sequins
   Adhesive

First, I cut the DSP floral frame from the DSP 12 x 12 sheet.

I then stamped the sentiment in the center of the frame, using Tuxedo Black Memento ink.

Next, I dry embossed the Basic Black panel, using the Timeworn Type 3d Embossing folder.

I then adhered the DSP panel to the center of the embossed Basic Black panel, and then onto the Grapefruit Grove card front.

Lastly, I added a few Gingham Gala Adhesive-Backed Sequins to the card front and adhered a Basic White panel to the inside of the card.

I thank you so much for stopping by here and checking out my card today. I do hope you liked it. Contact Me if you need more information.

If you would like to Shop Now, Stampin' Up! is always offering something special, especially for online shoppers. There are items that are advertised only online, so check it out. You don't want to miss out on these wonderful items.

The Kits Collection is always exciting. New Kits are introduced online and are available while supplies last. Prices vary, depending on the kit. You don't want to miss Paper Pumpkin. It is what I enjoy each month. Take a peek!

Join Me and cash in for the best deal available. No fine print to miss. Check it out and see if it may be for you.

Please take a few more minutes to share, like, pin, tweet, or comment. Don't forget to FOLLOW and SUBSCRIBE to my blog.

HAPPY STAMPING!

Monday, February 12, 2024

Pretty Peacock Butterflies

Here is a great layout to use up a few of those odd size left-over designer series paper scraps. They make excellent backgrounds, but the focus is still on the sentiment. Thoughts? 


Stamps:
   Thoughtful Expressions

Paper:
   Calypso Coral A-2
   Delightful Floral DSP 2-1/4 x 3-5/8, 1-3/4 x 3-5/8
   Berry Burst 2-1/4 x 1-1/2, 1-3/4 x 1-1/2
   Pretty Peacock 3" Sq.
   Basic White 2-1/2" Sq., 5-1/4 x 4 (Inside)

Ink:
   Pretty Peacock

Technique:
   Dry Embossing
   Die Cutting

Accessories:
   Thoughtful Expressions Dies
   Timeworn Type 3D Embossing Folder
   Butterfly Gems
   Polished Dots
   Adhesive

First, I stamped and die cut the sentiment and its matte, using the square pieces of cardstock, Pretty Peacock ink, and the Thoughtful Expressions Dies. 

I then adhered the Basic White sentiment onto the Pretty Peacock matte and set it aside.

Next, I placed the Berry Burst pieces and the DSP pieces on the Calypso Coral card front to make sure I was matching them up correctly. Note that each piece allows a little of the Calypso Coral card front to show around it.

I then adhered the two DSP strips onto the card front.

Next, I dry embossed the two Berry Burst pieces, using the Timeworn Type 3D Embossing Folder. You may want to make sure the script is flowing in the correct direction.

I then adhered these onto the card front.

I added the sentiment, using adhesive, but you can easily raise it a bit with dimensionals if you wish.

Lastly, I added a couple of butterflies and adhered a Basic White panel to the inside of the card.

Thanks so much for reading through my blog today. Contact Me if I can answer anything for you, or if you would like to buy any of my cards.

If you would like to buy your own products and make your own cards, click on Shop Now and browse current merchandise. I have placed a HOST CODE for you to use if you do not earn any rewards on your own. It is located in the right sidebar.

Our monthly subscription to Paper Pumpkin is affordable and flexible. The cost is less than $25 monthly. Check out the Kits Collection for more options at varying prices.

Join Me and become part of a team. Check out the benefits and decide if it is for you.

Please share, like, pin, tweet, or comment. Don't forget to FOLLOW and SUBSCRIBE to my blog.

HAPPY STAMPING!

Tuesday, September 12, 2023

Country Hello

Wave hello to a friend with this clean and simple card. Of course, it's easy to send any sentiment or greeting with this layout. Who on your list would receive this card? 


Stamps:
   Biggest Wish

Paper:
   Early Espresso A-2
   Country Lane DSP 5-1/4 x 4
   Mint Macaron 2-1/4" Sq.
   Basic White 2-1/4" Sq., 5-1/4 x 4 (Inside)

Ink:
   Early Espresso
   Sweet Sorbet

Technique:
   Dry Embossing
   Sponging

Accessories:
   Timeworn Type 3D Embossing Folder
   Sponge
   Adhesive

First, I adhered the Country Lane DSP panel onto the Early Espresso card front.

I then dry embossed the Basic White square, using the Timeworn Type 3D embossing folder, and sponged it with a bit of Early Espresso ink.

I stamped the Mint Macaron square with my sentiment, using Sweet Sorbet ink.

Next, I adhered the squares onto the card front as shown on the image above. The squares overlap each other with the Mint Macaron square on top of the Basic White embossed square. I did make sure the corners were not extending over the card front.

Lastly, I adhered the Basic White panel to the inside of the card.

You may choose to embellish the card with ribbon, gems, or a trinket of some sort. I chose to keep it clean and simple.

Thank you for taking a peek. Please Contact Me for further information on Stampin' Up! or if you have questions.

Shop Now and browse our current products and promotions. There is a HOST CODE located in the right sidebar if your order is less than $150. Of course, you do not have to use it, but I would appreciate it.

Do you have the crafting bug? Subscribe to Paper Pumpkin and receive a monthly dose. The cost is less than $25, and you can buy it, skip it, or stop it. I must warn you. It can be addictive! I can't seem to stop!

Join Me and become a member of my team. Check out the benefits and gain the best value for your money.

Don't forget to share, like, pin, tweet, or comment. Make sure to FOLLOW and SUBSCRIBE to my blog.

HAPPY STAMPING!

Monday, June 6, 2022

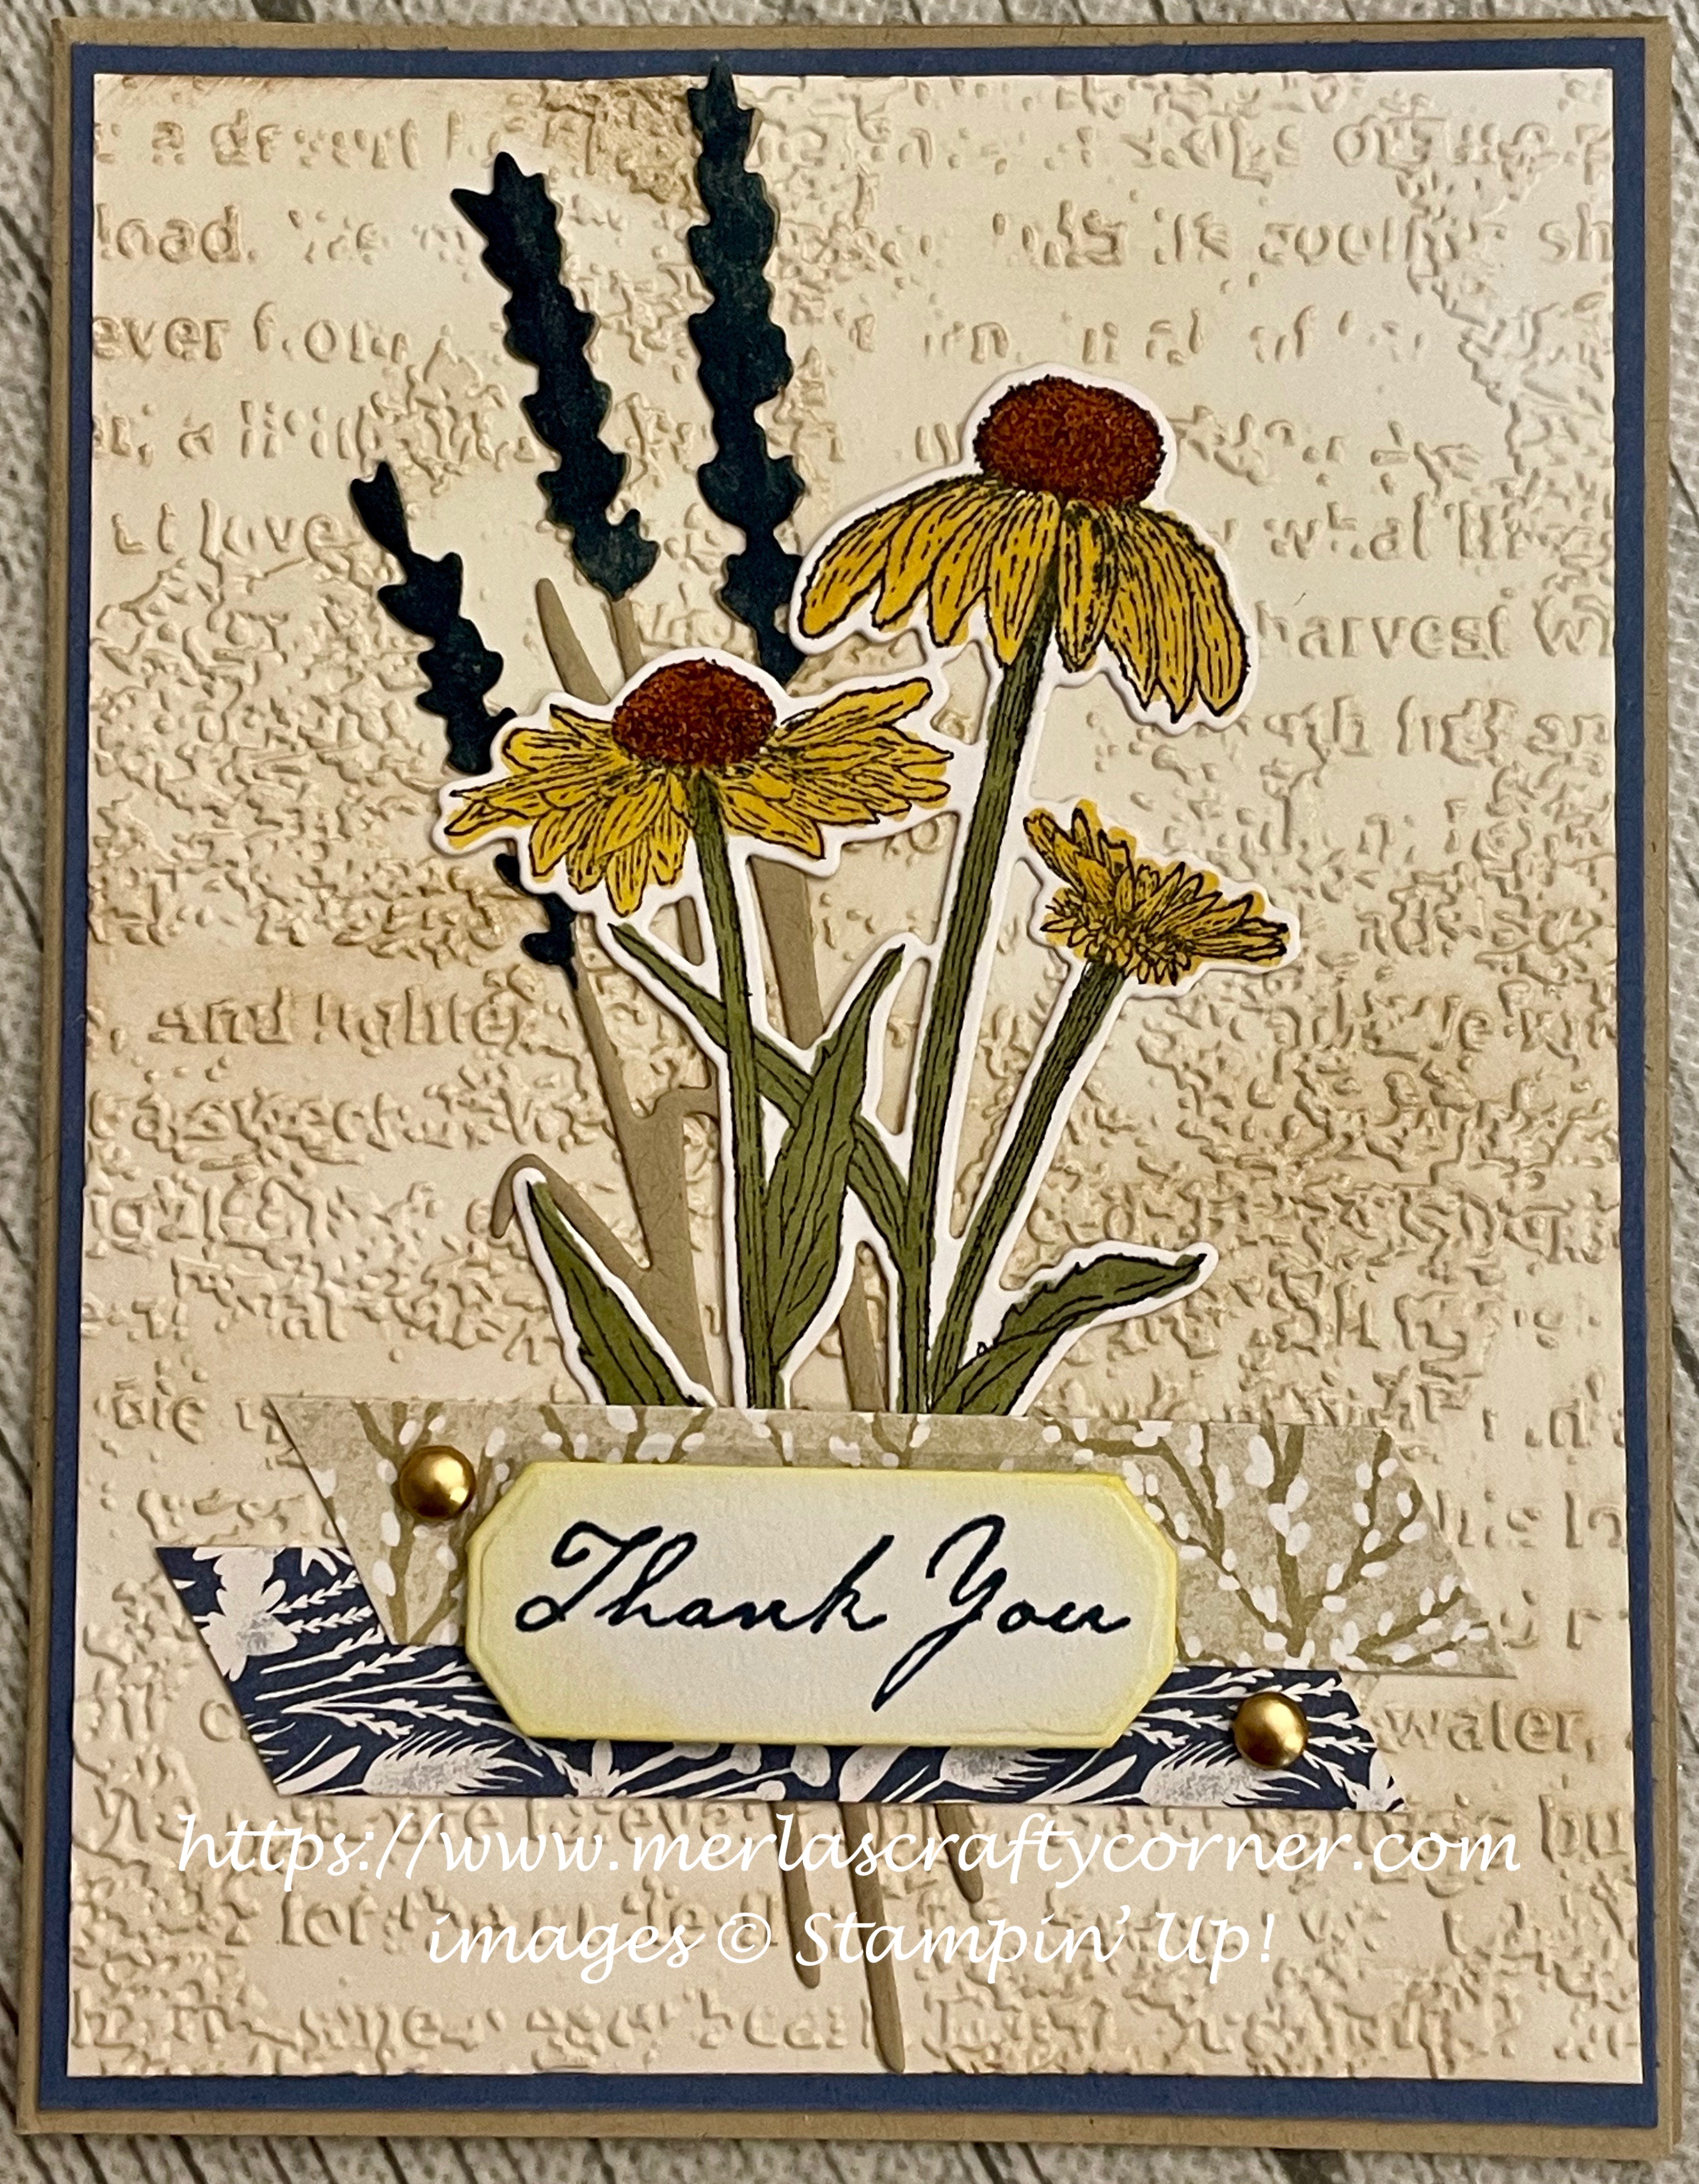
Harvest Thank You

Although I made a few changes, this card is Amy's creation. I changed the card base, added a Misty Moonlight matte, changed the metallic dots, and left off the linen thread. You can see Amy's card HERE. What do you think? 


Stamps:
   Nature's Harvest

Paper:
   Crumb Cake A-2, 5-1/2 x 1-1/2 (Die Cut)
   Misty Moonlight 5-3/8 x 4-1/8 
   Basic White 5-1/4 x 4 (2), 2-3/4 x 4, 2-1/4 x 1 (tag)
   Harvest Meadow DSP 3-1/2 x 5/8 (2)

Ink:
   Daffodil Delight
   Misty Moonlight
   Soft Suede
   Tuxedo Black Memento

Markers:
   Cajun Craze
   Daffodil Delight
   Misty Moonlight
   Old Olive

Technique:
   Die Cutting
   Dry Embossing
   Blending Brush/Sponging

Accessories:
   Timeworn Type 3D Embossing Folder
   Harvest Dies
   Brushed Metallic Dots
   Blending Brush/Sponge
   Dimensionals
   Stampin' Seal+
   Adhesive

First, I dry embossed the Basic White panel and used my blending brush to add some Crumb Cake ink.

I then stamped, die cut, and colored the florals. 

Next, I arranged them on the Basic White panel and adhered them using glue dots.

I snipped the ends of the two DSP pieces and added them onto the Basic White panel using Stampin' Seal+.

I then stamped and die cut my sentiment and added it to the Basic White panel.

I adhered the embossed panel to the Misty Moonlight matte, and then onto the card front.

Lastly, I added the Brushed Metallic Dots and adhered the other Basic White panel to the inside of the card.

Thank you so much for stopping by here and spending a few minutes of your day with me. I appreciate your time. Contact Me if you have any questions, need a demonstrator, or just want to stamp or share ideas.

Shop Now and enjoy browsing products and promotions. I have a HOST CODE in the right sidebar in case you did not earn your own rewards.

Do not miss the opportunity to Join Me and become the newest member of my team. 

Paper Pumpkin should not be ignored. I enjoy putting my kit together monthly.

Take a few more minutes and share, like, pin, tweet, or comment. I would love to see what you really think. Do not forget to FOLLOW and SUBSCRIBE to my blog.

HAPPY STAMPING!

Saturday, August 7, 2021

Casual Coneflower

A casual stamper likes to take things up a notch. This type of stamper will use the basics: stamps, ink, and paper. Then they are ready to tap their genius. The casual stamper likes layers and embellishments mixed with a technique or two. Are you sometimes a casual stamper?


Stamps:
   Nature's Harvest

Paper:
   Basic Black A-2, 1-3/4 x 4-3/4
   Whisper White 5-1/4 x 4 (2), Scrap
   Cork Specialty Paper 1 x 4

Ink:
   Archival Basic Black
   Soft Suede

Technique:
   Die Cutting
   Dry Embossing
   Blending Brush/Sponging

Accessories:
   Harvest Dies
   Timeworn Type 3D Embossing Folder
   Brushed Metallic Self-Adhesive Dots
   Blending Brush/Sponge
   Dimensionals
   Adhesive

First, I dry embossed the Whisper White panel using the Timeworn Type 3D Embossing Folder. I then added some Soft Suede ink using a blending brush. 

I then die cut a coneflower in Basic Black.

I stamped my sentiment on a tag that was left-over from a Paper Pumpkin kit. 

I then adhered the strip of Cork Specialty paper to the lower half of the embossed panel.

This panel was then adhered to the Basic Black card front.

Using liquid adhesive, I attached the coneflower to the card front and then added my sentiment using dimensionals.

Lastly, I added a few Brushed Metallic Dots and adhered the other Whisper White panel to the inside of the card.

Thank you so much for stopping by here. Contact Me if you have any questions.

Shop Now and buy your supplies to make your own cards. Take a peek today and find out what you can grab for FREE!

Join Me and become my new team member. Enjoy the best savings and opportunity offered today!

Subscribe to Paper Pumpkin and craft monthly for under $25. Don't forget to take a look at the All-Inclusive Kits!

If you liked my card, please share, like, pin, tweet or comment. I would love for you to FOLLOW and SUBSCRIBE to my blog. Let me know what you think in the comments below. 

HAPPY STAMPING!