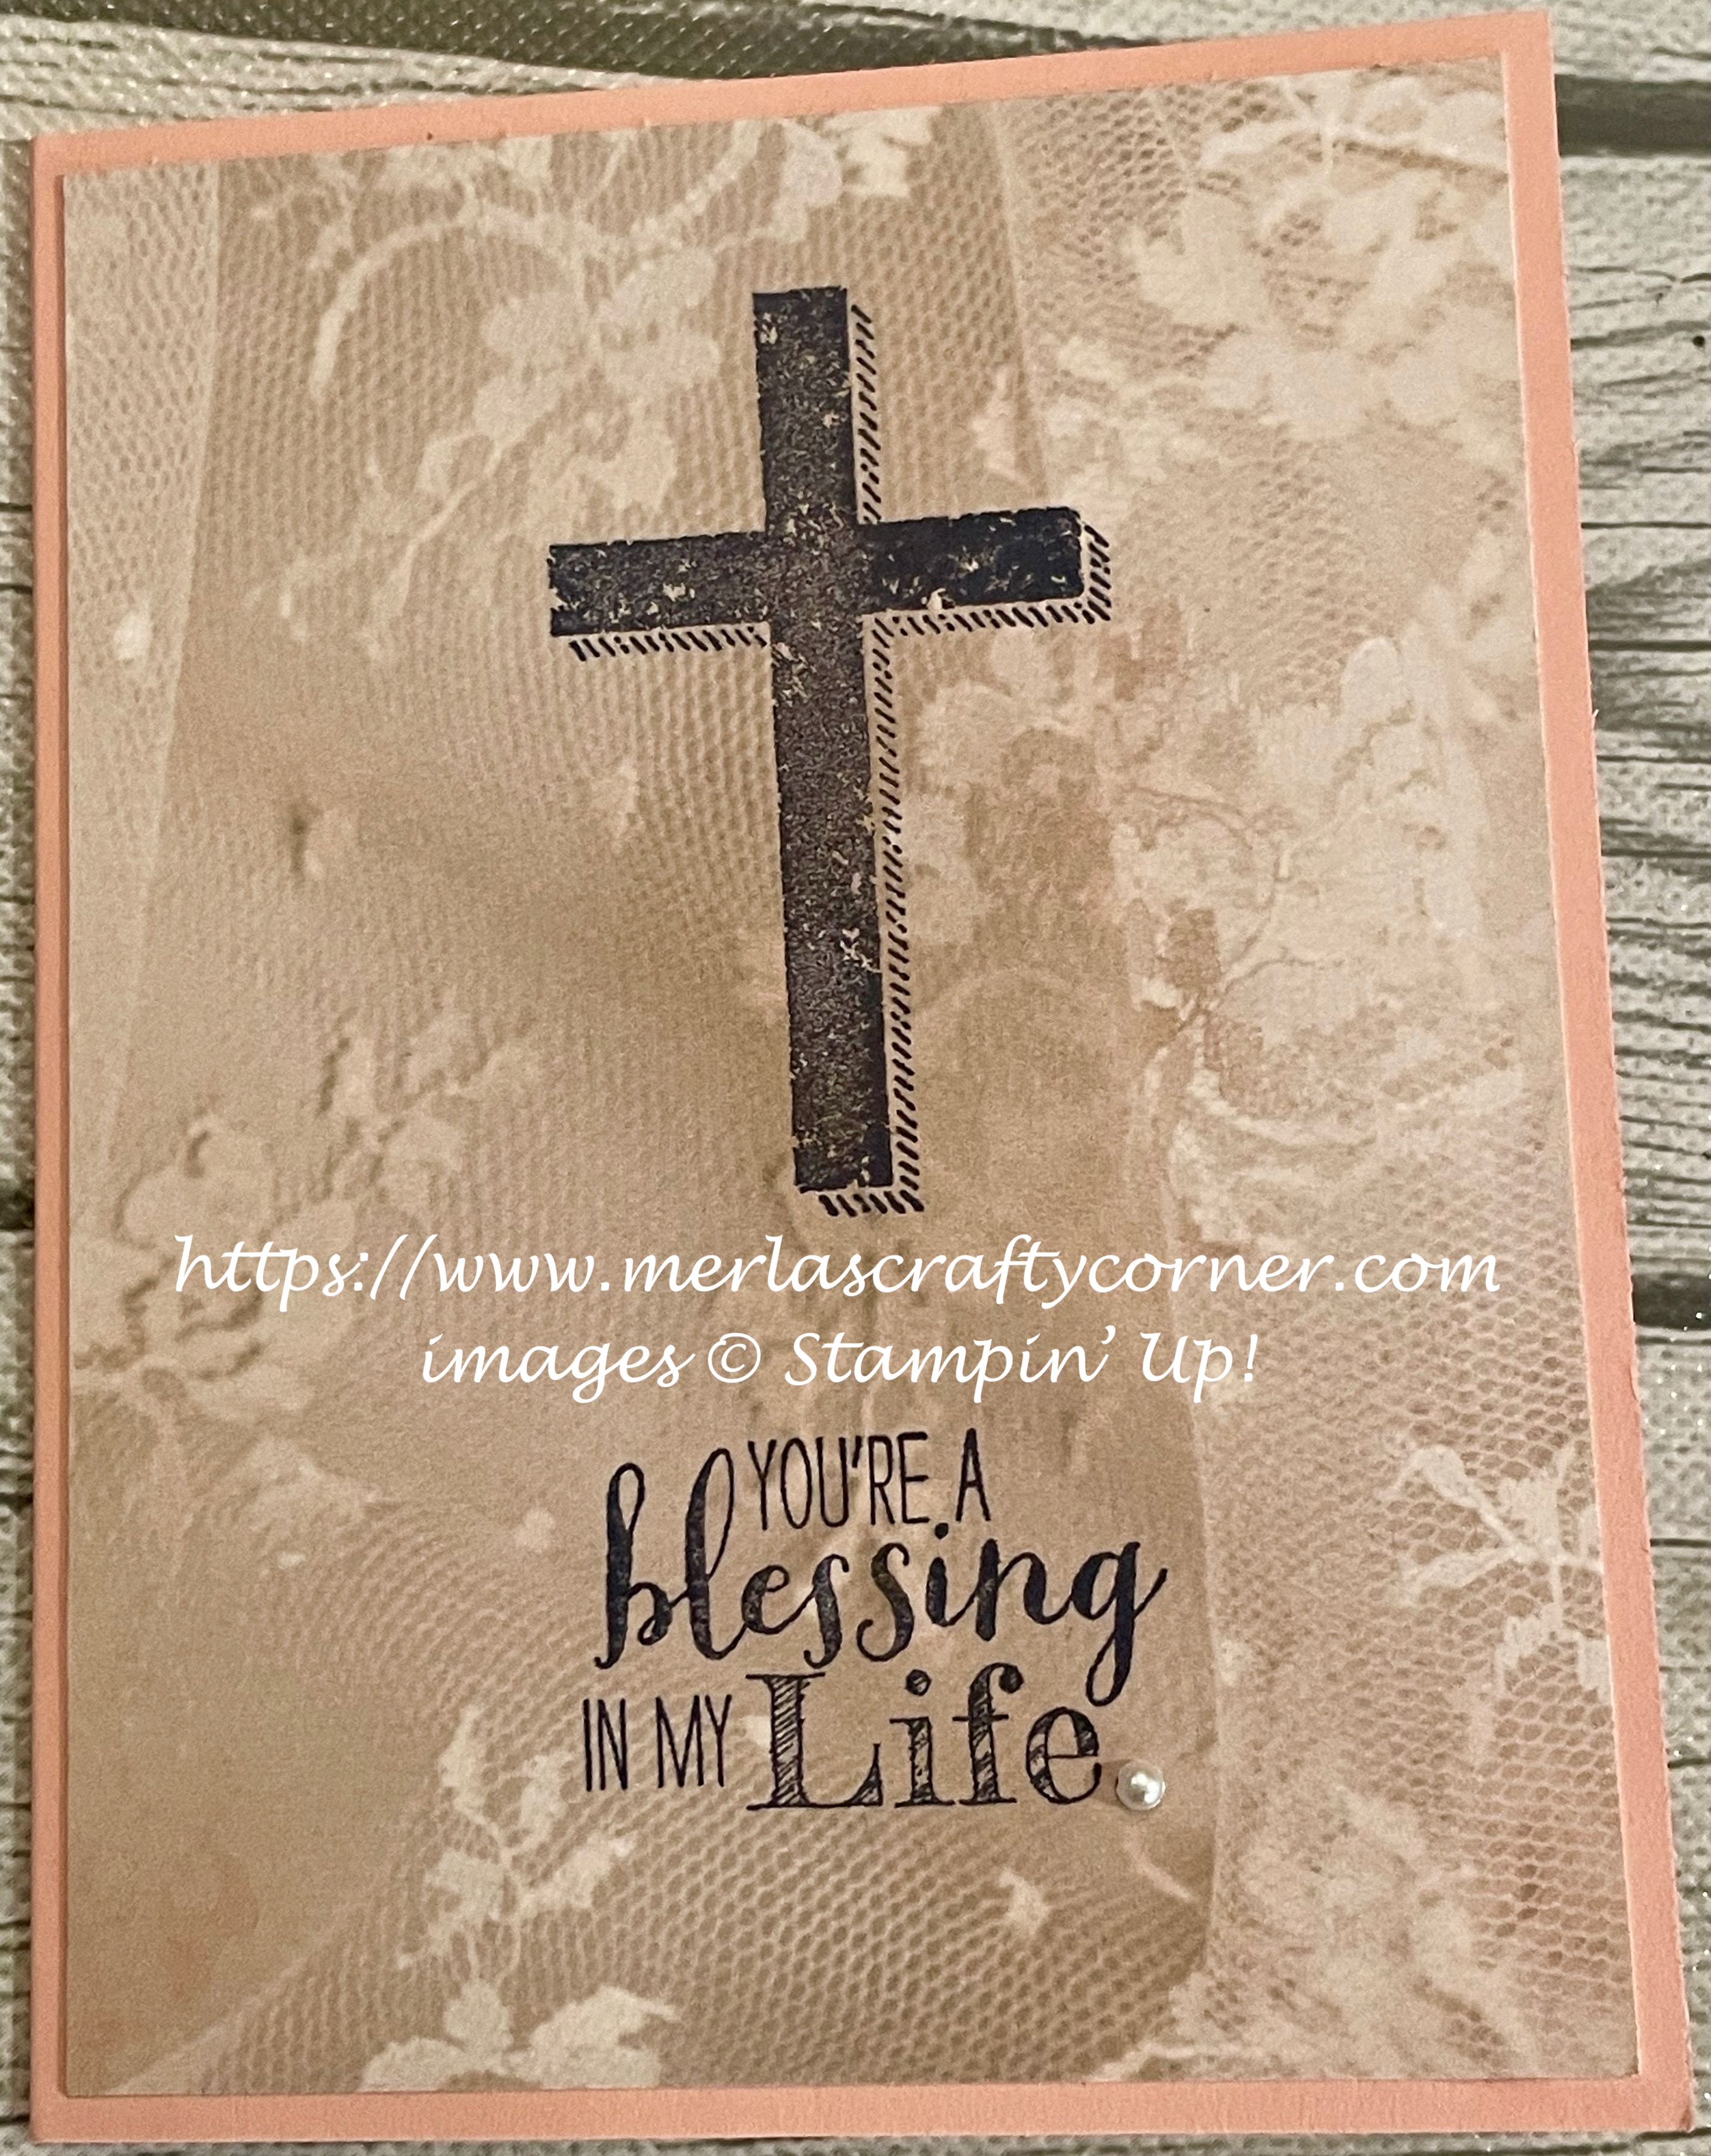
A blurry background allows the onlooker to focus on the main image and sentiment. Therefore, I was able to stamp directly onto the designer series paper. Thoughts?

Blushing Rose
Stamps:
Quiet Meadow
Rose Wonder
Paper:
Blushing Bride A-2
Sahara Sand 5-3/8 x 4-1/8
Falling in Love DSP 5-1/4 x 4
Very Vanilla 5-1/4 x 4 (Inside)
Ink:
Sahara Sand
Sweet Sugarplum
Markers:
Daffodil Delight
Pear Pizzazz
Sahara Sand
Sweet Sugarplum
Technique:
Coloring
Accessories:
Frosted Flower Embellishments
Adhesive
First, I stamped my sentiment on the top of the Falling in Love DSP, using the Rose Wonder stamp set and Sweet Sugarplum ink.
I then stamped the floral images from the Quiet Meadow stamp set, using Sahara Sand.
Next, I colored the images using my markers:
Flower Centers - Daffodil Delight
Flower Petals - Sweet Sugarplum
Stems - Sahara Sand
Leaves - Pear Pizzazz
I then adhered the DSP panel onto a Sahara Sand matte, and then onto the Blushing Bride card front.
I then added a Frosted Flower Embellishment on each side of the sentiment.
Lastly, I adhered a Very Vanilla panel to the inside of the card.
Here is another card I made, using the same products:

Blushing Rose Too
Thank you immensely for your time. I know how precious it can be. Please Contact Me if you need anything Stampin' Up! or if you have any questions.
Click on Shop Now and take a look at some quality products. Investing in your craft is a no-brainer. I have included a HOST CODE for those of you who enjoy ordering only one or two items. It is located in the right sidebar. Of course, if your product total is more than $150, enjoy your rewards.
Of course, the best value for your dollar is joining the Stampin' Up! family. Just click on Join Me and check out the benefits.
Let's not forget Paper Pumpkin. If you want to craft on the go, or you like to keep things small and low-key, check it out. The kit includes all you need.
Please take a minute or two to share, like, pin, tweet, or comment. Don't forget to FOLLOW and SUBSCRIBE to my blog.
HAPPY STAMPING!