I chose to place a dimensional under the right wing of the dove, giving it some dimension. I also added some clear Wink of Stella, allowing the wings to sparkle. Thoughts?
Welcome to my crafty corner where you can find and buy current Stampin' Up! products. I look forward to sharing my paper crafting experience and creations with all of you. I offer classes for beginners and card buffets for the more avid crafter. All of my creations sell for $5 each plus mailing. Click on each tab for more details. Don't forget to follow my blog, facebook, pinterest, instagram, and you tube channel. Happy Stamping!
Monday, June 30, 2025
Dove in Flight
Sunday, June 29, 2025
Irresistible Dream
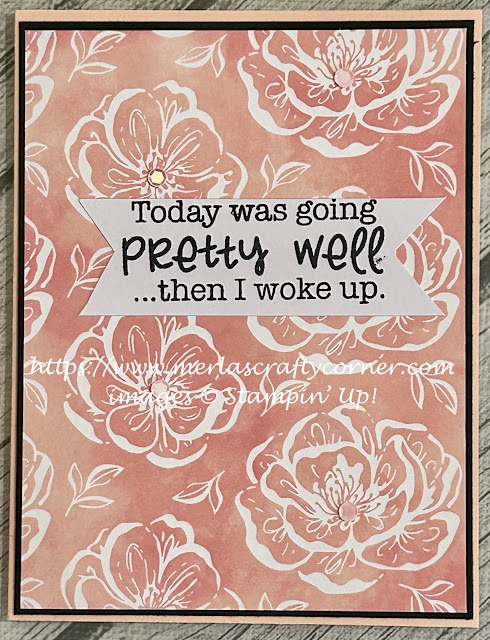
Beautiful paper does not need much to dress it. Here, I just added a few sequins and words. Thoughts?
Saturday, June 28, 2025
Kinda Simple
You can easily change the sentiment on this card to suit your needs. If you need a masculine card, just leave off the sequins. Thoughts?
Friday, June 27, 2025
Glimmery Garden
Here is a fun way to use the leftover strips of designer series paper. I matted each strip to make it sturdier. I also chose to use a strip of glimmer paper between them to add a bit of pizzazz. What do you think?
Thursday, June 26, 2025
Favored Petals
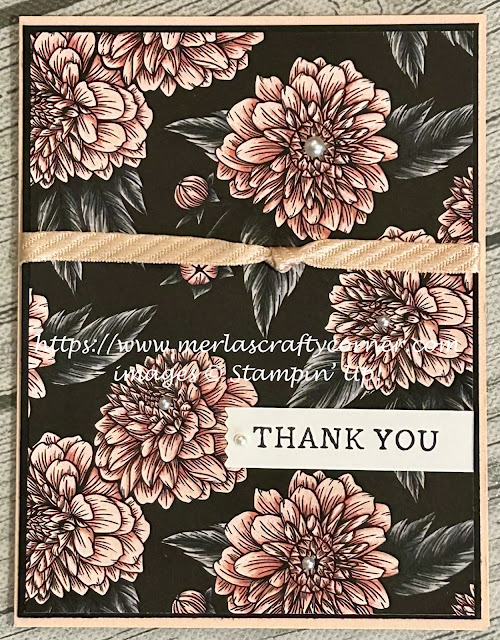
The black etching on the petals and leaves definitely pulls the onlookers attention. Thoughts?
Wednesday, June 25, 2025
Simple Birthday
This is a nice layout to use some of your smaller leftover designer series paper pieces. Thoughts?
Tuesday, June 24, 2025
Mixed Up
I like the hint of colors on the various floral images. I use this same coloring technique on my cards quite often. Thoughts?
Monday, June 23, 2025
Birthday Refresh
I do like the black etching on the rose petals and leaves. I think it really draws in your attention. What do you think?
Sunday, June 22, 2025
Blackberry Pansies
Not only can pansies be found in a variety of colors, but they can be seen in many variations within a color family. So, if you are looking for color, choose pansies! Thoughts?
Saturday, June 21, 2025
Lemon Daisy
Arrange leftover designer series paper scraps in different ways to adorn a card front. Mix and match different patterns, colors, and packs. Add a few embellishments and a sentiment if you wish. Voila! You have a handmade card! Thoughts?


