Friday, March 5, 2021

Cupcake Special 6x6#10&11

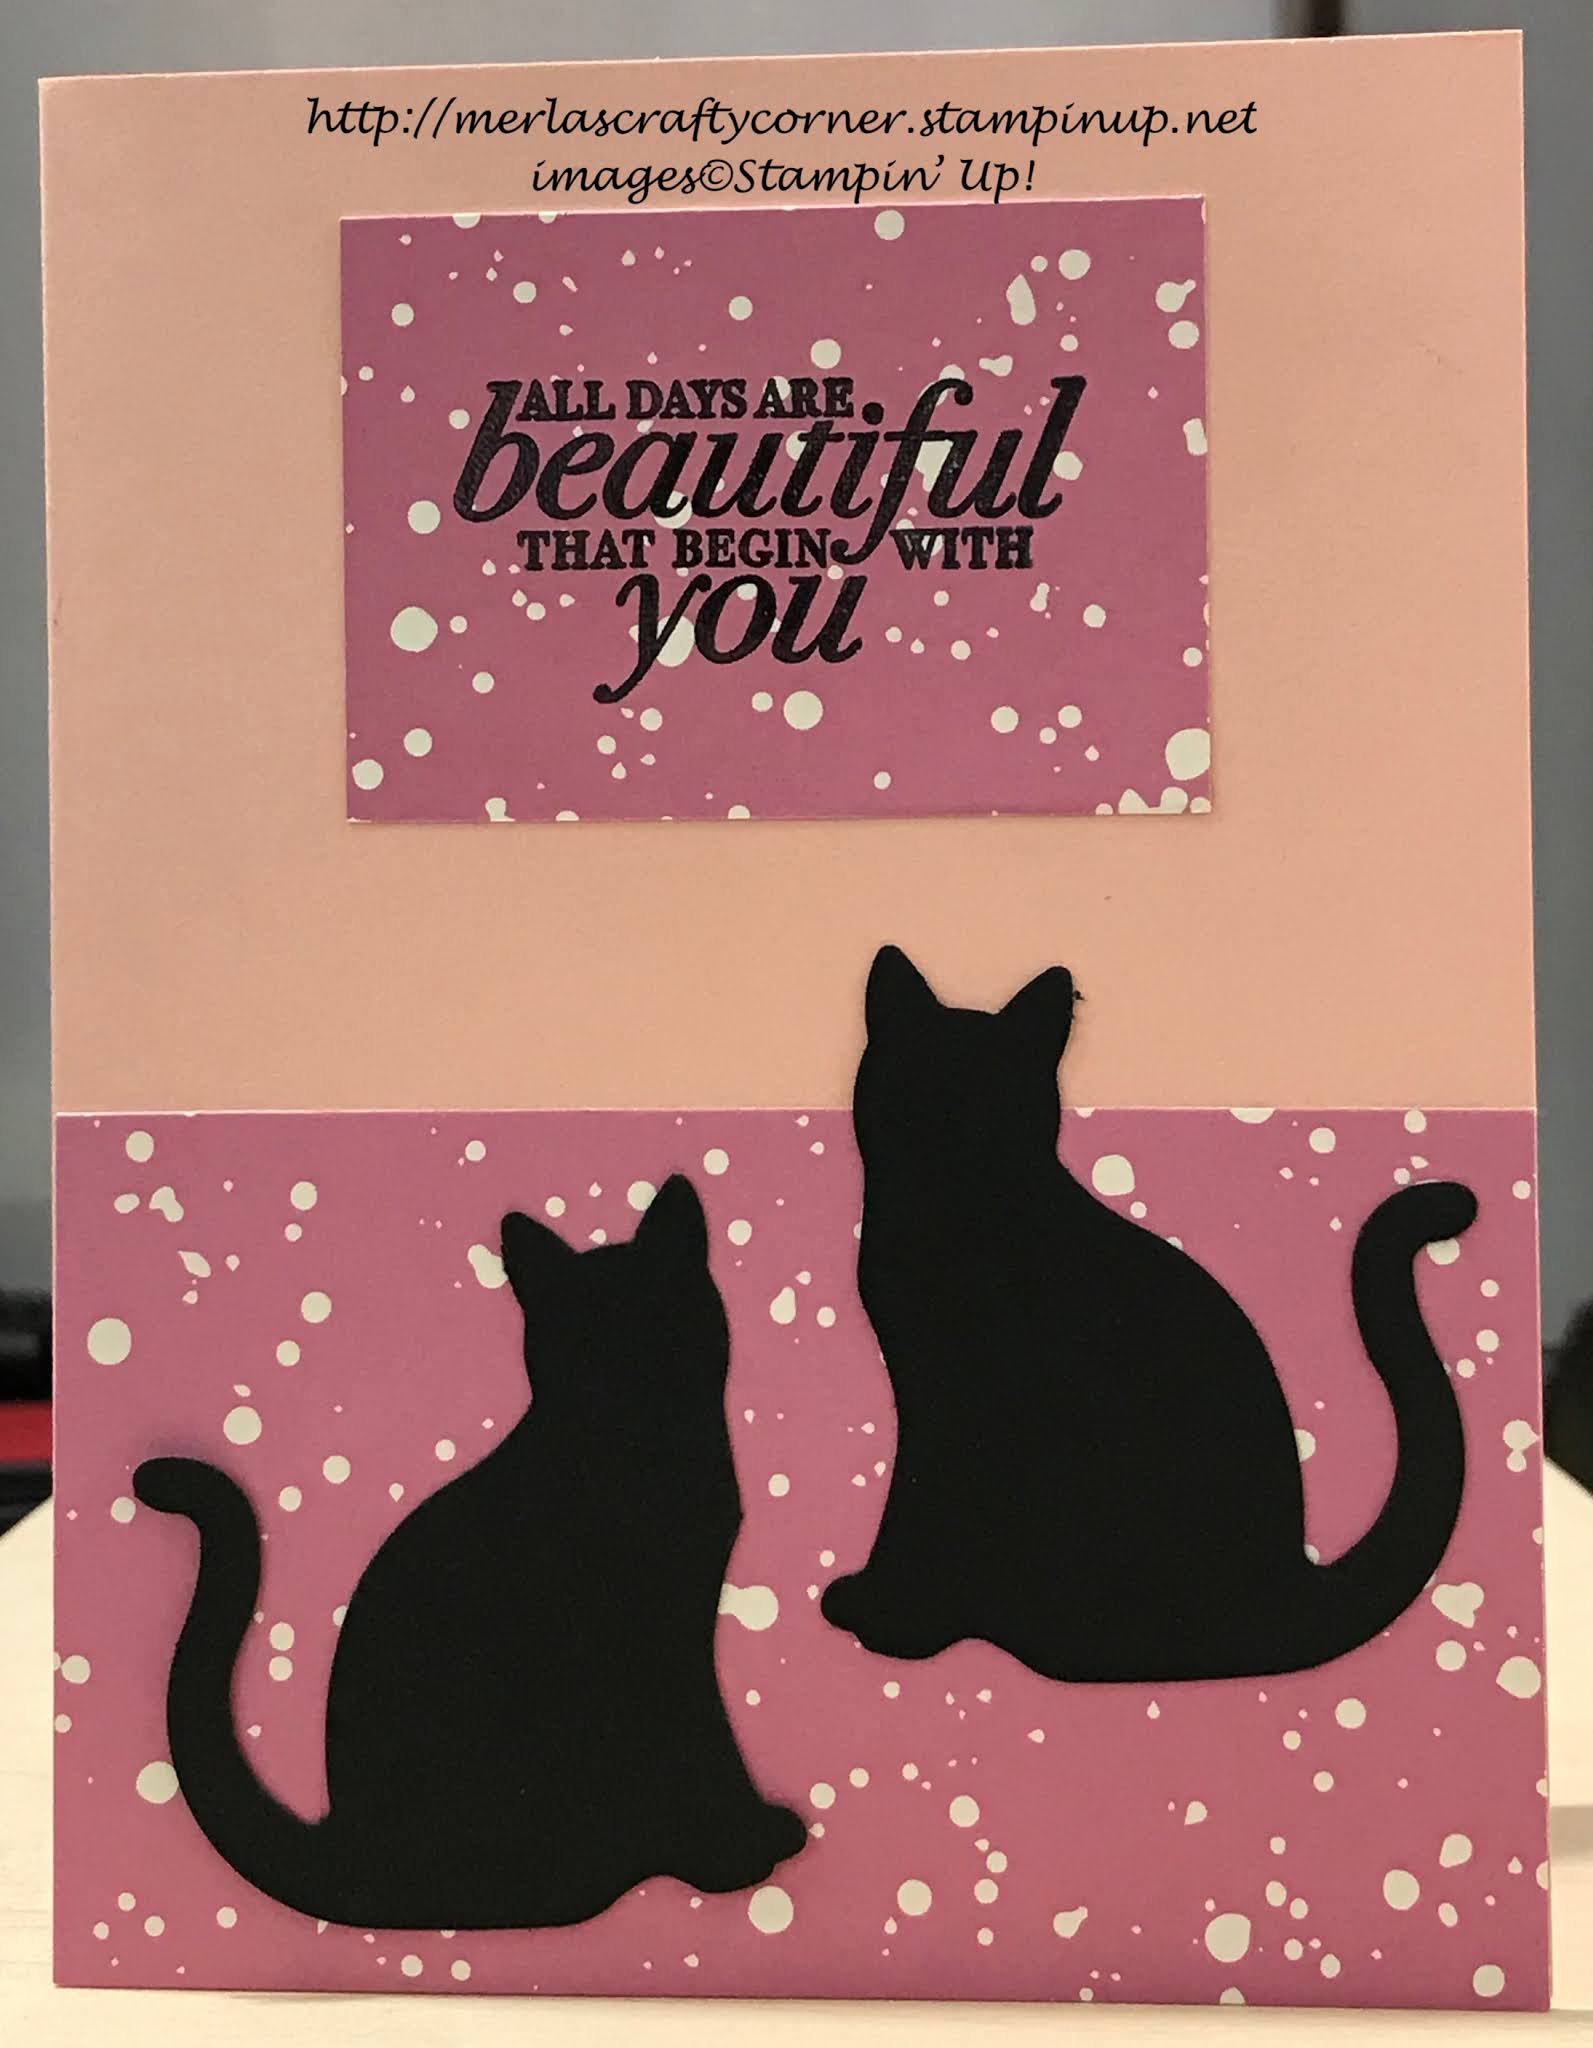
 Celebrations used to be all about the CAKE! Wanting that corner piece with the flower and the most frosting, maybe even a bit bigger than the other pieces. NOT ANYMORE! Everybody gets a cupcake now. Is it portion control? Equality? Less cleanup? Here are two cards with different sentiments to celebrate the special day. What do you think?


Cupcake Special #10


Cupcake Special #11


Stamps:
   Hello Cupcake

Paper:
   Peekaboo Peach A-2
   Playful Palette DSP 3" Sq.
   Vellum 2-1/2" Sq.
   Whisper White 5-1/4 x 4 (Inside)

Ink:
   Sweet Sugarplum
   Emerald Envy

Technique:
   Vellum

Accessories:
   Playful Palette Washi Tape
   Glue Dots
   Adhesive

I used Layout #5 to make these cards:


I cut the 6x6 sheet into three inch squares. Each square is used on a separate card. 

First, I stamped my cupcakes onto a vellum square, using Sweet Sugarplum and Emerald Envy. 

I then adhered the vellum onto the DSP using glue dots. The Playful Palette DSP square was then adhered to the top half of the card base. 

I then stamped the sentiment on the bottom portion of the card base and added a strip of washi tape. 

I added a Whisper White panel to the inside of the card. You can choose to change this to Very Vanilla or omit it completely.

A video showing all 30 cards can be found at Merla's No Left-Over DSP Layouts

Thank you so much for stopping by here and taking a quick look-see. If you have any questions or need my assistance, Contact Me.

Shop Now and take a look at all of our new products and current promotions. Please use the HOST CODE sitting in the right sidebar if you did not earn your own rewards.

If you want to craft, but keep your costs below $25 a month, check out Paper Pumpkin. It just might be what you are looking for at the moment.

Join Me and become the newest member of my team. Remember there are no hidden agendas or penalties for giving it a go. 

You've come this far, so please share, like, pin, tweet, or comment. I appreciate your time and efforts. Let me know your thoughts and leave all of your questions behind. Do not forget to FOLLOW and SUBSCRIBE to my blog.

HAPPY STAMPING!


Thank You Strips 6x6#9

Thank You Strips is card 9 out of 30, using the Playful Palette Designer Series Paper Pack by Stampin' Up! I gathered three strips to use on this card. The larger strip came from Layout #3 and the two smaller strips came from Layout #4. Here is the card. 


Stamps:
   Kindness & Compassion

Paper:
   Very Vanilla A-2
   Playful Palette DSP 1 x 5, 1/2 x 3-1/2, 1/2 x 2-1/2
   Whisper White 5 1/4 x 4 (Inside)

Ink:
   Emerald Envy

Technique:
   CAS

Accessories:
   Adhesive

Here is Layout #3 showing the strip used for card #9, located at the bottom of the layout:


Here is Layout #4 showing the strips used at the bottom of the layout:


I had the whole 1/2 strip and cut it at 3-1/2 to make one piece a bit longer than the other. I then arranged them on the card according to length. 

The sentiment can be changed to whatever is needed.

A video showing all 30 cards can be seen at Merla's No Left-Over DSP Layouts.

Thank you so much for stopping by here and spending a few minutes of your day with me. I appreciate your time. Contact Me if you have any questions.

Shop Now and enjoy browsing products and promotions. I have a HOST CODE in the right sidebar in case you did not earn your own rewards.

Do not miss the opportunity to Join Me and become the newest member of my team.

Paper Pumpkin should not be ignored. I enjoy putting my kit together monthly.

Take a few more minutes and share, like, pin, tweet, or comment. I would love to see what you really think. Do not forget to FOLLOW and SUBSCRIBE to my blog.

HAPPY STAMPING!


Colorful Congrats 6x6#7&8

 Congrats! You Did It! Amazing! High Praises should be given loudly and with a colorful flair. I made two of these cards using Layout #4:


I cut 1/2 inch off of the bottom of the sheet and then cut the remainder in half. I took the 3 x 5-1/2 inch panel and placed it in the middle of a card base. I added a sentiment in the middle and called it a day. The 1/2 inch strip is used on the next card. Remember I made two identical cards. You may choose to change the sentiment on one of them, thus making two different cards. Here is my card:


Stamps:
   Banners for You

Paper:
   Sweet Sugarplum A-2
   Playful Palette DSP 5-1/2 x 3
   Very Vanilla 1-1/4 x 3-1/2
   Whisper White 5-1/4 x 4 (Inside)

Ink:
   Archival Basic Black

Technique:
   Die Cutting

Accessories:
   Bunch of Banners Framelits Dies
   Black Rhinestone Jewels
   Dimensionals
   Adhesive

I added the sentiment using dimensionals. You can change the sentiment to suit your needs.

A video showing all 30 cards can be seen at Merla's No Left-Over DSP Layouts.

Thank you so much for dropping by here. Contact Me if you have any questions.

Click on all of the tabs above and explore products, promotions, and opportunities.

Please take the time to share, like, pin, tweet, or comment. Do not forget to FOLLOW and SUBSCRIBE to my blog.

HAPPY STAMPING!


Thursday, March 4, 2021

Thank You Palette 6x6#6

 Thank You Palette is card 6 out of 30, using the Playful Palette Designer Series Paper Pack. It is a simple Thank You card. What do you think?


Stamps:
   Love What You Do

Paper:
   Emerald Envy A-2
   Playful Palette DSP 1 x 5 (3), 3-1/2 x 1-3/4
   Peekaboo Peach 5-1/4 x 4
   Basic Black 3-3/4 x 2
   Very Vanilla 2-3/4 x 1-3/4
   Whisper White 5-1/4 x 4 (Inside)

Ink:
   Archival Basic Black

Technique:
   Punching

Accessories:
   Pretty Label Punch
   Basic Black Rhinestone Jewels
   Adhesive

This card used the last piece from Layout #1:


And 3 strips from Layout #3:


First, I stamped my sentiment onto my Very Vanilla piece. I then punched it out using the Pretty Label Punch.

I then adhered the last piece of DSP from Layout #1 (3-1/2 x 1-3/4) onto the Basic Black 3-3/4 x 2 piece.

I then centered the sentiment onto this panel and added two black rhinestones to finish it.

I then equally spaced and adhered the 1 x 5" strips of DSP onto the Peekaboo Peach panel. This was then adhered to the Emerald Envy card base.

I then added the sentiment panel onto the top portion of the card. You may choose to add this panel using dimensionals. I used only adhesive.

Notice that my Peekaboo Peach card stock is a bit frayed on the top. This is a sign that my cutting blade is dull and needs to be replaced. I tend to let it go a bit more, but that is not a good idea. :(

A video showing all 30 cards can be seen at Merla's No Left-Over DSP Layouts

Thank you so much for stopping by here. Contact Me if you have any questions.

Shop Now and buy your supplies to make your own cards.

Join Me and become my new team member.

Subscribe to Paper Pumpkin and craft monthly for under $25.

If you liked my card, please share, like, pin, tweet, or comment. I would love for you to FOLLOW and SUBSCRIBE to my blog. Let me know what you think in the comments below. 

HAPPY STAMPING!


God Bless 6x6#5

This card allows the paper to do all of the work. This is card 5 out of 30, using the Playful Palette DSP paper pack. Here is the card:


Stamps:
   Itty Bitty Greetings

Paper:
   Sweet Sugarplum A-2
   Playful Palette DSP 2" Sq. (4 - 1 cut on diagonal)
   Very Vanilla Scrap
   Basic Black Scrap
   Whisper White 5-1/4 x 4 (Inside)

Ink:
   Archival Basic Black

Technique:
   Punching

Accessories:
   Small Oval Punch
   Large Oval Punch
   Basic Pearl Jewels
   Dimensionals
   Adhesive

This card used 4 squares from Layout #2:


Three of the squares are centered diagonally on the card from the top left to the bottom right of the card front. I placed them on the card and then adhered the top left one followed by the bottom right square. The center square was adhered using dimensionals.

The fourth square was cut on a diagonal and pulled apart. One triangle was placed on the top right corner and the other on the bottom left as shown above.

I then stamped a sentiment on a scrap piece of Very Vanilla and punched it using the small oval punch.

This was centered and adhered to a Basic Black oval that was punched using the large oval punch. You can substitute any shape that you have on hand. I then adhered the sentiment to the center of the card and added a couple of pearls to finish it.

The Whisper White panel was added to the inside of the card. You may choose to change this to Very Vanilla or leave it out completely.

To see a video showing all 30 cards visit: Merla's No Left-Over DSP Layouts

Thank you for visiting. I do love company. Feel free to Contact Me if you have any questions.

Explore current products, promotions, and all of the opportunities, just click on Shop Now. A HOST CODE is available in the right sidebar for those of you who do not earn your own rewards.

For those of you who like kits with everything you need to complete a project, we offer Paper Pumpkin. You monthly cost is less than $25.

Join Me and become my newest team member. I look forward to meeting you. 

Please take a minute to share, like, pin, tweet, or comment. Do not forget to FOLLOW and SUBSCRIBE to my blog.

HAPPY STAMPING!


Wonderful Birthday 6x6#3&4

 I squared it all up for Layout #2. I cut the 6x6 Designer Series Paper (DSP) into 2" squares. Two squares were used on card 3, two were used on card 4, four squares were used on card 5, and one square was used on card 12. Here is a picture of the layout:


Two of the cards, 3 & 4, are very similar. Can you see the differences? I prefer #3 over #4. What are your thoughts?


Wonderful Birthday #3


Wonderful Birthday #4


Stamps:
   Pretty Kitty

Paper:
   Blushing Bride A-2
   Playful Palette DSP 2" Sq. (2)
   Whisper White 5-1/4 x 4 (Inside)

Ink:
   Sweet Sugarplum

Technique:
   CAS

Accessories:
   Playful Palette Washi Tape
   This Is the Life Washi Tape (Card #4)
   Basic Pearl Jewels
   Adhesive

If you make both cards, you need to double the paper listed above, and note that the accessories need to be adjusted per card. 

This is a one layer card, meaning that everything is adhered and stamped directly onto the card base. The circled number on the layout refers to the card number where the piece of DSP is placed.

Card number five used four squares, and card twelve used one. 

If you would like to see a video showing all 30 cards by yours truly, you can see it at Merla's No Left-Over DSP Layouts

Thank you so very much for being here. I appreciate you taking the time to glance at my work. Please Contact Me if I can be of service.

Are you interested in Stampin' Up! products to make your own cards? Shop Now and have have a look-see. I placed a HOST CODE for you to use if you do not earn your own rewards. It is sitting in the right sidebar.

Do you like surprises? Subscribe to Paper Pumpkin and receive all you need to complete the monthly project. The cost is less than $25. Check it out.

Join Me and be privy to everything Stampin' Up! Receive a discount on all of your personal orders. Personally, I love SALES!

Please share, like, pin, tweet, or comment. Do not forget to FOLLOW and SUBSCRIBE to my blog.

HAPPY STAMPING!

Wednesday, March 3, 2021

Beautiful Cats 6x6#2

Beautiful Cats is card 2 of 30, using the 6x6 Playful Palette Designer Series Paper Pack by Stampin' Up! This is another easy card to make. What do you think?


Stamps:
   Florentine Filigree

Paper:
   Blushing Bride A-2
   Playful Palette DSP 2-1/2 x 4-1/4, 2-1/2 x 1-3/4
   Basic Black 2-1/2" Sq. (2)
   Whisper White 5-1/4 x 4 (Inside) 

Ink:
   Archival Basic Black

Technique:
   Punching

Accessories:
   Cat Punch
   Adhesive

This card uses 2 pieces from Layout #1:


First, I stamped my sentiment directly onto the smaller piece of DSP. I adhered it onto the top center of the card front.

I then punched out two cats from the two Basic Black squares. I adhered the larger piece of DSP to the bottom half of the card front, and then adhered the two cats on top. The cats could be added using dimensionals if you wish.

The Whisper White panel was added to the inside of the card. You may choose to add a Very Vanilla panel instead, or leave it off completely. The Blushing Bride cardstock is light enough for writing. 

Video showing all 30 cards: Merla's No Left-Over DSP Layouts 

Thank you so much for spending time with me here. Contact Me if you have any questions.

Shop Now and take a look at all of our new products and current promotions. Please use the HOST CODE sitting in the right sidebar if you did not earn your own rewards.

Subscribe to Paper Pumpkin and keep your monthly cost below $25! Join Me and become my newest team member.

Either way, please share, like, pin, tweet, or comment. Do not forget to FOLLOW and SUBSCRIBE to my blog.

HAPPY STAMPING!


Tuesday, March 2, 2021

Wishful Cafe 6x6#1

 Wishful Cafe is card 1 of 30, using the 6x6 Playful Palette Designer Series Paper Stack by Stampin' Up! I watercolored the image and matted it with Basic Black. What do you think?


Stamps:
   Mediterranean Moments
   Life Is Grand

Paper:
   Very Vanilla A-2
   Playful Palette DSP 3-1/2 x 4-1/4
   Basic Black 2-1/2 x 3-1/8
   Watercolor 2-1/4 x 2-7/8
   Whisper White 5-1/4 x 4 (Inside)

Ink:
   Jet Black StazOn
   Sweet Sugarplum

Technique:
   Watercolor

Accessories:
   Aqua Painter
   Dimensionals
   Adhesive

This card uses Layout #1:


The circled number refers to the card number where the DSP is placed upon. Note that this DSP sheet is also used on cards 2 and 6.

First, I stamped and watercolored my image. Once it was dry, I adhered it to the Basic Black piece. 

I then adhered the DSP panel to the top of my Very Vanilla card front.

I stamped the sentiment on the bottom of the card front using Sweet Sugarplum.

I then adhered the matted image to the top center of my card using dimensionals.

I adhered the Whisper White panel to the inside of the card. You may choose to omit this and write directly onto the Very Vanilla card base. 

Video showing all 30 cards: Merla's No Left-Over DSP Layouts 

Thank you so much for stopping by here and taking a quick look-see. If you have any questions or need my assistance, Contact Me.

Shop Now and take a look at all of our new products and current promotions. Please use the HOST CODE sitting in the right sidebar if you did not earn your own rewards.

If you want to craft, but keep your costs below $25 a month, check out Paper Pumpkin. It just might be what you are looking for at the moment.

Join Me and become the newest member of my team. Remember there are no hidden agendas or penalties for giving it a go.

You've come this far, so please share, like, pin, tweet, or comment. I appreciate your time and efforts. Let me know your thoughts and leave all of your questions behind. Do not forget to FOLLOW and SUBSCRIBE to my blog.

HAPPY STAMPING!


Monday, March 1, 2021

30 Playful Palette Cards

 Playful Palette 6x6 paper stack contains 12 double-sided designs. I created 12 layouts that will yield 30 cards with no left-overs! Since there are 4 sheets of each design, the paper pack will give you 120 cards total! This is a picture of all 30 cards.


Stamps:
   Various

Paper:
   Very Vanilla A-2 (9)
   Blushing Bride A-2 (4)
   Peekaboo Peach A-2 (4)
   Emerald Envy A-2 (5)
   Sweet Sugarplum A-2 (8)
   Playful Palette DSP 6x6 Paper Stack
   Whisper White 5-1/4 x 4 (30) Inside

Ink:
   Archival Basic Black
   Blushing Bride
   Emerald Envy
   Jet Black StazOn
   Peekaboo Peach
   Sweet Sugarplum

Technique:
   Watercolor

Accessories:
   Various

The paper above is used for the card bases. The Whisper White panels are for the inside of the cards. You can choose to use Very Vanilla instead of Whisper White.

You can substitute any stamp set, accessory, and DSP that you have on hand. 

Each of the 30 cards will have its own entry with details unless it has "Too" included in the title. A picture of the layout(s) used will be included in each entry. Here is a list of all 30 cards with its corresponding layout. 

 1. Wishful Cafe - Layout #1
 2. Beautiful Cats - Layout #1
 3. Wonderful Birthday - Layout #2
 4. Wonderful Birthday Too - Layout #2
 5. God Bless - Layout #2
 6. Thank You Palette - Layout #1,3
 7. Colorful Congrats - Layout #4
 8. Colorful Congrats Too - Layout #4
 9. Thank You Strips - Layout #3,4
10. Cupcake Special - Layout #5
11. Cupcake Special Too - Layout #5
12. Birthday Palette - Layout #2,3,5,6
13. Sending Prayers - Layout #5,6
14. Hello, Friend - Layout #6
15. Thank You Daisy - Layout #6,7
16. Celebrate Center - Layout #6,7
17. Endings - Layout #8
18. Vertical Birthday Layout #8
19. Thank You Palette Again - Layout #3,9
20. Simple Note - Layout #9
21. Little Friend - Layout #8,9
22. Tipped Squares - Layout #10
23. Sugarplum Butterfly - Layout #10
24. Anniversary Ribbon - Layout #10
25. Miss You - Layout #11
26. Sweet Congratulations - Layout #11
27. Tough Life - Layout #11
28. Vertical Love - Layout #12
29. Thank You Pearls - Layout #12
30. Get Well Flower - Layout #11,12

I also made a video showing all 30 cards and layouts. View it at: No Left-Over Playful Palette DSP Pad. You can pause the video to get exact measurements if you do not want to wait for a specific entry. 

Thank you so much for stopping by here and spending a few minutes of your day with me. I appreciate your time. Contact Me if you have any questions.

Shop Now and enjoy browsing products and promotions. I have a HOST CODE in the right sidebar in case you did not earn your own rewards.

Do not miss the opportunity to Join Me and become the newest member of my team.

Paper Pumpkin should not be ignored. I enjoy putting my kit together monthly.

Take a few more minutes and share, like, pin, tweet, or comment. I would love to see what you really think. Do not forget to FOLLOW and SUBSCRIBE to my blog.

HAPPY STAMPING!