Wednesday, June 15, 2022

Thanks Again

This is Big, Bold, and Beautiful. Thoughts?


Stamps:
   Biggest Wish (None)

Paper:
   Cherry Cobbler A-2
   Basic White 5-1/4 x 4 (Inside)
   Basic Black 1-1/4 x 3-1/4, 1-1/4 x 4-1/4
   Shaded Spruce 4-1/2 x 1/2 (trim to fit)

Ink:
   None

Technique:
   Die Cutting
   Punching

Accessories:
   Amazing Thanks Dies
   Dotted Scallop Ribbon Border Punch
   Naturally Eclectic Card Overlays
   Basic Rhinestone Jewels
   Stampin' Seal+
   Glue Dots
   Adhesive

First, I added glue dots behind the gold leaves on the half sheet of acetate that was left-over from a previous card. I then adhered it onto the top half of the Cherry Cobbler card front.

I took the strip of Shaded Spruce and punched, adhered, and trimmed it to size. It was used to cover the seam of the acetate.

Next, I die cut my sentiment and adhered it using glue dots.

Lastly, I added a few rhinestone jewels and added the Basic White panel to the inside of the card.

Thank you for stopping to take a peek. Contact Me if you have any questions.

Click on Shop Now and browse through all things Stampin' Up! Start your wish list or order your favorites today. I included a HOST CODE for you to use if you like. Use it only if your product total is less than $150. You can find it in the right sidebar.

Join Me and get the best bang for your buck.

Do you want everything at your fingertips without having to look for it? Subscribe to Paper Pumpkin. Want more choices? Check out the Kit Collection.

One last thing, share, like, pin, tweet, and comment. Don't forget to FOLLOW and SUBSCRIBE to my blog. Okay, that was more than one thing.

HAPPY STAMPING!

Tuesday, June 14, 2022

Big Shot

Here is a masculine card for those who enjoy a drink now and then or always. Cheers! Thoughts?


Stamps:
   Whiskey Business

Paper:
   Soft Sea Foam A-2
   Basic Black 5-3/8 x 4-1/8
   Basic White 5-1/4 x 4 (2)

Ink:
   Tuxedo Black Memento

Markers:
   Balmy Blue
   Crumb Cake
   Soft Sea Foam
   Pale Papaya
   Whisper White 

Technique:
   Coloring
   CAS

Accessories:
   Blender Pen
   Wooden Elements
   Glue Dots
   Adhesive

First, I stamped my images and sentiment, using Tuxedo Black Memento ink.

I then colored the images:
   Table & Stopper - Crumb Cake
   Decanter - Balmy Blue
   Glass - Soft Sea Foam
   Whiskey - Pale Papaya
   Ice - Whisper White.

Next, I adhered the Basic White panel onto the Basic Black and then onto the Soft Sea Foam card front.

I added a couple of wooden elements to emphasize the "straight up" sentiment.

Lastly, I adhered the other Basic White panel to the inside of the card. 

Thank you for taking the time to read this. I try my best to keep it short and sweet. Contact Me if you have questions or need anything Stampin' Up!

Shop Now and take a peek at quality products. There is a HOST CODE if your product total is less than $150. You do not have to use it, but I would appreciate it. It is located in the right sidebar.

Join Me and become part of my team. I will be as involved as you like. Check out the advantages.

Are you curious, but undecided? Subscribe to Paper Pumpkin and try it. The kit will include everything you need, and it won't break the bank. Check out the Kit Collection for more all-inclusive kit choices.

Please share, like, pin, tweet, or comment. I would love for you to FOLLOW and SUBSCRIBE to my blog.

HAPPY STAMPING!

Monday, June 13, 2022

Whiskey

When you need a masculine card for the drinker in your circle, create this one. Thoughts? 


Stamps:
   Whiskey Business

Paper:
   Crushed Curry A-2
   Basic Black 5-3/8 x 4-1/8
   Basic White 5-1/4 x 4 (2)

Ink:
   Tuxedo Black Memento
   Whisper White Craft

Markers:
   Crushed Curry
   Petal Pink
   Sahara Sand

Technique:
   CAS
   Coloring

Accessories:
   Blender Pen
   Washi Tape
   Adhesive

First, I stamped my images and sentiment onto the Basic White panel, using Tuxedo Black Memento.

I then colored my images: 
   Table & Bottle Top - Sahara Sand
   Glass & Decanter - Petal Pink
   Whiskey - Crushed Curry
   Ice - Whisper White Craft using a blender pen

I then added a couple of strips of washi tape to balance the card.

I adhered the panel to the Basic Black panel and then onto the Crushed Curry card base.

Lastly, I adhered the other Basic White panel to the inside of the card.

Thank you immensely for your time. I know how precious it can be. Please Contact Me if you need anything Stampin' Up! or if you have any questions.

Click on Shop Now and take a look at some quality products. Investing in your craft is a no-brainer. I have included a HOST CODE for those of you who enjoy ordering only one or two items. It is located in the right sidebar. Of course, if your product total is more than $150, enjoy your rewards.

Of course, the best value for your dollar is joining the Stampin' Up! family. Just click on Join Me and check out the benefits.

Let's not forget Paper Pumpkin. If you want to craft on the go, or you like to keep things small and low-key, check it out. The kit includes all you need.

Please take a minute or two to share, like, pin, tweet, or comment. Don't forget to FOLLOW and SUBSCRIBE to my blog.

HAPPY STAMPING!

Sunday, June 12, 2022

The Garden

Make your card a bit more interesting by shifting a square onto its corner and creating a diamond. Now, that's precious. Any thoughts? 


Stamps:
   Dragonfly Garden

Paper:
   Blackberry Bliss A-2
   Smoky Slate 5-1/4 x 4
   Dandy Garden DSP 2" Sq. (3), 2-3/4" Sq.
   Basic White 1 x 5, 5-1/4 x 4 (Inside)

Ink:
   Mossy Meadow

Technique:
   Punching

Accessories:
   Dragonflies Punch
   Basic Rhinestone Jewels
   Braided Linen Trim
   Ladybug Trinkets
   Glue Dots
   Adhesive

First, I stamped the Basic White strip, using Mossy Meadow ink.

I then adhered the strip to the left side of the Smoky Slate panel.

Next, I adhered two of the DSP 2" squares, showing the colorful printed side. One square toward the top and the other toward the bottom.

I then stamped my sentiment on the third 2" square, showing the solid color. Note, the direction of the sentiment. I adhered it onto its side, creating a diamond shape.

I then adhered the panel onto the Blackberry Bliss card front.

I punched out a couple of dragonflies and attached them with glue dots.

I then tied the Braided Linen Trim into a bow on the left and added a Ladybug Trinket and rhinestones to the dragonflies.

Lastly, I adhered the Basic White panel to the inside of the card.

Thank you so much for giving me a bit of your time. Please Contact Me if I can return the favor.

Check out all of the options by clicking on the headers above.

Do not forget to FOLLOW and SUBSCRIBE to my blog. Please share, like, pin, tweet, or comment. I look forward to reading your thoughts and possible ideas for improvements.

HAPPY STAMPING!

Saturday, June 11, 2022

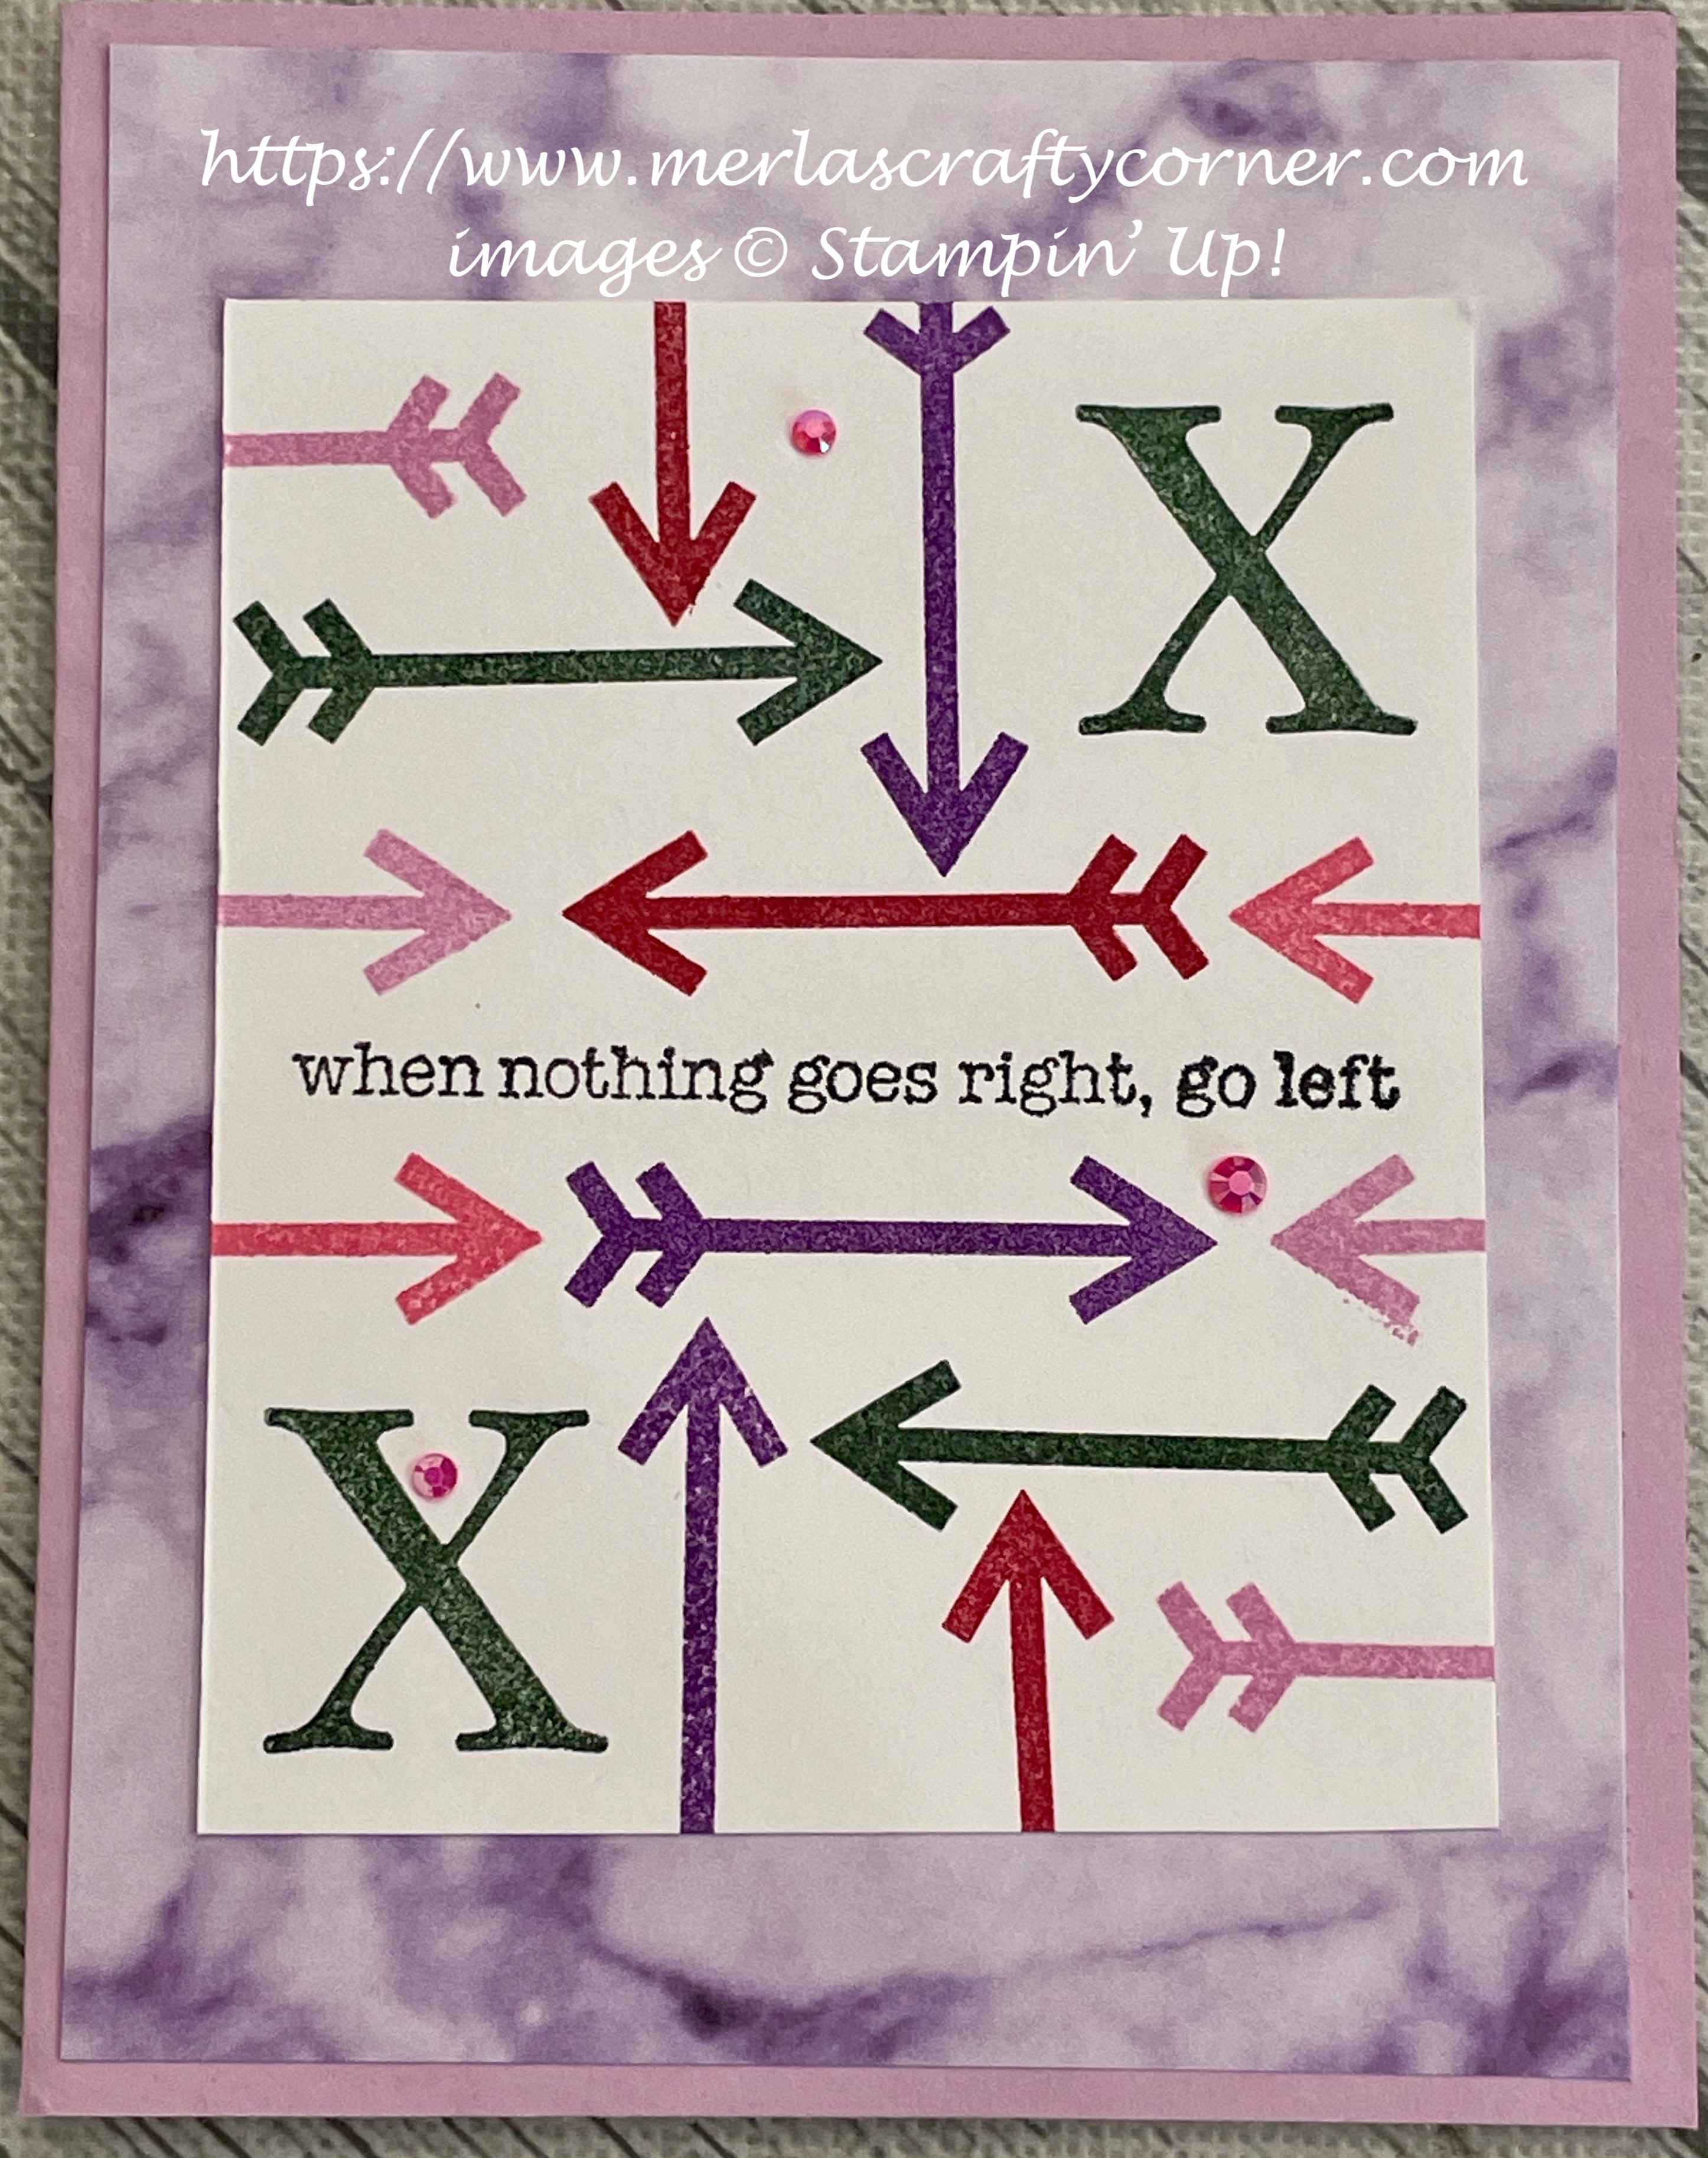
Directions

 The sentiment says it all. Thoughts?


Stamps:
   Lighthearted Lines
   Kisses & Hugs (Paper Pumpkin 1/22)

Paper:
   Fresh Freesia A-2
   Simply Marbleous DSP 5-1/4 x 4
   Basic White 3-1/4 x 4, 5-1/4 x 4 (Inside)

Ink:
   Evening Evergreen
   Fresh Freesia
   Gorgeous Grape
   Lovely Lipstick
   Polished Pink
   Tuxedo Black Memento

Technique:
   CAS

Accessories:
   2021-2023 In-Color Jewels
   Adhesive

I began with the sentiment in the center of the 3-1/4 x 4 Basic White panel.

I then stamped the arrow in many directions with different colors. Be sure to clean the stamp between each color. 

I stamped two X's on opposite corners.

I then adhered this panel onto the DSP panel, and then onto the card front.

Lastly, I added a few jewels and adhered the Basic White panel to the inside of the card.

Thank you so much for stopping by here. Contact Me if you have any questions.

Shop Now and buy your supplies to make your own cards. Take a peek today and find out what you can grab for FREE!

Join Me and become my new team member. Enjoy the best savings and opportunity offered today!

Subscribe to Paper Pumpkin and craft monthly for under $25. Don't forget to take a look at the All-Inclusive Kits!

If you liked my card, please share, like, pin, tweet, or comment. I would love for you to FOLLOW and SUBSCRIBE to my blog. Let me know what you think in the comments below.

HAPPY STAMPING!

Friday, June 10, 2022

Dragonflies

I have only spotted a dragonfly once or twice in my backyard. They don't seem to be too common around here. Of course, there is the possibility that I stay indoors so much that the dragonflies go unnoticed. Anyway, here are a few I captured on paper. What do you think?


Stamps:
   Dragonfly Garden

Paper:
   Mossy Meadow A-2
   Bumblebee 2-3/4 x 3-3/4
   Basic White 2-1/2 x 3-1/2, 5 1/4 x 4 (Inside), 2-3/4" Sq. 
   Dandy Garden DSP 3/4 x 3-3/4 (3), 2-3/4" Sq. 

Ink:
   Blackberry Bliss

Technique:
   Punching

Accessories:
   Dragonflies Punch
   Basic Rhinestone Jewels
   Glue Dots
   Adhesive

First, I took the DSP and Basic White squares and punched a dragonfly from each. The DSP dragonfly is adhered to the top center of the Basic White one.

I then took the three strips of DSP and adhered them onto the card front. 

Next, I stamped a dragonfly and sentiment on the Basic White panel and adhered it onto the Bumblebee matte. 

This panel was then adhered to the center of the card front on top of the three strips of DSP.

I then adhered the large and small dragonflies onto the card front using glue dots.

Lastly, I added a few rhinestones and adhered the Basic White panel to the inside of the card.

Note, I also punched several small dragonflies from the left-over Basic White square and set them aside for future use. These can be colored or left white as embellishments on future cards.

Thank you for visiting. I do love company. Feel free to Contact Me if you have any questions.

Explore current products, promotions, and all of the opportunities. Just click on Shop Now. A HOST CODE is available in the right sidebar for those of you who do not earn your own rewards.

For those of you who like kits with everything you need to complete a project, we offer Paper Pumpkin. Your monthly cost is less than $25. Also, you might want to look at the new Kits Collection!

Join Me and become my newest team member. I look forward to meeting you.

Please take a minute to share, like, pin, tweet, or comment. Do not forget to FOLLOW and SUBSCRIBE to my blog.

HAPPY STAMPING!

Thursday, June 9, 2022

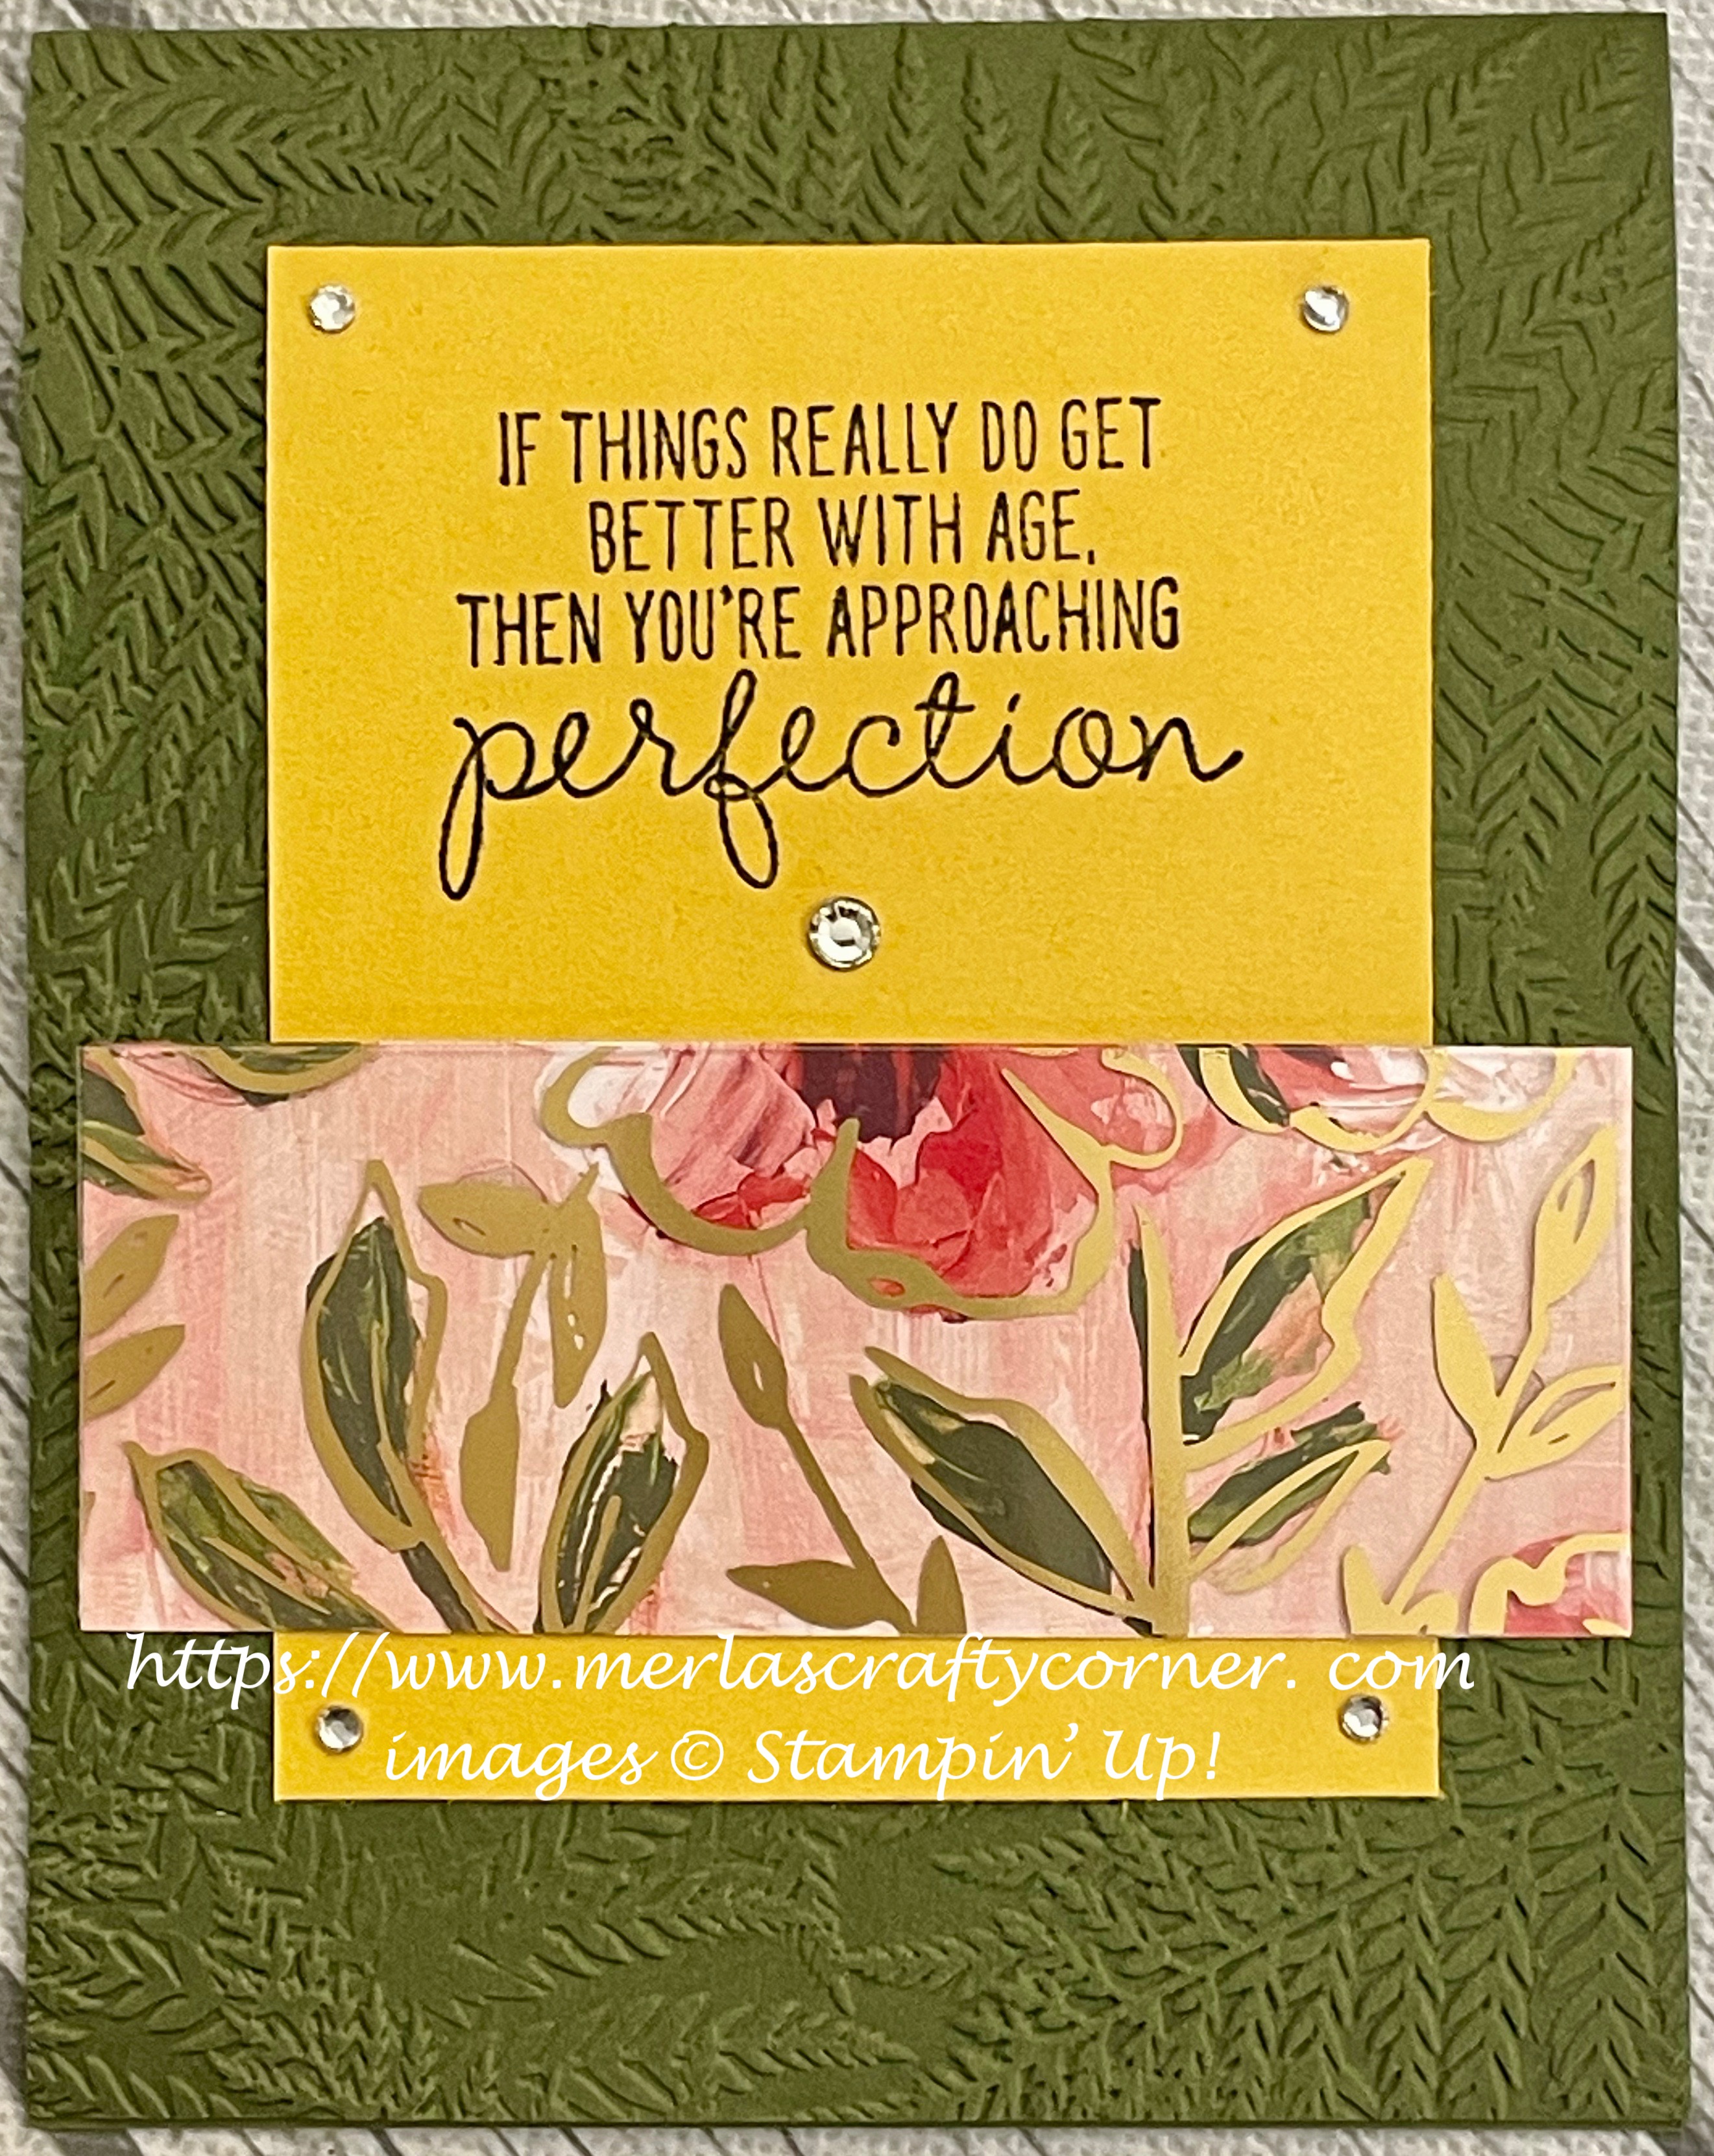
Perfection

Sometimes we just have to find humor in our lives. Laugh Out Loud or at least SMILE! Thoughts?


Stamps:
   Approaching Perfection

Paper:
   Mossy Meadow A-2
   Bumblebee 3 x 4
   Fine Art Floral DSP 1-1/2 x 4
   Golden Garden Designer Acetate 1-1/2 x 4
   Basic White 5-1/4 x 4 (Inside)

Ink:
   Tuxedo Black Memento

Technique:
   Dry Embossing

Accessories:
   Fern 3D Embossing Folder
   Water Mister
   Basic Rhinestone Jewels
   Glue Dots
   Adhesive

First, I misted the Mossy Meadow card front with a bit of water and dry embossed it using the Fern 3D embossing folder. The moisture helps to keep the paper from tearing during the embossing.

I then stamped the sentiment on the top part of the Bumblebee panel. I used Tuxedo Black Memento.

I then adhered this piece to the center of the card front using liquid adhesive. 

Next, I adhered the acetate piece onto the matching DSP, using glue dots. I applied the glue dots in places that would not be easily visible, like under the gold.

I attached these two pieces onto the card front below the sentiment.

Lastly, I added some rhinestones and adhered the Basic White panel to the inside of the card.

Thank you so very much for being here. I appreciate you taking the time to glance at my work. Please Contact Me if I can be of service.

Are you interested in Stampin' Up! products to make your own cards? Shop Now and have a look-see. I placed a HOST CODE for you to use if you do not earn your own rewards. It is sitting in the right sidebar.

Do you like surprises? Subscribe to our Paper Pumpkin and receive all you need to complete the monthly project. The cost is less than $25. Check it out.

Join Me and become privy to everything Stampin' Up! Receive a discount on all of your personal orders. Personally, I love SALES!

Please share, like, pin, tweet, or comment. Do not forget to FOLLOW and SUBSCRIBE to my blog.

HAPPY STAMPING!

Wednesday, June 8, 2022

Golden Leaves

I like the stunning look of the Calypso Coral against the Blackberry Bliss. Thoughts?


Stamps:
   Biggest Wish (None)

Paper:
   Blackberry Bliss A-2
   Basic White 5-1/4 x 4 (Inside)
   Calypso Coral 1-1/4 x 7-1/4, Scrap (Heart)

Ink:
   None

Technique:
   Die Cutting
   Punching

Accessories:
   Amazing Thanks Dies
   Naturally Eclectic Card Overlays
   Itty Bitty Accents Punch
   Calypso Coral 1/4" Shimmery Ribbon
   Basic Rhinestone Jewels
   Glue Dots
   Stampin' Seal+ 
   Adhesive

First, I cut the Naturally Eclectic Card Overlay in half and attached the upper half to the Blackberry Bliss Card front. I used glue dots behind the golden leaves to attach it.

Next, I die cut the words, using the Amazing Thanks dies on a strip of Calypso Coral cardstock.

I then punched out a heart from the extra left-over piece between the words.

I used glue dots to adhere these pieces onto the card front. 

I added a strip of Calypso Coral Shimmery ribbon and adhered it using Stampin' Seal+. I added it to cover up the seam between the overlay and cardstock.

Lastly, I added a rhinestone to the heart and adhered the Basic White panel to the inside of the card.

I mentioned the Biggest Wish stamp set because it coordinates with these die cuts, but there was no stamping required on this card. I merely die cut, punched, and adhered the pieces together. This is a very quick and easy card to create.

Thank you so much for spending time with me here. Contact Me if you have any questions.

Shop Now and take a look at all of our new products and current promotions. Please use the HOST CODE sitting in the right sidebar if you did not earn your own rewards.

Subscribe to Paper Pumpkin and keep your monthly cost below $25! Join Me and become my newest team member.

Either way, please share, like, pin, tweet, or comment. Do not forget to FOLLOW and SUBSCRIBE to my blog.

HAPPY STAMPING!

Tuesday, June 7, 2022

Bare Tree

 As they say, "Less is More." What do you think?


Stamps:
   Beauty of Friendship
   Watercolor Wash

Paper:
   Old Olive A-2, 3-1/4 x 4-3/4
   Basic White 5-1/2 x 4, 5-1/4 x 4 (Inside)

Ink:
   Misty Moonlight
   Pineapple Punch

Technique:
   Die Cutting

Accessories:
   Beautiful Trees Dies
   2020-2022 In-Color Enamel Dots
   Fine Tip Glue Pen
   Adhesive

First, I stamped the 5-1/2 x 4 Basic White panel, using the Watercolor Wash Background stamp and the Pineapple Punch ink.

Next, I die cut the tree in Old Olive and adhered it to the center of the panel, using the Fine Tip Glue Pen.

I then stamped the sentiment in Misty Moonlight and adhered an enamel dot.

Lastly, I adhered the panel to the Old Olive card front, and added the other Basic White panel to the inside of the card.

Thank you so much for stopping by here and taking a quick look-see. If you have any questions or need my assistance, Contact Me.

Shop Now and take a look at all of our new products and current promotions. Please use the HOST CODE sitting in the right sidebar if you did not earn your own rewards.

If you want to craft, but keep your costs below $25 a month, check out Paper Pumpkin. It just might be what you are looking for at the moment.

Join Me and become the newest member of my team. Remember there are no hidden agendas or penalties for giving it a go. Don't pass this opportunity to save.

You've come this far, so please share, like, pin, tweet, or comment. I appreciate your time and efforts. Let me know your thoughts and leave all of your questions behind. Do not forget to FOLLOW and SUBSCRIBE to my blog.

HAPPY STAMPING!